Table of Contents
- Introduction
- Assessment of existing plumbing system
- Choosing the right piping materials
- Obtaining necessary permits and inspections
- Draining and preparing the plumbing system
- Removing old pipes
- Installing new plumbing pipes
- Connecting plumbing fixtures and valves
- Final inspections and testing of the new system
- Conclusion
- Frequently Asked Questions
Introduction
Are you tired of experiencing leaks, low water pressure, or rusty pipes in your home? You’re not alone! Homeowners everywhere face the constant battle of aging plumbing systems that threaten to disrupt daily life. Fortunately, repiping offers a permanent solution, transforming your old, worn-out pipes into a flawless plumbing network.
This comprehensive guide, ‘From Pipes to Perfection,’ will walk you through the entire repiping process—step by step. From assessing the condition of your current system to selecting the right materials and executing the installation, we’ll equip you with the knowledge you need to tackle this home improvement project like a pro!
Imagine turning your home’s plumbing into a reliable, efficient system that not only enhances your daily routine but also adds value to your property. With our easy-to-follow instructions and expert tips, you’ll soon say goodbye to plumbing woes and hello to a stress-free, perfectly piped home.
Assessment of existing plumbing system
Before initiating the repiping process, a thorough assessment of the existing plumbing system is essential. This evaluation helps identify any underlying issues that may need addressing. Homeowners should begin by examining the age and material of the current pipes, as older systems often use outdated materials like lead or galvanized steel, which can pose health risks and lead to inefficiencies.
Furthermore, it is crucial to assess the visible plumbing for signs of leaks, corrosion, or water damage. This includes checking joints and connectors where problems are likely to arise. Additionally, evaluating water pressure levels and the overall flow rate can provide insights into the condition of the plumbing.
A camera inspection may be conducted to get a clearer picture of the pipes’ internal conditions, especially in hard-to-reach areas. This detailed assessment will inform the homeowner about which areas require immediate attention and help determine the best materials and methods for the repiping project. Understanding the current plumbing landscape will ultimately guide efficient and effective repiping solutions.
Choosing the right piping materials
Choosing the right piping materials for repiping a house is crucial for ensuring durability, efficiency, and safety. Various options are available, each with its own set of advantages and drawbacks.
One popular choice is copper piping, known for its longevity and resistance to corrosion. Copper can handle high temperatures and pressure, making it suitable for both hot and cold water supply. However, it is often more expensive than other materials.
PVC (polyvinyl chloride) is another common material, particularly for drain, waste, and vent systems. It’s lightweight, affordable, and resistant to corrosion; however, it can warp under high heat and is not recommended for hot water lines.
Cross-linked polyethylene (PEX) has gained popularity due to its flexibility and ease of installation. It is resistant to scale and chlorine, reducing the risk of corrosion, but care must be taken as it may not be suitable for outdoor use due to UV sensitivity.
Ultimately, the choice of material should depend on budget, the specific requirements of the plumbing system, and local building codes.
Obtaining necessary permits and inspections
Obtaining necessary permits and inspections is a crucial step in the repiping process for a house. Before commencing any work, it is essential to check local regulations and building codes. Most municipalities require homeowners to obtain permits for plumbing projects, particularly extensive ones like repiping. This ensures that the work is done to code and maintains safety standards.
The permit application process typically involves submitting detailed plans of the intended work, which may require the expertise of a licensed plumber or contractor. It’s important to include specific details about materials and methods to be used for the repiping project.
After acquiring the necessary permits, homeowners are generally required to schedule inspections at different stages of the project. These inspections ensure that the work complies with local building codes and safety regulations. Failing to obtain the appropriate permits or pass inspections can result in fines, delays, and even the requirement to redo the work.
Draining and preparing the plumbing system
Draining and preparing the plumbing system is a crucial first step in the repiping process. To begin, it’s essential to turn off the water supply to the house, ensuring that no water can flow into the pipes during the project. After shutting off the main water valve, the next step is to open all faucets in the house, allowing any remaining water in the pipes to drain out completely. This minimizes the risk of leaks and flooding when the old pipes are removed.
During this phase, it is also advisable to flush toilets to clear the tanks and remove additional water. Once the system is drained, the plumber should inspect the existing pipes for any signs of damage or wear, which can provide insight into the overall condition of the plumbing system.
Proper preparation may also involve covering drains to prevent debris from entering during the repiping process. This preemptive action ensures a cleaner work environment and reduces the likelihood of potential plumbing issues once the new system is installed.
Removing old pipes
Removing old pipes is a crucial step in the repiping process. First, it’s essential to turn off the main water supply to avoid any leaks or flooding during removal. After ensuring the water is off, the next step involves draining the existing plumbing system. This can be done by opening all faucets and flushing toilets to empty the pipes.
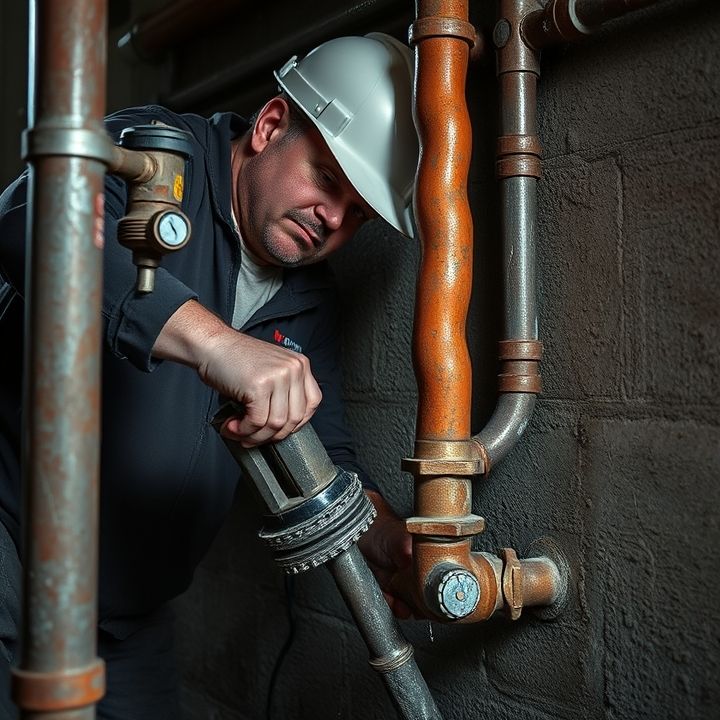
Once the system is drained, the old pipes can be accessed. Depending on the house’s layout, this may involve removing drywall or accessing crawl spaces or basements. Use appropriate tools like pipe wrenches and saws to disconnect the piping. It’s important to approach this task with caution, especially if the pipes contain remnants of water or are under pressure.
As you remove the pipes, be mindful of the surrounding areas to prevent any damage to electrical wiring or structural components. After safely extracting all the old pipes, the next step can proceed with the installation of new piping, ensuring that the system meets current building codes and standards.
Installing new plumbing pipes
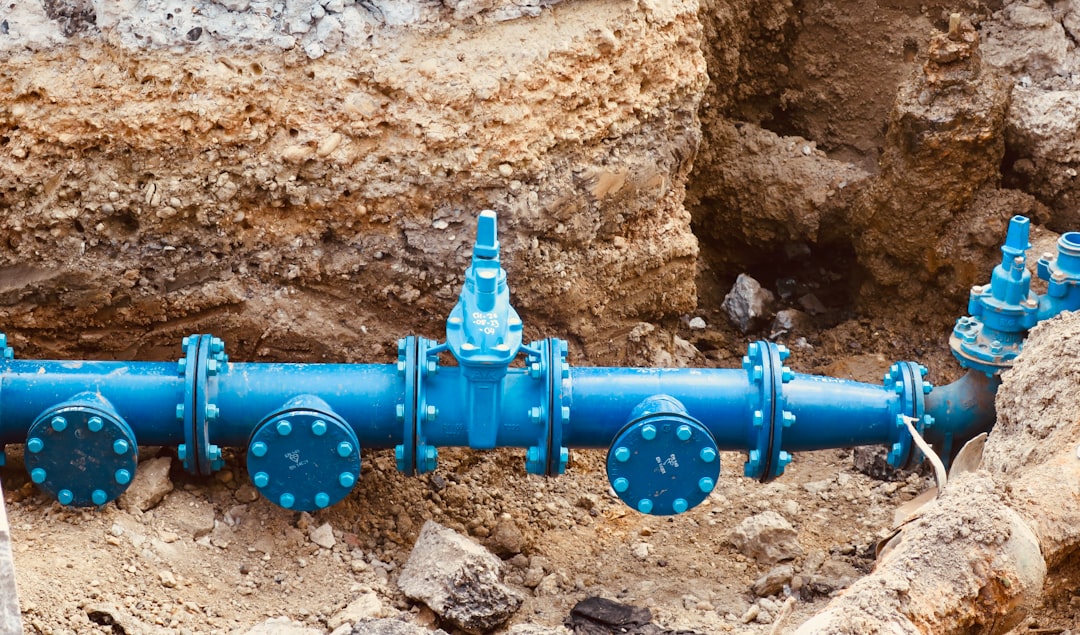
Installing new plumbing pipes is a crucial step in the repiping process, ensuring that your home has a reliable and efficient water supply system. First, it is essential to assess the existing plumbing to determine the necessary changes. This often involves identifying areas with leaks or corrosion. Once this assessment is complete, the old pipes need to be removed carefully, which may require cutting them out and disconnecting them from fixtures.
After the old plumbing is cleared, the installation of new pipes can begin. Homeowners often opt for materials such as copper, PEX, or PVC, each offering unique benefits. For instance, PEX is flexible and easier to install, making it a popular choice. The new pipes should be routed according to the home’s design, ensuring optimal water flow and accessibility.
Finally, after the installation, it is vital to test the new plumbing system for leaks and ensure that everything is functioning correctly. Proper installation and testing can significantly extend the lifespan of your plumbing system, providing peace of mind for years to come.
Connecting plumbing fixtures and valves
Connecting plumbing fixtures and valves is a crucial step in the repiping process, as it ensures that water flows efficiently throughout the house. The first stage involves determining the precise locations of all fixtures, such as sinks, toilets, and showers, and assessing the existing plumbing layout. Once this is clear, the new piping can be laid out to connect these fixtures with the main water supply and drainage systems.
Valves play an essential role in controlling water flow to different areas. When installing new fixtures, it’s important to include shut-off valves near each appliance to facilitate easy repairs or maintenance without shutting off the entire system. These valves should be easily accessible and properly installed to prevent leaks. Once the pipes are connected to the fixtures and valves, it’s crucial to check for leaks and ensure that the connections are secure.
After confirming that everything is functioning correctly, the system can be tested by running water through the fixtures to ensure that there are no issues. Proper connection of plumbing fixtures and valves not only enhances the functionality of the plumbing system but also contributes to the overall efficiency and safety of the home.
Final inspections and testing of the new system
Once the repiping process is completed, final inspections and testing of the new system are essential to ensure that everything is functioning correctly. The first step in this phase is a thorough visual inspection of the newly installed pipes, connections, and fixtures. This helps to identify any visible leaks or potential issues that could arise from improper installation.
After the visual inspection, a pressure test is usually conducted. This involves filling the system with water and pressurizing it to check for any leaks. The pressure will be monitored over a specified period to ensure that it remains stable; any drop in pressure indicates a leak that needs to be addressed. Additionally, some professionals may use air to perform a similar test.
Furthermore, a final inspection may involve testing the functionality of fixtures like faucets and toilets to ensure they are operating as intended. Ensuring compliance with local building codes is also crucial, as it verifies that the installation meets safety and regulatory standards. Proper inspections and testing play a vital role in safeguarding against future plumbing issues.
Conclusion
In conclusion, repiping your home is an essential investment in maintaining a safe, efficient, and reliable plumbing system. By following the comprehensive steps outlined in this guide, from assessing your existing plumbing to the final inspections of your new pipes, homeowners can ensure a successful repiping project that meets their needs. Choosing the right materials, obtaining necessary permits, and ensuring proper installation are crucial for a long-lasting plumbing system.
Don’t leave your home’s plumbing to chance. If you’re experiencing frequent leaks, low water pressure, or outdated piping materials, it’s time to take action. Call 573-555-2121 today for expert plumbing assistance. Our team is ready to help you achieve perfection in your home’s plumbing system, ensuring peace of mind for years to come.

