Table of Contents
- Introduction
- Identifying the source of the leak and assessing the faucet type
- Gathering necessary tools and materials for the repair
- Disassembling the faucet to access internal components
- Replacing worn-out parts such as washers or O-rings
- Reassembling the faucet and ensuring proper installation
- Testing the faucet to confirm the leak is fixed
- Providing tips for regular faucet maintenance to prevent leaks
- Discussing when to call for professional plumbing services
- Conclusion
- Frequently Asked Questions
Introduction
Have you ever found yourself staring at a leaky faucet, wondering if the incessant drip is a harbinger of doom for your plumbing?
Fear not, for mastering the drip is easier than you might think! This article will guide you through the ins and outs of fixing that pesky leak in a step-by-step manner, empowering you to take charge of your home repairs.
A leaky faucet is not just an annoyance; it can lead to increased water bills and even potential water damage if left unchecked.
Understanding the components of your faucet and the common causes of leaks is essential to successfully tackling this problem. Whether you’re a seasoned DIY enthusiast or a complete novice, we’ll break down the process, providing valuable tips and tricks along the way.
So roll up your sleeves, grab your tools, and get ready to say goodbye to that pesky drip – your wallet and the environment will thank you!

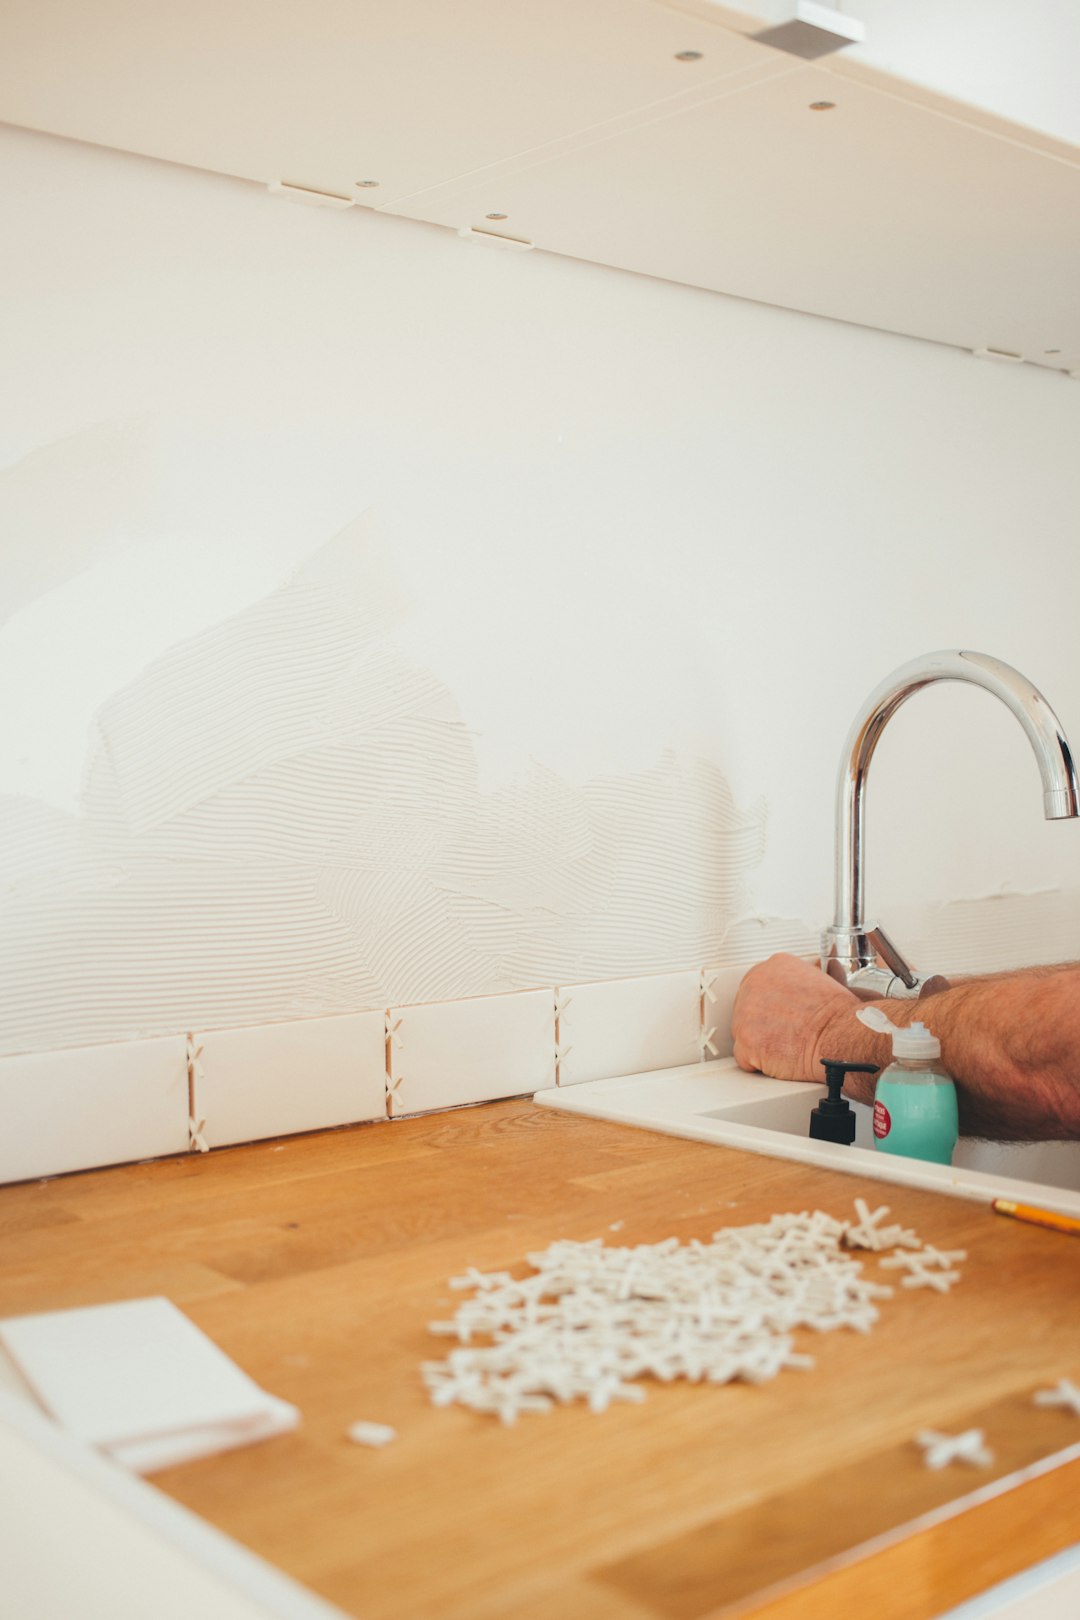
Identifying the source of the leak and assessing the faucet type
Identifying the source of a leak in a faucet is the first critical step in the repair process. A leaky faucet can arise from various issues, including worn-out washers, O-rings, or even corroded valve seats. To pinpoint the source, start by examining the faucet while it is running. Check for water dripping from the spout, around the base, or under the sink.
Assessing the faucet type is equally important since different faucets have unique mechanisms and repairs. Common types include compression, cartridge, ball, and ceramic disk faucets. Compression faucets typically have separate hot and cold handles and use rubber washers that can wear down over time. Cartridge faucets have a single or double handle and use a cartridge system for controlling water flow, which may require replacement if leaking. Ball faucets feature a floating ball that regulates flow, while ceramic disk faucets utilize a pair of ceramic discs. Understanding the specifics of your faucet type will guide the repair process and the parts needed for fixing the leak.
Gathering necessary tools and materials for the repair
Before beginning the repair of a leaky faucet, gathering the necessary tools and materials is crucial for a successful outcome. First, you’ll need a set of adjustable wrenches to loosen and tighten the various hardware involved in the faucet. A flathead and Phillips screwdriver are also essential for removing screws and other components. In addition, having a basin wrench can be helpful for reaching tight spaces behind the faucet.
Next, it’s important to have replacement parts on hand, such as rubber washers, O-rings, or cartridges, depending on the type of faucet you are repairing. These components are key to ensuring a proper seal and eliminating leaks. Make sure to check the faucet type to select the right replacement parts.
Additionally, a towel or rag can be useful for wiping up any water spills during the repair process. Lastly, a bucket or container may be needed to catch any residual water when dismantling the faucet. By preparing your workspace and gathering these tools ahead of time, you’ll facilitate a smoother repair experience.
Disassembling the faucet to access internal components
To address a leaky faucet, the first step is disassembling the faucet to access its internal components. This process begins by turning off the water supply to prevent any unwanted spills. Next, the plumber uses a screwdriver to remove any decorative caps or handles that conceal the screws. Once the screws are removed, the handle can be lifted off, exposing the inner workings of the faucet.
After removing the handle, the plumber may need to take out a retaining nut, which typically holds the cartridge or stem in place. This can require a specialized wrench to loosen the nut without damaging surrounding parts. With the retaining nut removed, the cartridge or stem can then be pulled out for inspection.
At this stage, it is essential to thoroughly examine the components for wear and damage. O-rings, seals, and washers are common culprits for leaks and should be checked carefully. If any parts show signs of wear, they will need to be replaced to restore the faucet’s proper function.
Replacing worn-out parts such as washers or O-rings
One of the most common causes of a leaky faucet is worn-out parts, particularly washers or O-rings. Replacing these components is often a straightforward process that can significantly reduce or eliminate leaks.
Washers, typically found in compression faucets, are flat rubber disks that create a seal when the faucet is turned off. Over time, they can wear down due to regular use, resulting in water dripping from the faucet. O-rings, on the other hand, are used in cartridge or ball faucets, providing a similar sealing function. When these O-rings become frayed or brittle, they compromise the faucet’s integrity, leading to leaks.
To replace these worn-out parts, one must first turn off the water supply and relieve any pressure in the faucet. Next, the faucet handle is removed to access the internal components. After carefully taking out the old washer or O-ring, a new one can be installed. It is essential to use the correct size and type of replacement parts to ensure a proper fit and optimal performance.
Regular maintenance of these components can help homeowners avoid future leaks and ensure their faucets function efficiently.
Reassembling the faucet and ensuring proper installation
Once the old components of the faucet have been replaced, the next crucial step is reassembling the faucet correctly. Begin by carefully inserting the new washers or O-rings into their respective places to ensure a tight seal. This is critical to prevent any future leaks.
After placing the washers, reinsert the cartridge or stem into the body of the faucet, making sure it fits snugly into the assembly. Depending on the type of faucet, you may need to screw it back into place or push it down firmly.
Next, replace the retaining clip or nut that holds everything in position, ensuring it is securely tightened without overdoing it, as this could damage the components. Once the faucet is fully assembled, reconnect the water supply lines.
Turn the water supply back on gradually and check for any leaks around the fixtures. If everything appears secure, complete the installation by reattaching the handle and decorative cover. Finally, test the faucet by turning it on, ensuring it operates smoothly and that there are no leaks.
Testing the faucet to confirm the leak is fixed
After a plumber has made the necessary repairs to a leaky faucet, testing the faucet becomes an essential step to confirm that the leak is fixed. First, the plumber will turn the water supply back on and ensure that all connections are secure. Once the water is flowing, it’s crucial to observe the faucet for any signs of leakage. The plumber will typically run the faucet through its various settings, including hot and cold water, to ensure that the leak is absent in all scenarios.
Next, they may leave the faucet running for a few minutes to identify any slow drips or leaks that might not be immediately noticeable. Additionally, the surrounding area will be examined closely for any water accumulation, which could indicate a residual issue. If the faucet passes the test with no signs of dripping or leaking, the plumber can confidently conclude that the repair was successful.
Documenting the repair and informing the homeowner about maintenance tips can further ensure the longevity of the faucet.
Providing tips for regular faucet maintenance to prevent leaks
Regular faucet maintenance is essential in preventing leaks and ensuring your plumbing system operates efficiently. One of the easiest ways to maintain your faucet is to regularly check for any signs of wear and tear. Inspect washers and O-rings for damage, as these small components often cause leaks when they start to degrade.
Additionally, keep your faucet clean to avoid mineral buildup, which can lead to malfunction. Use a vinegar solution to descale the faucet periodically, especially in hard water areas.
Ensure the faucet handles are not overly tightened when turning them on or off, as this can stress the components and lead to premature failure.
Listening closely for unusual noises, such as drips or hissing sounds, can alert you to potential issues before they escalate. Finally, consider having a professional inspection at least once a year for more complex problems that might not be visible during routine checks.
Discussing when to call for professional plumbing services
Knowing when to call for professional plumbing services can save you time, money, and stress. While minor leaks or clogs can often be handled with simple tools and a bit of know-how, certain situations warrant the expertise of a trained plumber.
For instance, if you notice persistent leaks, an unusual increase in your water bill, or low water pressure, it may be a signal of a larger underlying issue, such as pipe corrosion or blockages in the plumbing system.
Additionally, if you’re facing issues with multiple fixtures at once, this may indicate a more significant problem within your plumbing infrastructure.
Another critical time to call a professional is when dealing with sewer backups or significant flooding, as these situations can pose health hazards and cause extensive property damage if not resolved immediately.
Lastly, if you are planning renovations that involve plumbing changes, it is advisable to consult a licensed plumber to ensure compliance with local codes and standards.
These professionals not only have the right tools and experience but can also provide valuable advice and solutions to keep your plumbing system running smoothly.
Conclusion
In conclusion, mastering the art of fixing a leaky faucet is a valuable skill that can save homeowners both time and money. By following the steps outlined in this guide, from identifying the source of the leak to reassembling the faucet and conducting thorough tests, you can ensure your plumbing fixtures function seamlessly. Remember, taking the time to maintain your faucet not only extends its lifespan but also conserves water, making a positive impact on your utility bills and the environment. If you encounter challenges beyond your expertise or the leak persists, don’t hesitate to reach out for professional plumbing assistance. Call 573-555-2121 to connect with our experienced team who can provide prompt and reliable support for all your plumbing needs. Act now and put an end to those frustrating drips!