Table of Contents
- Introduction
- Identifying the Source of the Leak
- Gathering Necessary Tools and Materials
- Disassembling the Faucet Components
- Replacing Worn Out Parts Such as Washers and O-Rings
- Reassembling the Faucet
- Testing for Leaks After Reassembly
- If the Leak Persists, Inspecting for Additional Issues
- When to Call for Professional Plumbing Services
- Conclusion
- Frequently Asked Questions
Introduction
Have you ever turned on your faucet, only to be greeted by the incessant drip-drip-drip of a leaky tap? It’s more than just an annoyance; it can lead to increased water bills and potential damage. However, fixing a leaky faucet is a task well within your reach!
In this step-by-step guide, we’ll take you through the professional techniques that expert plumbers follow to tackle this common household issue. From identifying the cause of the leak to executing the repair with precision, you’ll gain the confidence to resolve this dilemma with ease.
What’s more, you’ll save money on unnecessary repairs and learn some essential plumbing skills along the way. Are you ready to roll up your sleeves and become your own plumbing hero?

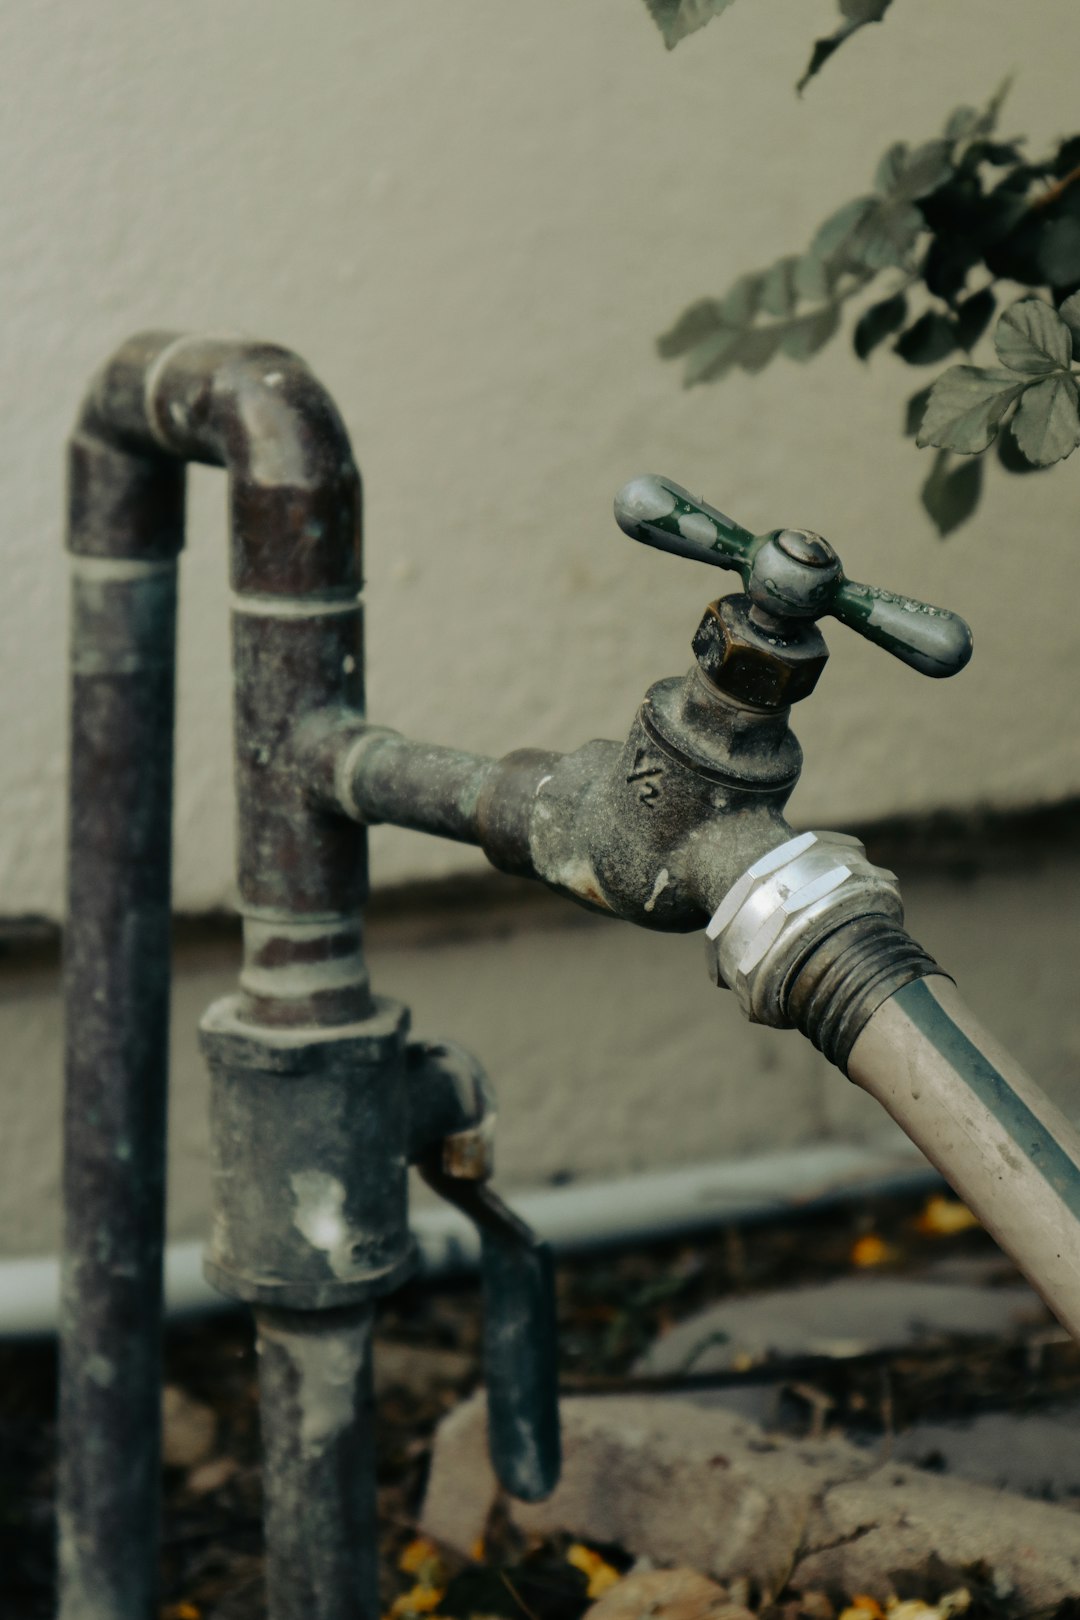
Identifying the Source of the Leak
Identifying the source of a leaky faucet is the crucial first step in the repair process.
Typically, leaks can originate from several areas, including the faucet handle, the spout, or the base.
To begin, turn off the water supply to the faucet to prevent further water wastage and to make the repair process manageable.
Next, examine the faucet closely for any visible signs of water dripping or pooling.
Often, the problem lies within the O-ring or washer, which can deteriorate over time, leading to gaps where water can escape.
Additionally, check for signs of corrosion or mineral buildup around the components, which can also indicate where the leak is originating.
For cartridge faucets, it may be necessary to remove the handle to inspect the cartridge inside.
Identifying whether the leak is coming from a threading issue or damage to the internal components will determine the next steps in fixing the issue effectively.
Gathering Necessary Tools and Materials
When preparing to fix a leaky faucet, the first step is gathering the necessary tools and materials to ensure a smooth repair process. Essential tools include a wrench, screwdriver, and pliers, which are vital for loosening and tightening various faucet components. It is also advisable to have a basin wrench handy, particularly for tight spaces.
In addition to tools, having replacement parts on hand is crucial. Common components that may need replacing include washers, O-rings, and cartridges, depending on the faucet type. Most hardware stores offer repair kits containing these essential parts, making it easier to find exactly what is needed.
Furthermore, a towel or rag should be within reach to clean up water spills and protect surfaces while working. A container may also be helpful for catching any residual water from the faucet. Planning ahead by organizing these tools and materials provides a solid foundation for successfully resolving the faucet leak.
Disassembling the Faucet Components
Disassembling the faucet components is a critical first step in fixing a leaky faucet. To begin, you should turn off the water supply to prevent any further leakage. Once the water is shut off, you can use a screwdriver or a wrench to remove the decorative handle cap, which often hides the screws that hold the handle in place. After removing the screws, carefully pull the handle straight up to detach it from the faucet body.
Next, you may need to take off a retaining clip or nut that holds the cartridge or ball assembly securely. This may require a specialized tool, depending on the faucet design. After removing the necessary components, carefully take out the cartridge or ball assembly, paying attention to its orientation and the way it fits into the faucet. A good practice is to take pictures during disassembly to serve as a reference during reassembly. Any worn washers or O-rings should be replaced, as these are often the culprits behind leaks.
Replacing Worn Out Parts Such as Washers and O-Rings
When dealing with a leaky faucet, one of the most common causes is worn-out parts, such as washers and O-rings. These components are crucial for maintaining a watertight seal and can deteriorate over time due to friction and exposure to water.
To begin replacing these parts, a plumber first turns off the water supply to the faucet. Next, they remove the handle by taking off any screws or caps that may be hiding them. Once the handle is off, the plumber can access the stem or cartridge where the washer or O-ring is located.
After removing the stem, they examine the washer and O-ring for signs of wear, such as cracks or brittleness. If either part is damaged, it is replaced with a new one that matches the size and type of the original.
Once the new parts are in place, the faucet is reassembled, and the water supply is turned back on to check for any leaks. This straightforward process can effectively eliminate leaks and restore the faucet’s functionality.
Reassembling the Faucet
Reassembling the faucet after fixing a leaky part is a crucial step that requires attention to detail. Once all necessary repairs, such as replacing washers or O-rings, are completed, it’s time to put the faucet back together. Start by ensuring that all parts are clean and free of debris to ensure a proper seal.
Next, carefully insert the new washers or O-rings into their respective slots. Make sure they fit snugly to prevent future leaks.
Following this, reattach the faucet handle by aligning it with the stem and securing it with the screw. If your faucet has a decorative cap, don’t forget to snap or screw it back into place.
Finally, turn on the water supply and test the faucet to check for leaks. Observing how well the faucet operates will help you determine if the reassembly was successful.
Testing for Leaks After Reassembly
After reassembling a leaky faucet, testing for leaks is a crucial step to ensure that the repair was successful. First, it is important to turn the water supply back on gradually. This allows for a controlled flow of water, helping to identify any potential leaks without causing damage. Once the water is turned on, observe the faucet closely for any signs of dripping or moisture around the assembly and connections.
Additionally, it is advisable to check under the sink for any leaks that may have developed during the reassembly process. If water is present, it may indicate that a washer or O-ring was not seated properly.
It is also beneficial to run the faucet at various temperatures—both hot and cold—to ensure that the seals hold under different conditions. If leaks are detected, disassemble the faucet again, inspect the components, and replace any faulty parts.
Properly testing for leaks after reassembly not only ensures a well-functioning faucet but also helps to prevent future water damage and repairs.
If the Leak Persists, Inspecting for Additional Issues
If the leak persists after addressing the obvious issues, further inspection is necessary to identify additional problems that may be causing the faucet to leak. Start by checking the water supply lines for any signs of damage or wear. Sometimes, the issue might not be the faucet itself, but rather the connections leading to it. Ensure that all fittings are tight and not corroded.
Next, examine the plumbing beneath the sink for potential leaks. This area can often become a hidden source of problems, as even small leaks can lead to larger issues over time. Additionally, check the O-rings and seals within the faucet assembly. A worn-out O-ring can cause water to seep out around the handle, contributing to a persistent leak.
If all else fails, it may be worth considering that the faucet itself could be defective or reaching the end of its useful life. In such cases, replacing the entire faucet might be the most effective long-term solution. Bringing in a professional plumber for a thorough inspection can provide valuable insights and ensure that all potential problems are addressed.
When to Call for Professional Plumbing Services
Knowing when to call for professional plumbing services is essential for maintaining a functional home. Some situations demand immediate expert attention, while others can be handled with basic DIY skills. For instance, if your faucet is leaking persistently despite your attempts to fix it, it may indicate a larger underlying issue. Similarly, if you experience frequent clogs that recur even after using a plunger or drain cleaner, a professional may be needed to assess for deeper blockages or plumbing issues.
Additionally, if you notice water damage, discoloration on walls, or an increase in your water bill without explanation, these could be signs of hidden leaks. Another critical time to consult a plumber is when you are planning to undertake a significant remodeling project involving plumbing, like adding a bathroom or kitchen modifications. Professionals can provide the expertise needed to ensure everything is up to code and functioning correctly. Lastly, if you are unsure about a plumbing issue or feel overwhelmed, enlisting the help of a professional can save you time, effort, and potentially costly repairs.
Conclusion
In conclusion, fixing a leaky faucet may seem like a daunting task, but with the right tools and a systematic approach, you can resolve the issue effectively. By identifying the source of the leak, gathering necessary materials, and following each step carefully from disassembly to reassembly, you can prevent further water wastage and restore your faucet’s functionality. However, if you find that the leak persists despite your best efforts or if you encounter any complications, it’s essential to recognize when to call for professional assistance. Don’t let a minor leak turn into a major problem. For expert plumbing help, call 573-555-2121 today, and ensure your home stays leak-free and well-maintained!