Table of Contents
- Introduction
- Assessment of plumbing system and identification of problems
- Choosing the right materials for repiping
- Planning the repiping layout and design
- Obtaining necessary permits and ensuring code compliance
- Shutting off water supply and draining the system
- Removing old pipes and fixtures
- Installing new plumbing pipes and fixtures
- Testing the system for leaks and ensuring proper function
- Conclusion
- Frequently Asked Questions
Introduction
Have you ever found yourself staring at the walls of your home, wondering if it’s time for a plumbing overhaul?
Repiping your house can seem like a daunting task, but with the right guidance, it can be a smooth and rewarding process.
Whether you’re facing recurring leaks, low water pressure, or the infamous rusty water, these issues might hint that it’s time to consider repiping.
In this comprehensive guide, we will take you through a step-by-step approach to repipe your home, shedding light on what you need to know before you dive in.
The journey begins with understanding the materials at play—from copper to PEX—and the advantages and disadvantages each option presents.
We’ll also explore the essential tools required and even the permits you might need to secure.
So grab your toolbox and let’s get started on transforming your home’s plumbing system!
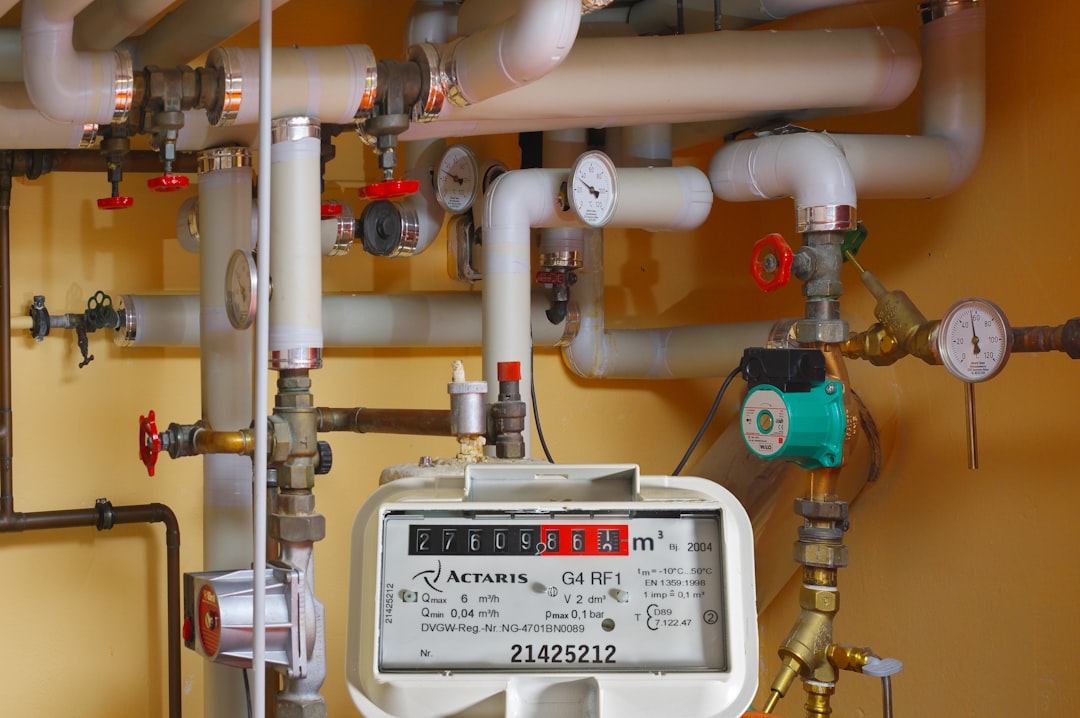
Assessment of plumbing system and identification of problems
Assessing the plumbing system is a crucial first step in the process of repiping a house. This evaluation involves a thorough inspection to identify existing problems and determine the overall condition of the plumbing system. A licensed plumber will typically begin by examining visible pipes for signs of corrosion, leaks, or damage.
In addition to a visual inspection, it may be necessary to perform pressure tests to identify hidden leaks that are not immediately visible. These tests can help pinpoint areas where the integrity of the plumbing has been compromised.
Homeowners should also be aware of symptoms that might indicate plumbing issues, such as discolored water, low water pressure, and unusual sounds from the pipes. Addressing these concerns early can prevent more significant problems down the line.
Through a comprehensive assessment, plumbers can provide homeowners with a detailed report of the plumbing system’s condition and recommend the best course of action for repiping, ensuring that all issues are effectively resolved.
Choosing the right materials for repiping
Choosing the right materials for repiping is crucial to ensure the longevity and efficiency of your plumbing system. Common materials used include copper, PEX (cross-linked polyethylene), and CPVC (chlorinated polyvinyl chloride). Each material has its own advantages and disadvantages.
Copper is known for its durability and resistance to corrosion, providing reliable service for many years. However, it can be expensive and may require professional installation.
PEX is increasingly popular due to its flexibility and ease of installation. It is resistant to scale and chlorine, does not corrode, and is often more affordable than copper. Nevertheless, it may not be suitable for outdoor applications due to UV sensitivity.
CPVC is another viable option, offering good resistance to corrosion and high temperatures. It is cost-effective for residential applications but may not be as durable as copper.
When deciding on materials, consider factors such as local building codes, climate, and your budget. Consulting with a plumbing professional can also provide valuable insights to make an informed choice.
Planning the repiping layout and design
Planning the repiping layout and design is a crucial step in the repiping process. This phase involves evaluating the existing plumbing system and deciding on the most efficient layout for the new pipes. First, it is important to identify all the areas in the house that require plumbing and to assess the current condition of those lines. This includes locations such as kitchens, bathrooms, and utility rooms.
Next, homeowners should consider the type of piping material suitable for their needs. Options typically include copper, PEX, or PVC, each with its own advantages and disadvantages.
The layout design should also take into account the water pressure requirements and the intended use of each water outlet. Additionally, future expansion should be considered, allowing for potential additions without extensive remodeling.
Finally, consulting with a professional plumber can provide valuable insights and ensure that all local building codes are met, preventing issues down the line. Properly planning the repiping layout sets the foundation for a successful and efficient plumbing system.
Obtaining necessary permits and ensuring code compliance
Before embarking on a repiping project, obtaining the necessary permits is crucial to ensure that the work complies with local building codes and regulations. This process typically begins with contacting your local municipality or building department to understand the specific requirements in your area. Depending on the scope of the project, you may need to submit a detailed plan that outlines your proposed changes and the materials you intend to use.
In many cases, inspections are necessary throughout the repiping process to verify that the work adheres to safety standards and building codes. This can include inspections before the walls are closed up and after the project is completed. It’s essential to coordinate these inspections with your local authority to avoid any costly delays. Moreover, ensuring code compliance not only enhances the safety and integrity of your plumbing system but can also save you from potential legal issues or fines in the future. Understanding and following these regulatory steps is a vital part of the repiping process.
Shutting off water supply and draining the system
Before beginning the repiping process, it is crucial to shut off the water supply to your house. This step prevents any unwanted water flow that could lead to leaks or flooding during the project. Typically, the main water shut-off valve is located near the water meter, and turning it clockwise should stop the water supply.
Once the water is turned off, the next step is to drain the plumbing system. To do this, start by opening all faucets in the house, including those in the kitchen and bathrooms, as well as outside spigots. This allows air into the pipes, helping to facilitate drainage.
Additionally, flushing the toilets will help to clear residual water from the tanks and bowls. It is also advisable to locate and drain any low points in the system, such as water heater drains or basement pipes, to ensure that all remaining water is removed.
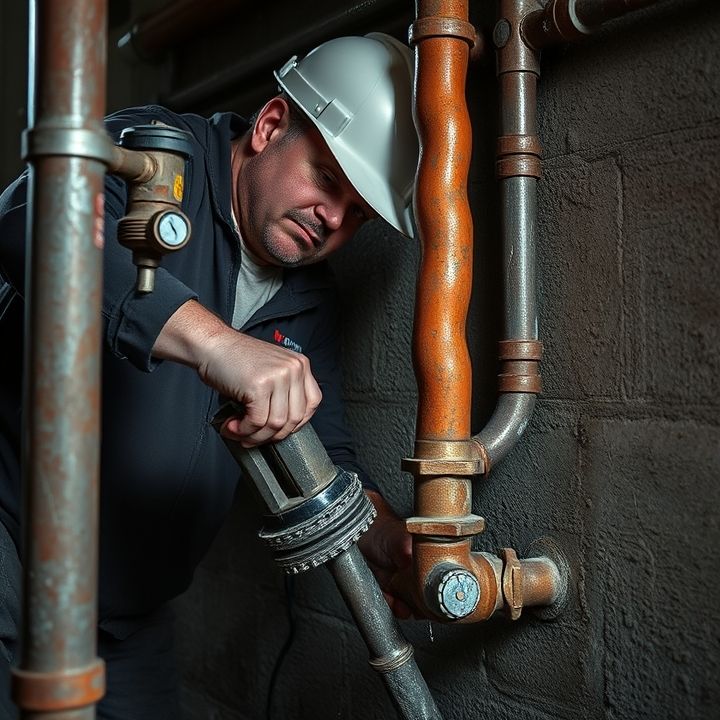
Removing old pipes and fixtures
Removing old pipes and fixtures is a crucial step in the repiping process. Before beginning this phase, it’s essential to prepare the area by clearing any furniture or obstructions. This ensures easy access to the plumbing system and reduces the risk of damaging surrounding structures.
The first task is to turn off the water supply to prevent any leaks or flooding. After the water is shut off, you can begin to disconnect any fixtures attached to the old pipes. This includes faucets, sinks, and toilets. Using appropriate tools, carefully remove these fixtures to avoid damage and store them safely for reinstallation later.
Next, focus on the pipes themselves. Depending on the material used—whether it’s copper, PVC, or galvanized steel—you will need different techniques for removal. Cut the pipes in sections to make them easier to handle, and ensure you wear safety gear to protect yourself from any sharp edges. After all old materials are removed, inspect the area for any signs of damage that may need repair before installing the new piping.
Installing new plumbing pipes and fixtures
Installing new plumbing pipes and fixtures is a critical part of any home renovation or repair project. The process begins with assessing the existing plumbing system to identify any issues that need to be addressed. Once a plan is established, the old pipes are carefully removed, ensuring minimal disruption to the surrounding areas.
New plumbing pipes, typically made from materials such as PEX, copper, or PVC, are then installed according to local building codes and regulations. Each type of pipe has its advantages; for instance, PEX is flexible and resistant to corrosion, while copper is known for its durability and antimicrobial properties.
After the pipes are in place, new fixtures, including sinks, faucets, and toilets, are connected. It is essential to ensure that all connections are leak-proof and properly sealed. Once the installation is complete, the system is tested for functionality. This involves checking for leaks, water pressure, and overall performance. Proper installation is crucial to ensure a reliable plumbing system that will last for years.
Testing the system for leaks and ensuring proper function
After the repiping process is complete, testing the system for leaks and ensuring proper function becomes crucial. This step typically begins with a thorough inspection of all newly installed pipes and connections. Plumbers will often pressurize the system using water or air to identify any potential leaks. During this pressure test, any audible hissing or visible moisture can indicate areas that require further attention.
Once initial inspections are completed, the water supply to the house is turned on gradually. It’s essential to monitor the system closely during this phase. Homeowners should check for leaks at joints, connectors, and fixtures. Additionally, it’s advisable to examine unusual sounds, such as banging or whistling, which may signal issues like air trapped in the lines or improper pipe installation.
Ultimately, by ensuring all components function correctly, homeowners can be confident in the integrity of their plumbing system. If any problems arise, it’s best to consult a professional for a more in-depth evaluation and repair to prevent future complications.
Conclusion
In conclusion, repiping your home is a significant yet essential process that can enhance the functionality and safety of your plumbing system. By following the step-by-step guide outlined above, from assessing existing issues to selecting the appropriate materials and ensuring code compliance, you can navigate this project with ease. Remember that careful planning and execution are vital for a successful outcome. If you encounter any challenges or feel uncertain at any stage, don’t hesitate to seek professional help. Our experienced plumbers are ready to assist you with all your repiping needs. Call us today at 573-555-2121 to schedule a consultation and ensure your plumbing system is up to par and functioning efficiently!