Table of Contents
- Introduction
- Ingredients and necessary equipment for crispy baked buffalo chicken tenders
- Preparing the chicken: steps for seasoning and coating
- The baking process: tips for achieving maximum crispiness
- Making the buffalo sauce: balancing heat and flavor
- Creative serving suggestions and accompaniments
- Health benefits and nutritional information
- Common mistakes and how to avoid them when making baked chicken tenders
- Variations and adding your personal twist to the recipe
- Conclusion
- Frequently Asked Questions
Introduction
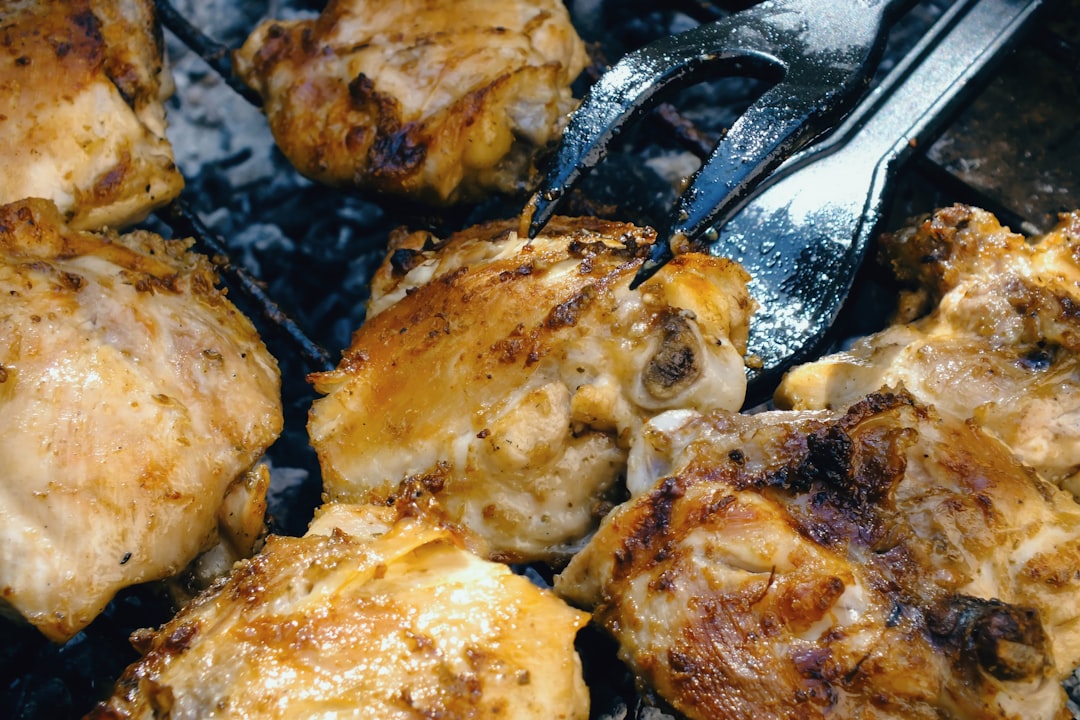
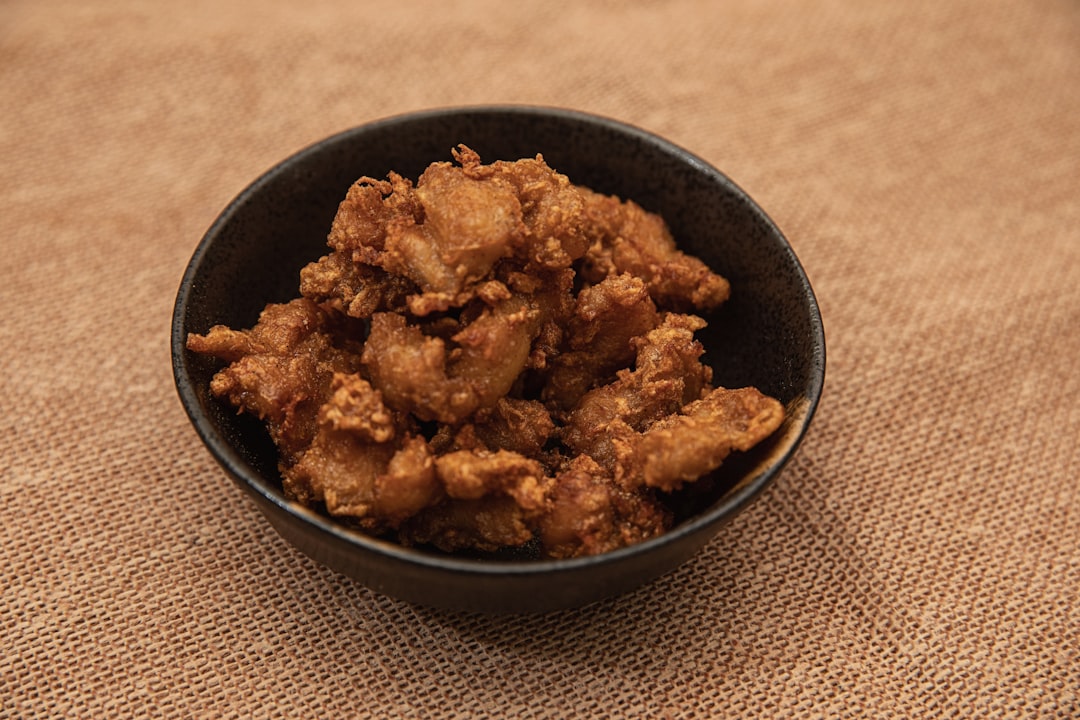
Ready to turn up the heat in your kitchen? Dive headfirst into the mouth-watering world of Crispy Baked Buffalo Chicken Tenders, where every bite delivers a fiery punch that’s impossible to resist. Perfectly marrying the beloved crunch of a classic chicken tender with the iconic, tangy kick of Buffalo sauce, this dish is set to become your next go-to favorite. Whether you’re planning a casual weeknight dinner, game day feast, or simply a tasteful treat, these tenders promise satisfaction with their delectable flavor and irresistible texture.
Ingredients: For this spicy sensation, you’ll need:
– 1 lb chicken tenders
– 1 cup flour
– 1 tsp garlic powder
– 1 tsp paprika
– 1/2 tsp cayenne pepper
– 1/2 cup buttermilk
– 1 cup breadcrumbs
– 1/2 cup Buffalo sauce
– Salt and pepper to taste
– Cooking spray

Prepare for a culinary adventure that not only delights your taste buds but also adds a zesty flair to your dining table. Whether you’re a spice aficionado or a culinary enthusiast seeking new horizons, these tenders invite you to experience a fiery twist on a cherished classic. Let the flavor journey begin!
Ingredients and necessary equipment for crispy baked buffalo chicken tenders
Creating the perfect crispy baked buffalo chicken tenders starts with gathering the right ingredients and equipment. You’ll need boneless, skinless chicken tenders, which serve as the base for this delicious dish. To achieve that irresistible crispiness, prepare a coating mixture of panko breadcrumbs, flour, and cornstarch. For flavor, include paprika, garlic powder, onion powder, salt, and pepper. To bring out the bold buffalo flavor, you’ll need buffalo sauce and a bit of melted butter to mix in.
In terms of wet ingredients, eggs will act as a binding agent for the breadcrumbs to adhere to the chicken tenders effectively. Options like buttermilk or milk with a splash of vinegar can be used for marinating the chicken for added tenderness and depth of flavor.
As for equipment, ensure you have a large mixing bowl for marinating, baking sheets fitted with wire racks to promote even cooking, and a measuring set for precise ingredient ratios. A basting brush will help you coat the chicken with buffalo sauce thoroughly. Having these ingredients and tools on hand will set you up for making a batch of chicken tenders that are not just tasty but deliciously crispy.
Preparing the chicken: steps for seasoning and coating
Preparing your chicken tenders for a crispy bake starts with the right seasoning and coating. Begin by patting your chicken tenders dry with a paper towel to ensure the seasoning and coating adhere properly.
For seasoning, a simple mix of salt, pepper, garlic powder, and paprika works wonders to enhance the flavors. In a large bowl, combine a teaspoon of each spice and lightly sprinkle it over the tenders, ensuring each piece is evenly coated.
Next, prepare the coating by setting up a dredging station. You’ll need three shallow dishes: one with flour, another with beaten eggs, and the last with panko breadcrumbs. Start by dusting each tender in flour, which provides a base layer that helps the egg adhere. Dip the floured tenders into the beaten eggs, which acts as a glue for the breadcrumbs. Finally, coat each piece generously in panko breadcrumbs for that extra crunch.
Make sure each piece is fully covered at each step without over-coating, which can cause uneven cooking. Now, your chicken is ready to be baked to a golden, crispy perfection, ensuring a tender, flavorful bite every time.
The baking process: tips for achieving maximum crispiness
Baking chicken tenders to achieve maximum crispiness can be quite rewarding with a few key techniques. First, begin by preheating your oven to a high temperature, around 425°F, to ensure a crisp exterior. It’s crucial to use a wire rack placed on a baking sheet; this allows air to circulate around the chicken, helping to cook it evenly while avoiding sogginess. Before baking, pat the chicken tenders dry with a paper towel to remove excess moisture, which can impede crispness.
For the coating, consider using a mixture of panko breadcrumbs and crushed cornflakes to add a crunch factor. To help the coating adhere, dunk the chicken in flour, followed by a beaten egg or buttermilk, before pressing into the breadcrumb mixture. Adding a small amount of oil to the breadcrumb mix can help promote browning. Once prepped, ensure the tenders are spaced apart on the rack to allow heat to reach all sides. About halfway through baking, flip the tenders for an even color and crunch. Baking for approximately 20-25 minutes should give you crispy, flavorful results. These steps ensure that your buffalo chicken tenders aren’t just delicious but have the perfect crunch in every bite.
Making the buffalo sauce: balancing heat and flavor
Crafting the perfect buffalo sauce is all about balancing heat and flavor to achieve that signature spicy tang without overwhelming your palate. Begin with a base of high-quality hot sauce, typically made from cayenne peppers, which forms the cornerstone of the classic buffalo flavor. To this, add melted butter, which not only tempers the sauce’s heat but also imparts a rich, creamy texture. The ratio of hot sauce to butter is crucial; a common guideline is equal parts hot sauce and butter, but this can be adjusted according to your heat preference.
For those looking to enhance the depth of flavor, consider incorporating a splash of apple cider vinegar for a tangy kick, or a pinch of garlic powder for added aroma. A touch of honey can also be introduced to offer a subtle sweetness that complements the heat. Ensure to whisk your ingredients thoroughly over a gentle heat until a smooth sauce forms, making sure the butter is fully emulsified into the hot sauce.
This balance of heat and flavor ensures that the buffalo sauce not only brings a satisfying spicy punch but also a pleasing, rounded taste that enhances the overall experience of your crispy baked buffalo chicken tenders.
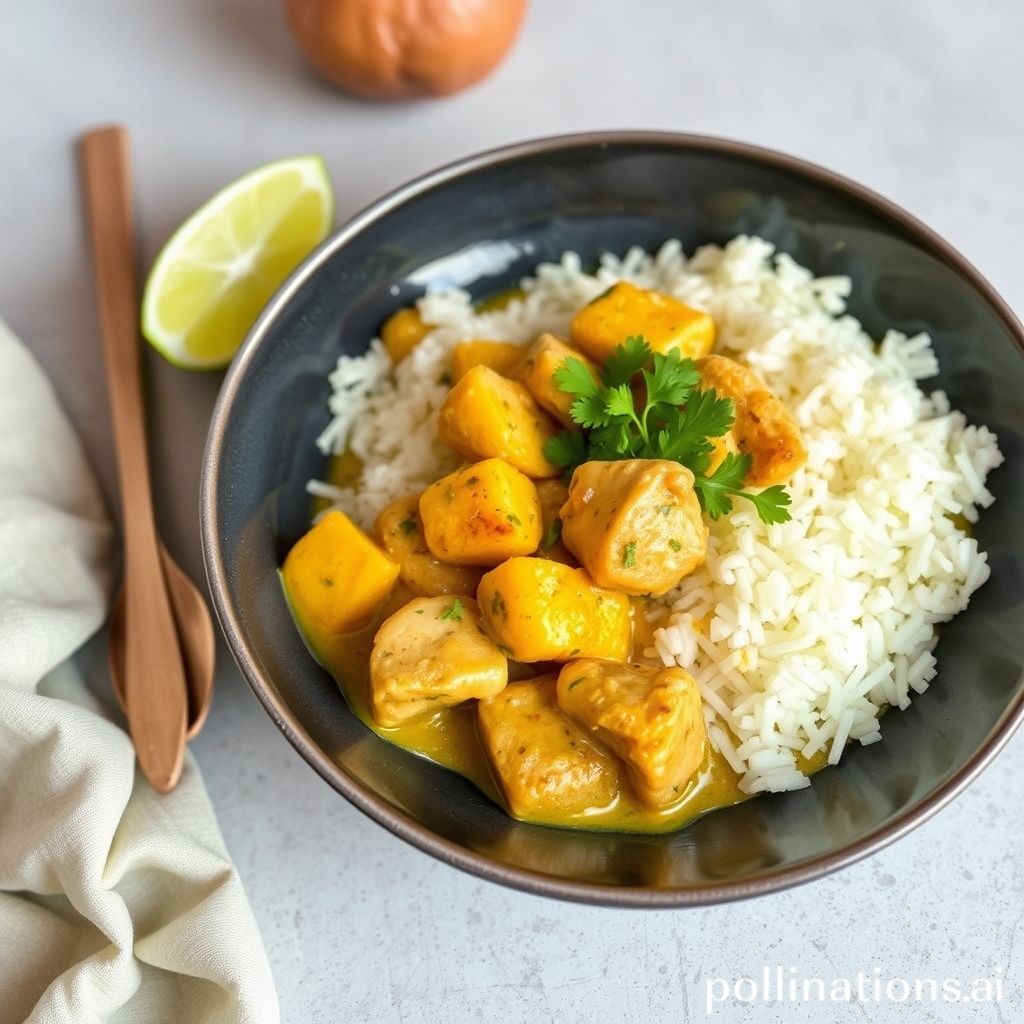
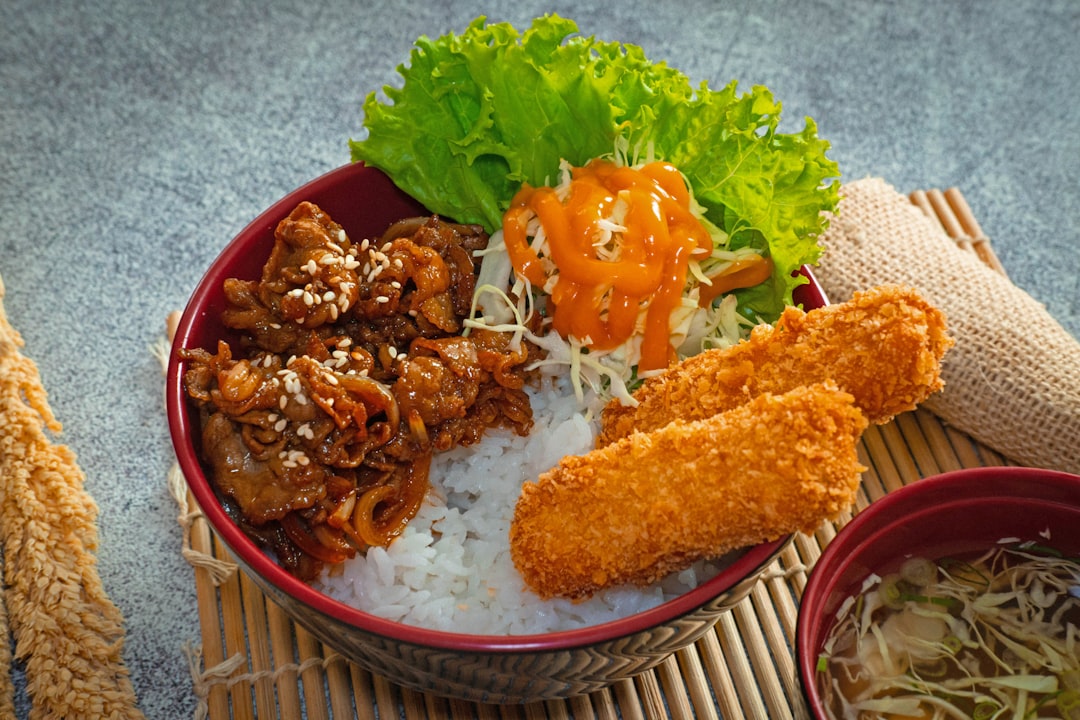
Creative serving suggestions and accompaniments
When it comes to serving crispy baked buffalo chicken tenders, creativity can elevate your dish to new heights. Consider a serving platter that showcases these zesty bites with flair. Arrange them on a bed of fresh greens like arugula or mixed leaf lettuce to add a touch of freshness and color. Enhance the presentation by garnishing with thinly sliced radishes or julienned carrots for a splash of vibrant contrast.
For a dipping experience, accompany these tenders with a trio of sauces. Offer a classic cool ranch dip, a creamy blue cheese sauce, and a slightly sweet honey mustard to cater to various palates. Including small bowls of these sauces on the side allows guests to mix and match flavors as they please.
In terms of sides, consider serving alongside sweet potato fries sprinkled with a hint of chili powder for a spicy-sweet combination. Alternatively, a serving of coleslaw with a tangy vinaigrette can provide a refreshing counterbalance to the heat of the tenders. As a lighter option, a crisp cucumber salad tossed in lemon and dill could offer a palate-cleansing accompaniment.
These creative serving suggestions and accompaniments will not only tantalize taste buds but also leave a memorable impression on your guests.
Health benefits and nutritional information
When it comes to enjoying crispy baked buffalo chicken tenders, you don’t have to sacrifice health for flavor. Baking the tenders, rather than frying them, significantly reduces the amount of unhealthy fats and calories, making this a heart-friendly option. Chicken itself is a lean protein source, rich in essential amino acids that support muscle growth and recovery. It’s also packed with vitamins and minerals, such as B vitamins, which play a crucial role in energy metabolism, and phosphorus, which supports bone health.
Buffalo sauce typically features key ingredients like hot sauce and vinegar, which add a burst of flavor without excessive calories. To enhance the nutritional profile, many recipes use whole-grain breadcrumbs or almond flour for the coating, offering additional fiber and nutrients compared to traditional breadcrumbs.
These baked tenders provide a well-rounded meal option when paired with vegetables or a side salad, promoting balanced nutrition. By making mindful ingredient choices, this dish can fit into a variety of dietary plans, including low-carb or gluten-free diets, while still delivering that classic buffalo chicken taste that many crave.
Common mistakes and how to avoid them when making baked chicken tenders
When making crispy baked buffalo chicken tenders, there are several common mistakes that can affect the final result. One frequent error is not drying the chicken tenders adequately before coating them with breading. Excess moisture can prevent the breading from adhering properly, leading to a less crispy texture.
Another common mistake is overcrowding the baking sheet. For optimal crispiness, the chicken tenders need space around them to allow hot air to circulate, so it’s important to arrange them in a single layer. If necessary, use two baking sheets.
Many people also forget to preheat the oven fully, which can cause uneven cooking and soggy breading. Ensure that the oven reaches the recommended temperature before baking.
Additionally, using a wire rack over the baking sheet instead of placing the tenders directly on the sheet can help achieve a crisp texture by allowing heat to circulate underneath the tenders.
Lastly, not allowing the chicken tenders to rest for a few minutes after baking can lead to moisture softening the breading. Letting them rest will help to maintain that desirable crunch.
Variations and adding your personal twist to the recipe
Adding your personal twist to crispy baked buffalo chicken tenders can elevate this classic dish to new heights. One popular variation is to switch up the level of heat. If you prefer a milder taste, consider using a mix of honey and buffalo sauce to balance the spiciness with a hint of sweetness. For a spicier kick, adding a dash of cayenne pepper to the buffalo sauce can heat things up.
Incorporating different types of coatings can also change the texture and flavor. Swap out the traditional breadcrumb crust for panko or crushed corn flakes for added crunch. For a gluten-free option, almond flour combined with ground flaxseed offers a delicious and nutritious breading alternative.
If you’re looking to infuse more flavors into your chicken tenders, consider marinating the chicken in buttermilk or yogurt for a few hours before baking. This not only tenderizes the meat but also adds a tangy depth of flavor. Adding herbal elements like chopped dill or parsley into the coating can further enhance the taste.
Experimenting with dips and side sauces is another way to customize your dish. Complement your tenders with a creamy blue cheese dip, ranch dressing, or even a garlic aioli to provide contrasting flavors.
Conclusion
In conclusion, embarking on the flavorful journey of crafting Crispy Baked Buffalo Chicken Tenders is not only a delightful experience in the kitchen but also a scrumptious adventure for your taste buds. By combining the perfect balance of spices, a crispy coating, and a zesty buffalo sauce, these tenders offer a modern, fiery twist on a classic dish that promises to captivate any audience. Beyond just a tasty treat, this dish brings health-conscious choices to the forefront by leveraging baking techniques that cut down on unhealthy fats, while retaining all the essential flavors and nutrients. Whether served with vibrant accompaniments for a memorable meal or customized to fit your unique taste preferences, these buffalo chicken tenders are sure to become a household favorite. Inspired to explore more ways to elevate your chicken recipes? Dive into The Chicken Bible, where you’ll discover 500 irresistible recipes that promise to transform your dining experiences into culinary delights. Say goodbye to boring chicken and embrace the artistry of delightful dishes with ease!


 . Let’s dive into this enticing world of spice and comfort, where every step brings you closer to mastering a truly exquisite dish.