Table of Contents
- Introduction
- Ingredients needed for spicy honey glazed chicken wings
- Step-by-step preparation of the spicy honey glaze
- Cooking techniques for achieving crispy chicken wings
- Pairing suggestions for serving spicy honey glazed chicken wings
- Tips for customizing the glaze spiciness and sweetness
- Conclusion
- Frequently Asked Questions
Introduction
Welcome to a flavor-packed adventure with our Honey Glazed Chicken Wings, a dish that promises to tantalize your taste buds with its irresistible blend of sweet and spicy! Picture this: tender chicken wings enveloped in a glossy honey glaze, perfectly balanced with hints of spice that ignite your sense of flavor. Perfect for game nights, family gatherings, or just a delightful dinner, these wings will have everyone reaching for more.

Ingredients:
– 2 pounds of chicken wings
– 1/2 cup of honey
– 1/4 cup of soy sauce
– 1 tablespoon of sriracha
– 1 tablespoon of lime juice
– 2 cloves of garlic, minced
– Salt and pepper to taste
Whether you’re a culinary enthusiast or a novice in the kitchen, learning to perfect these honey glazed chicken wings will elevate your cooking game. Dive into the heart of flavor and aroma as you unlock the secrets to creating a dish that’s both a crowd-pleaser and a personal triumph. Get ready to tantalize your taste buds and impress your guests with every bite!
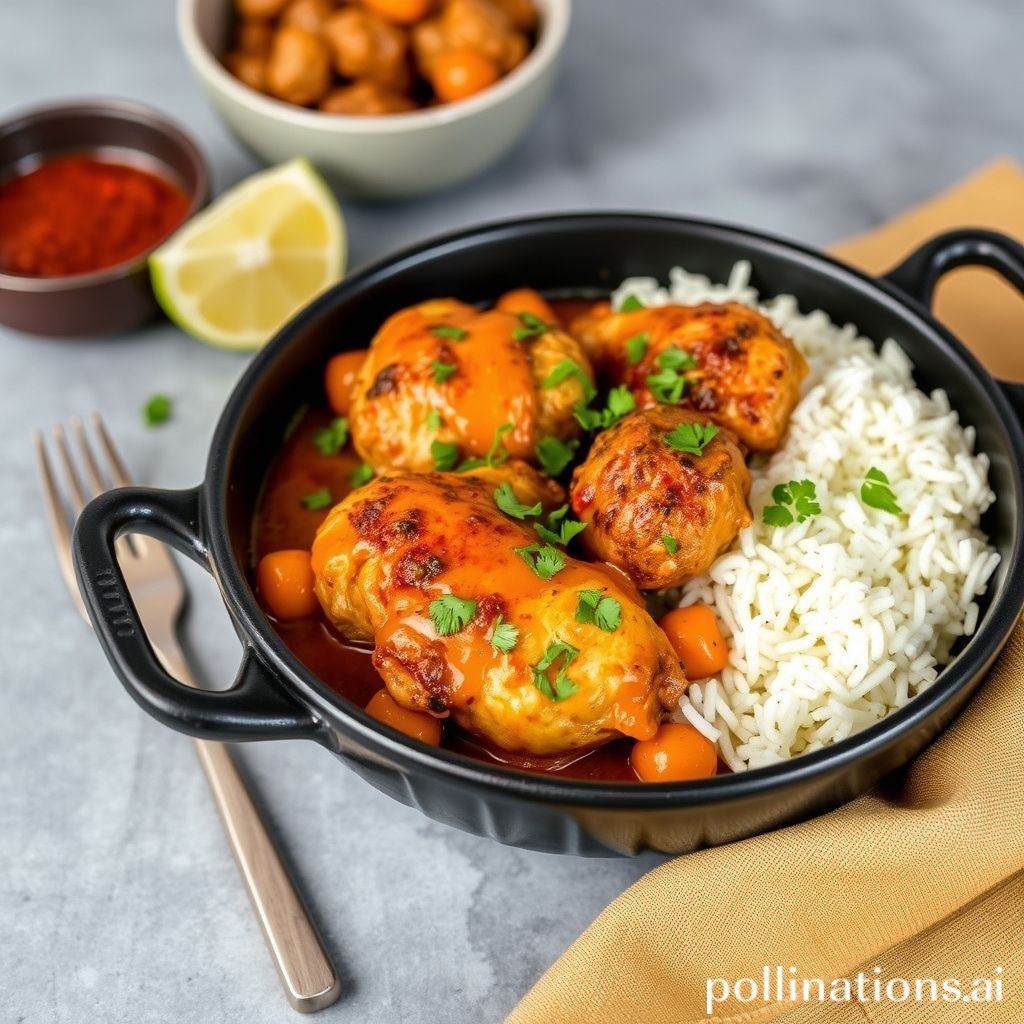
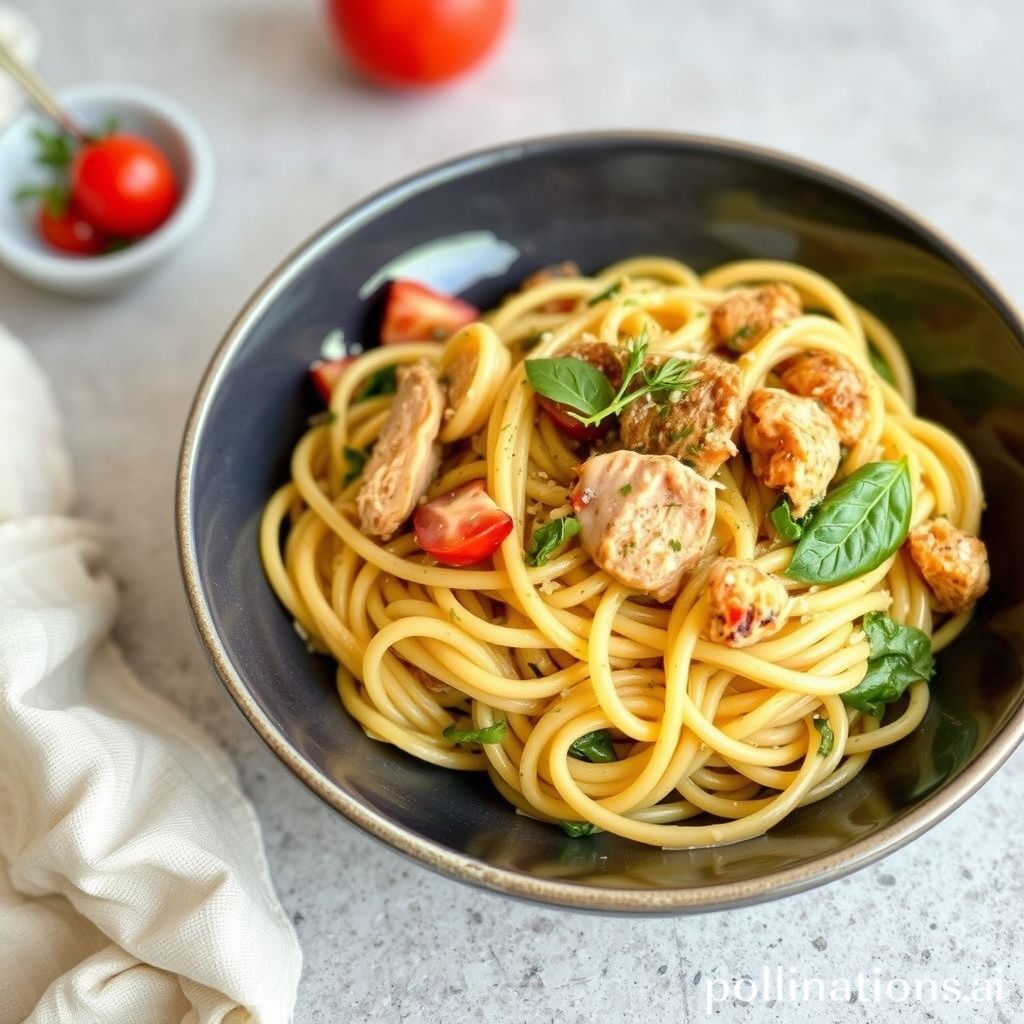
Ingredients needed for spicy honey glazed chicken wings
To create a delicious platter of spicy honey glazed chicken wings, you’ll need a selection of fresh ingredients that complement the natural flavors of the chicken. The star of the dish, of course, is the chicken wings. Aim for about 2 pounds of fresh wings, preferring organic if possible for the best flavor.
The glaze, which gives the wings their irresistible sweet and spicy kick, requires a series of flavorful components. Start with half a cup of honey, which serves as the base of your glaze, providing the sweetness needed to balance the heat. To add the spice, you’ll need two tablespoons of hot sauce, such as Sriracha or any other preferred brand. Incorporate two teaspoons of chili powder to deepen the spicy profile.
For the savory notes, add one tablespoon of soy sauce and one teaspoon of garlic powder. These will enhance the overall taste and give depth to the glaze. A tablespoon of lime juice will introduce a hint of acidity, cutting through the sweetness and spice beautifully. Lastly, include a pinch of salt and pepper, according to taste, to season the glaze perfectly, ensuring every bite of the chicken wings is packed with flavor.
Step-by-step preparation of the spicy honey glaze
Creating the perfect spicy honey glaze for chicken wings begins with gathering your ingredients. You will need 1/2 cup of honey, 2 tablespoons of soy sauce, 1 tablespoon of sriracha, 1 tablespoon of apple cider vinegar, 1 teaspoon of garlic powder, and a pinch of red pepper flakes for an additional kick.
Start by pouring the honey into a small saucepan over medium heat. As the honey begins to warm, add the soy sauce and stir until fully combined. Next, incorporate the sriracha, which brings the desired heat to the glaze. Continue to stir gently as the mixture bubbles.
Once everything is well combined, add the apple cider vinegar. This ingredient cuts through the sweetness of the honey and balances the flavors, providing a subtle tang. Follow up with the garlic powder, stirring the mixture until all components blend harmoniously.
Finally, introduce a pinch of red pepper flakes. They not only enhance the spiciness but also add a visual appeal. Allow the glaze to simmer for about 3-5 minutes until it slightly thickens, achieving a sticky texture that clings beautifully to your chicken wings.
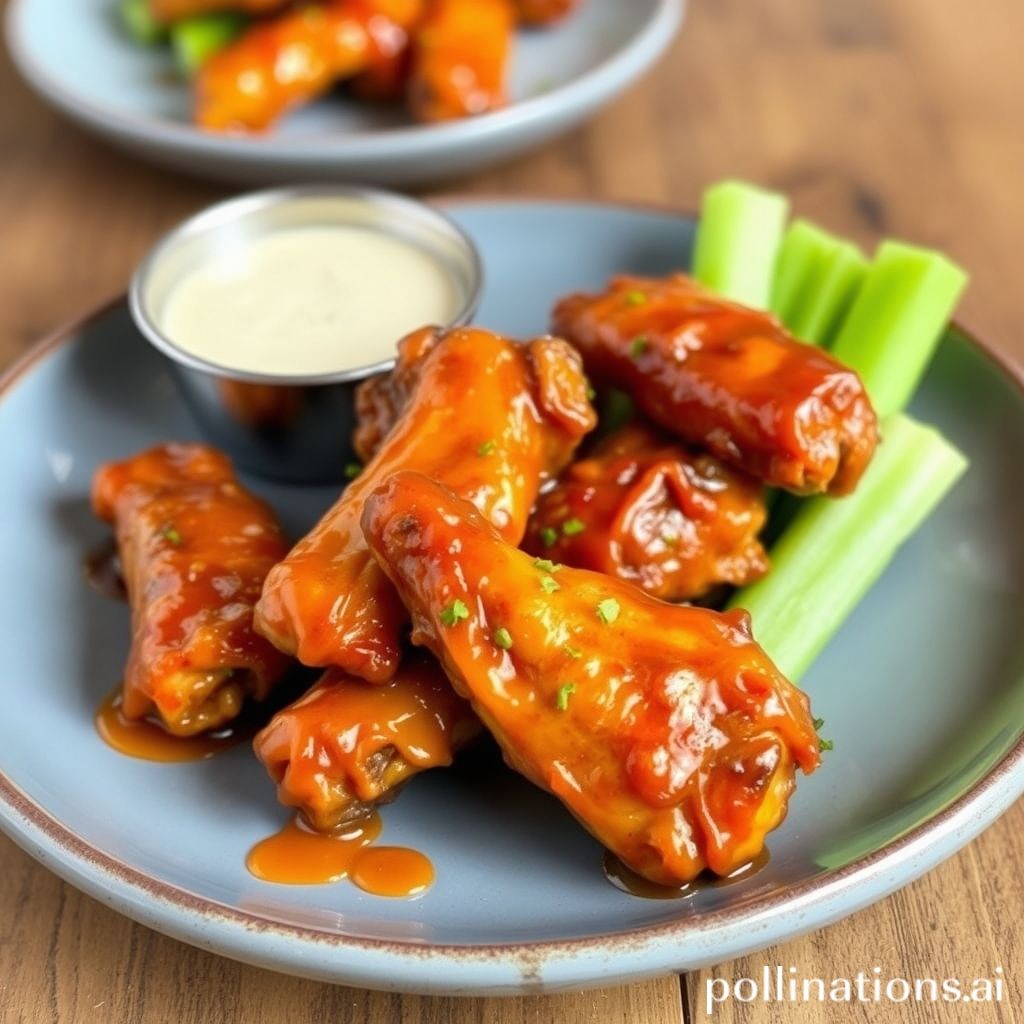
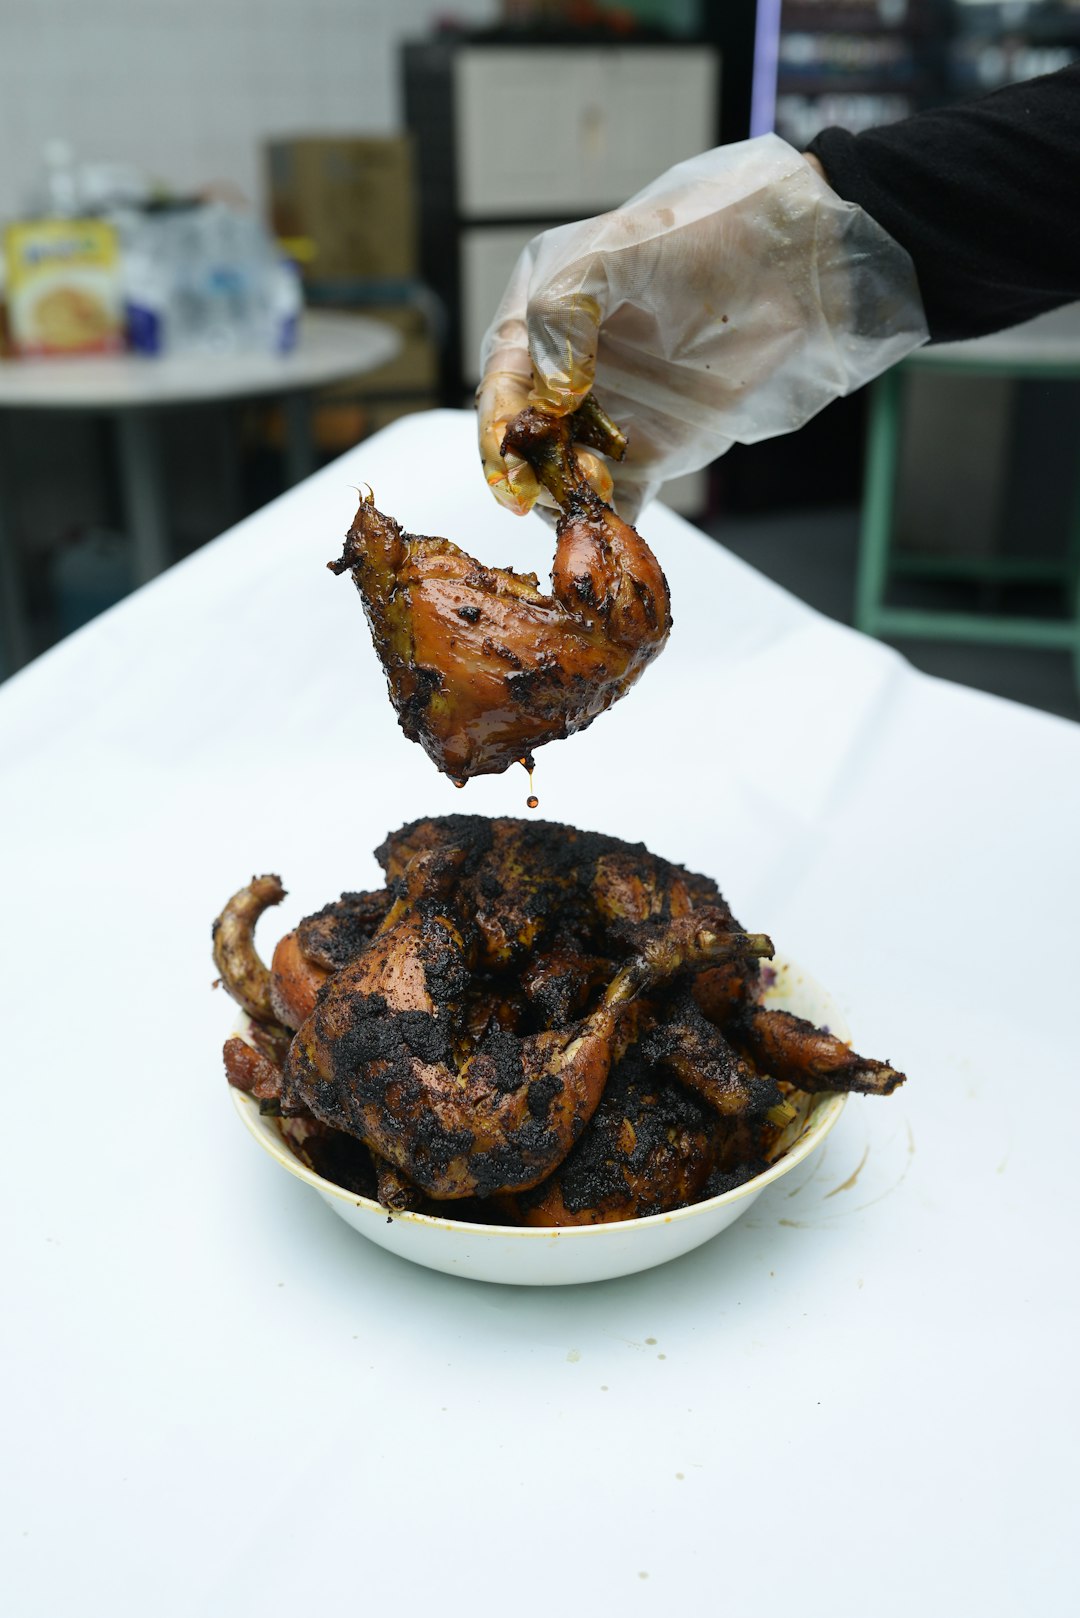
Cooking techniques for achieving crispy chicken wings
Achieving crispy chicken wings is a culinary delight that enhances the overall experience of spicy honey glazed wings. One effective technique is to begin by thoroughly drying the wings before cooking. Pat them dry with paper towels to remove excess moisture, which helps in achieving a crisper skin. Another crucial step is the use of baking powder. Coating the wings in a mixture of baking powder and salt before baking can significantly improve the crispiness, as baking powder aids in breaking down the proteins on the chicken skin, leading to a crispier texture.
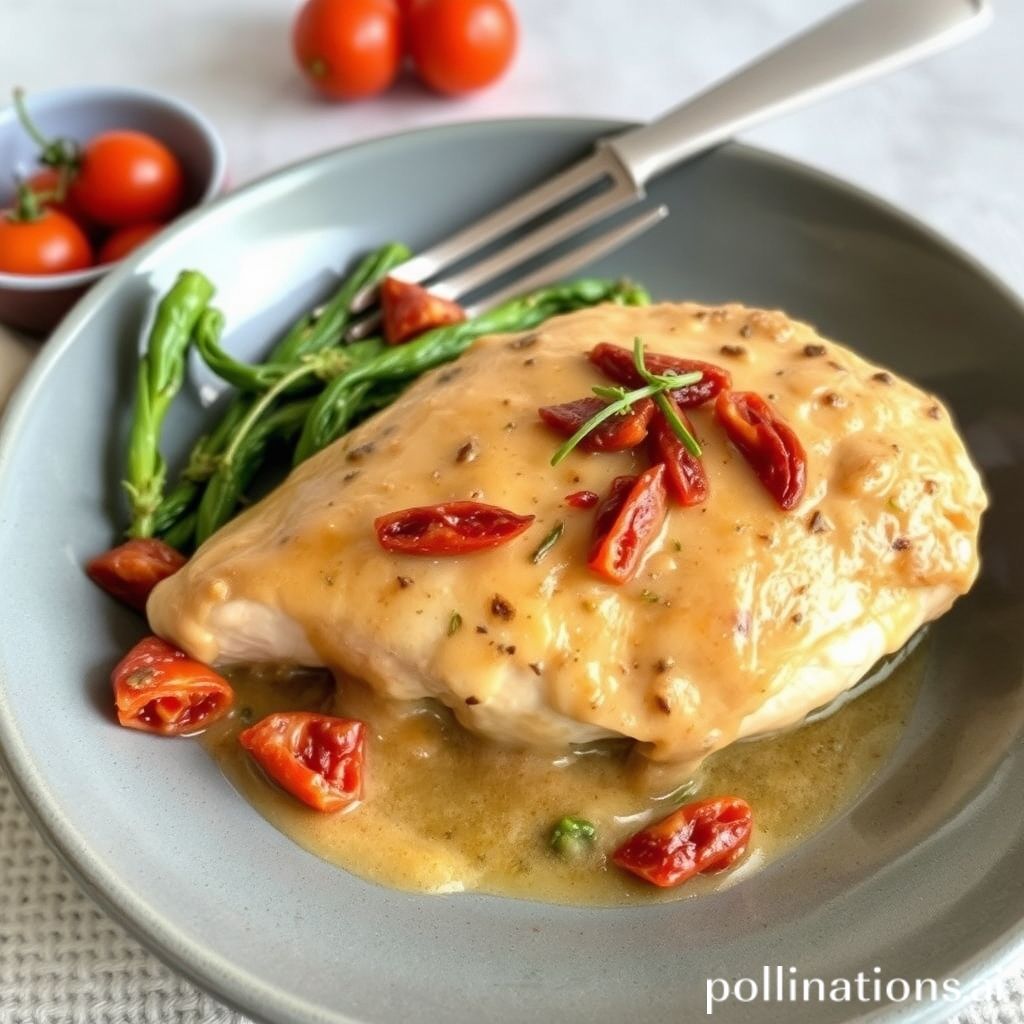
For cooking, baking the wings on a wire rack set inside a baking sheet can help. This allows the hot air to circulate around the chicken, ensuring even cooking and crisping of the skin. Set the oven to a high temperature, around 425°F (220°C), and bake until the skin is golden and crispy. Alternatively, you can opt for deep-frying the wings, which is a traditional method known for producing an exceptionally crispy result. Regardless of the method you choose, turning the wings halfway through the cooking process will ensure an even texture. Finally, once cooked, toss the wings in a spicy honey glaze to combine the sweet and spicy flavors with the delightful crunch.
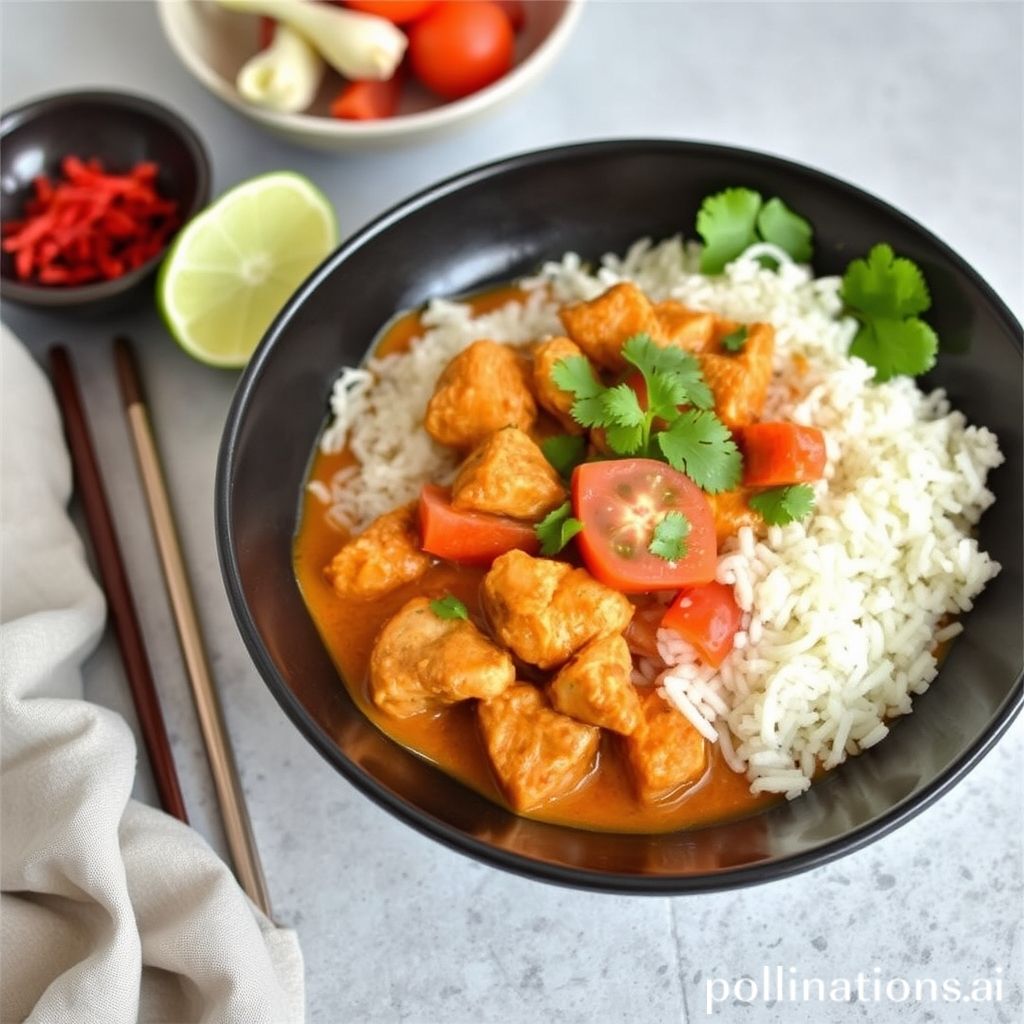
Pairing suggestions for serving spicy honey glazed chicken wings
When serving spicy honey glazed chicken wings, it’s essential to think about complementary flavors and contrasting textures to enhance the overall dining experience. A classic pairing is a crisp and refreshing coleslaw. The cool, creamy texture of coleslaw balances the heat from the wings while providing a satisfying crunch.
Consider serving alongside a fresh salad with a tangy vinaigrette. The acidity from the dressing can cut through the richness of the glaze, providing a delightful balance to the meal.
If you are looking for something heartier, try pairing the wings with corn on the cob seasoned with a squeeze of lime and a dusting of chili powder. The sweet and spicy elements of the corn complement the flavors of the chicken wings beautifully.
For beverages, light and crisp options like a cold lager or a citrusy IPA can enhance the spices and honeyed nuances of the dish. If you prefer non-alcoholic beverages, a chilled iced tea with a hint of lemon or a sparkling citrus water can offer a refreshing contrast to the spiciness of the wings.
These pairings can elevate your serving and ensure that every bite is a delightful experience.
Tips for customizing the glaze spiciness and sweetness
Customizing the spiciness and sweetness of your honey glazed chicken wings can elevate this dish to suit your personal taste preferences. Start by adjusting the type and amount of chili used. For a milder kick, reduce the quantity of hot sauce or use a pepper with less heat, such as paprika or cayenne. Those who enjoy a fiery bite can opt for more intense options like habanero or even a Korean gochujang. Remember, it’s always easier to add more heat gradually than to tone it down once it’s too spicy.
When considering sweetness, the type of honey plays a crucial role. Traditional clover or wildflower honey provides a classic sweetness, while varieties like orange blossom or chestnut honey offer unique flavor notes. If the natural sweetness of honey isn’t enough, adding a touch of brown sugar or maple syrup can deepen the flavor profile.
Balancing these flavors can transform the dish. A splash of citrus juice like lemon or lime can brighten and balance the glaze, while adding soy sauce or Worcestershire sauce imparts a savory depth. Always taste and adjust your glaze before applying it to ensure it aligns perfectly with your desired flavor profile.
Conclusion
In conclusion, mastering the art of honey glazed chicken wings is not only about tantalizing your taste buds with the perfect balance of sweet and spicy flavors but also about exploring your culinary creativity. By following the provided ingredients, step-by-step preparation, and cooking techniques, you’ll be able to achieve crisp, flavorful wings that will be the highlight of any meal. Whether you prefer baking or frying, these wings promise to deliver a satisfying crunch every time. Pairing them with complementary sides and customizing the glaze to your preferred level of heat and sweetness further enhances the dining experience, making each bite an irresistible delight.
Ready to take your love of chicken to the next level? Embrace the excitement of cooking diverse chicken dishes by diving into ‘The Chicken Bible: Say Goodbye to Boring Chicken with 500 Recipes for Easy Dinners, Braises, Wings, Stir-Fries, and So Much More.’ Unleash your inner chef and explore endless possibilities. Click here to purchase your copy today and elevate your culinary skills. With 500 mouth-watering recipes at your fingertips, each meal will be a new adventure in flavor and satisfaction.