Table of Contents
- Introduction
- Ingredients Required for Balsamic Glazed Chicken with Roasted Vegetables
- Preparation Steps for the Chicken
- Creating the Balsamic Glaze
- Selecting and Preparing the Vegetables
- Roasting Process and Tips
- Flavor Enhancements from Herbs and Spices
- Pairing Suggestions and Serving Ideas
- Health Benefits of This Dish
- Conclusion
- Frequently Asked Questions
Introduction
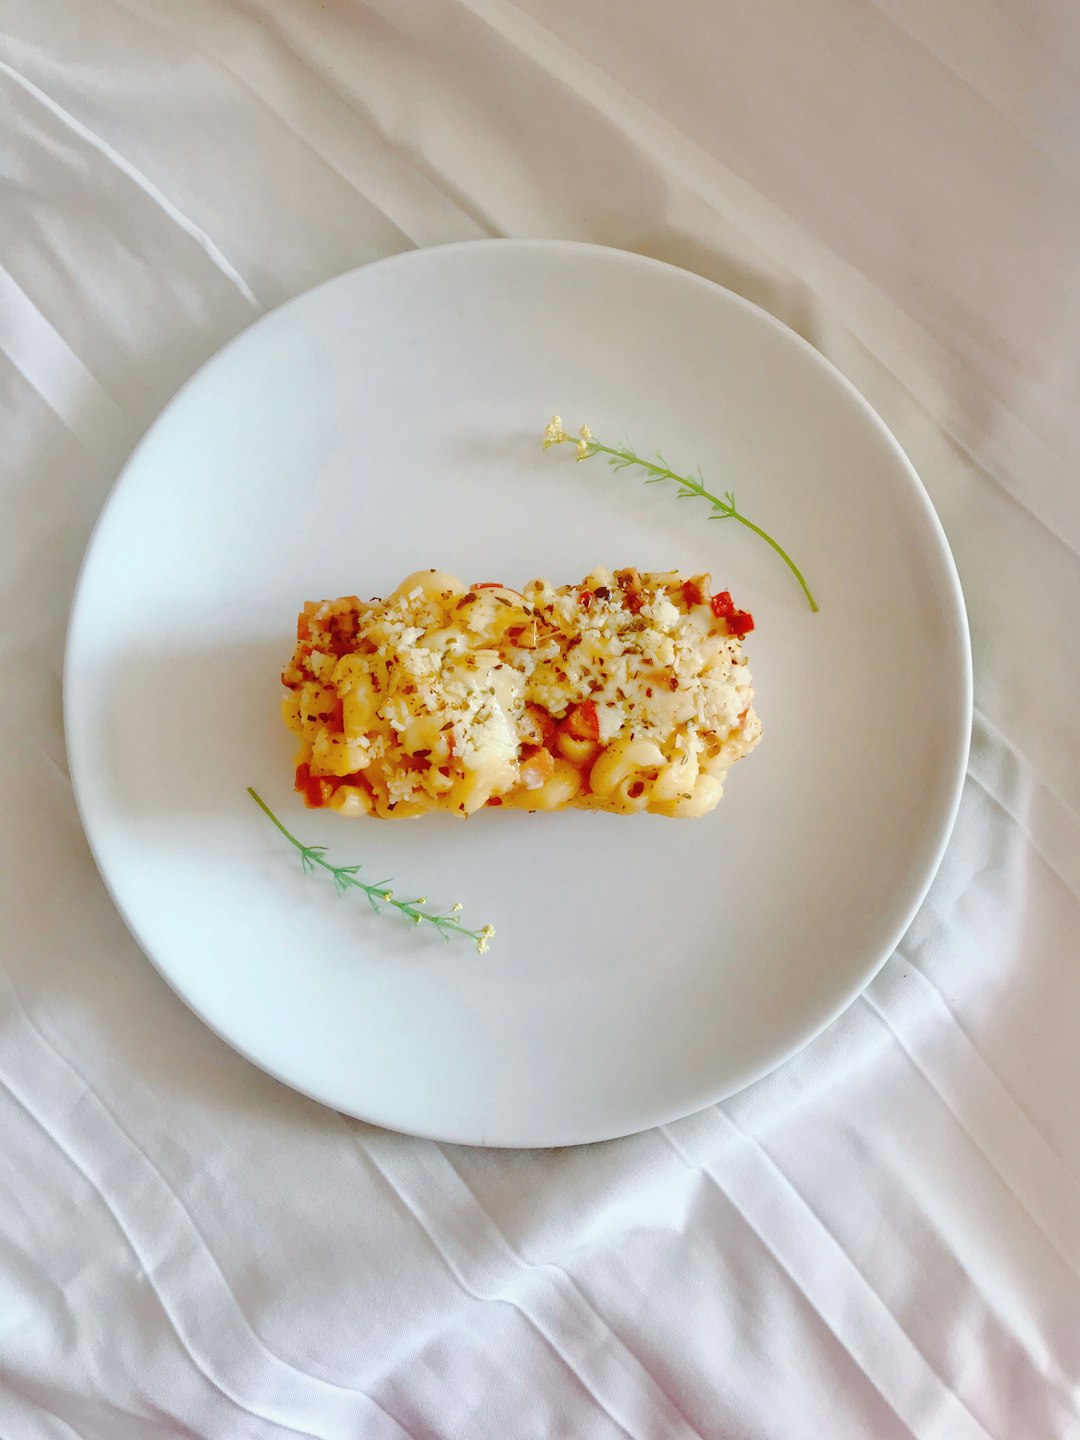
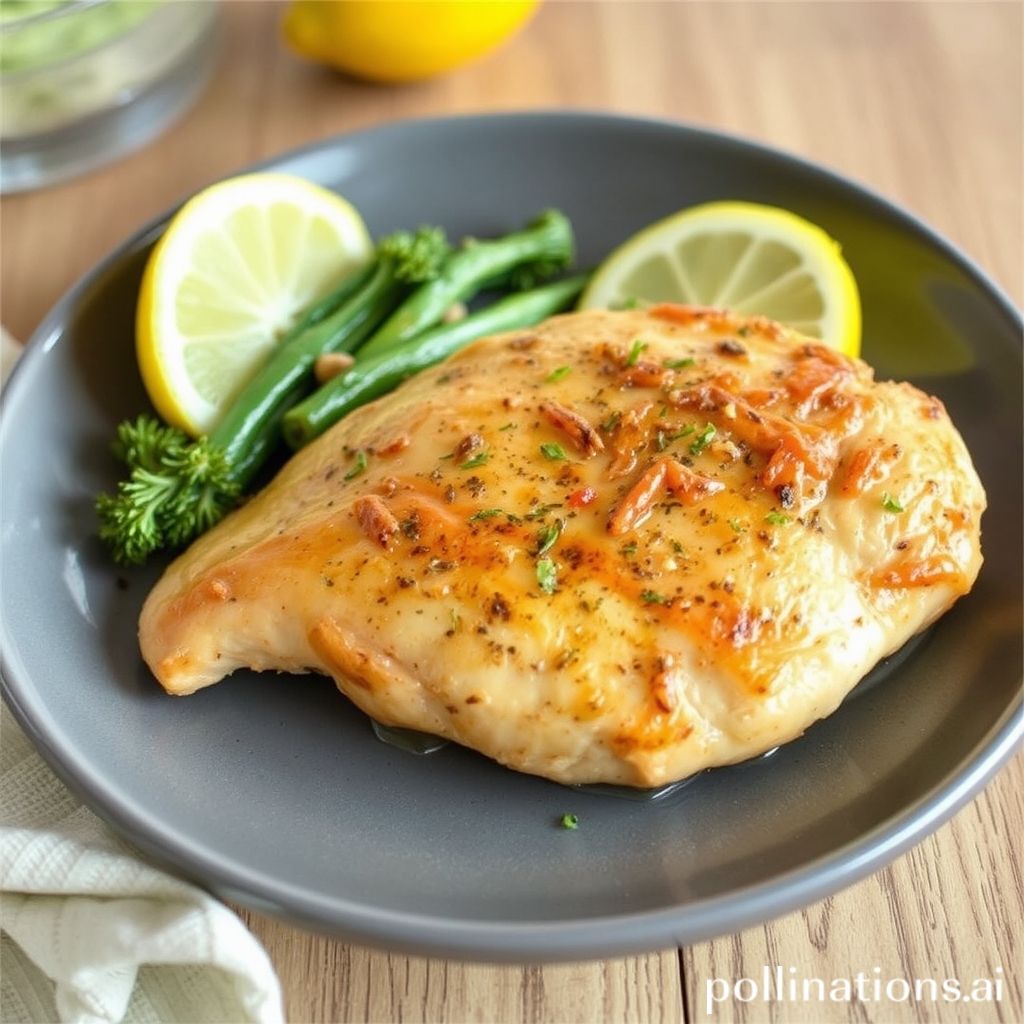
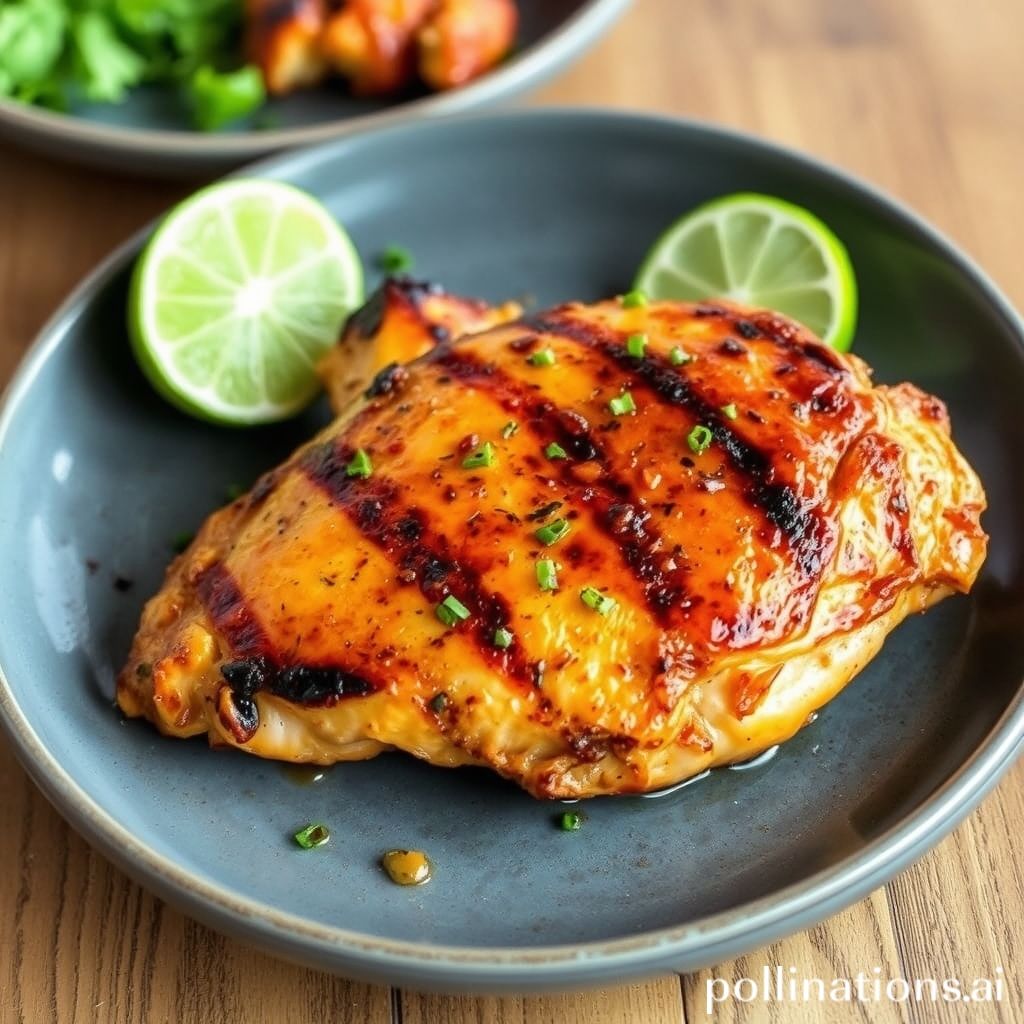
Savor the Symphony of Flavors: Balsamic Glazed Chicken with Roasted Vegetables
Ingredients:
- 4 chicken breasts
- 1/2 cup balsamic vinegar
- 1/4 cup honey
- 1/4 cup olive oil, divided
- 2 cloves garlic, minced
- 1 teaspoon rosemary, chopped
- 1 teaspoon thyme, chopped
- Salt and pepper to taste
- 2 cups baby potatoes, halved
- 2 cups carrots, sliced
- 1 bell pepper, sliced
- 1 red onion, sliced
Step into a culinary experience where rich flavors and vibrant colors unite to create an unforgettable dish. Our balsamic glazed chicken paired with an array of perfectly roasted vegetables promises a melody of taste that’s as delightful to the eye as it is to the palate. Imagine tender chicken infused with the tangy-sweet complexity of balsamic reduction, harmoniously accompanied by a vibrant medley of vegetables, roasted to perfection. Are you ready to embark on a flavor journey that will dazzle your senses and inspire your next culinary creation?
Ingredients Required for Balsamic Glazed Chicken with Roasted Vegetables
Creating a delicious Balsamic Glazed Chicken with Roasted Vegetables dish requires a selection of fresh and flavorful ingredients that work in harmony to deliver a nutritious and satisfying meal. Here are the key ingredients you’ll need:
For the chicken:
– 4 boneless, skinless chicken breasts
– 1/2 cup balsamic vinegar
– 2 tablespoons honey
– 2 tablespoons olive oil
– 3 cloves garlic, minced
– Salt and pepper to taste
For the roasted vegetables:
– 2 large carrots, peeled and sliced
– 1 red bell pepper, chopped
– 1 yellow bell pepper, chopped
– 1 red onion, cut into wedges
– 1 zucchini, sliced
– 2 tablespoons olive oil
– Salt and pepper to taste
– Fresh rosemary or thyme for garnish, if desired
The combination of tangy balsamic vinegar and sweet honey creates a delectable glaze for the chicken, while the medley of colorful vegetables adds texture and nutrition. Olive oil, garlic, and fresh herbs enhance the flavors, making this dish a perfect balance of savory and sweet. With these ingredients, you are well on your way to preparing a memorable meal that is sure to please family and friends alike.
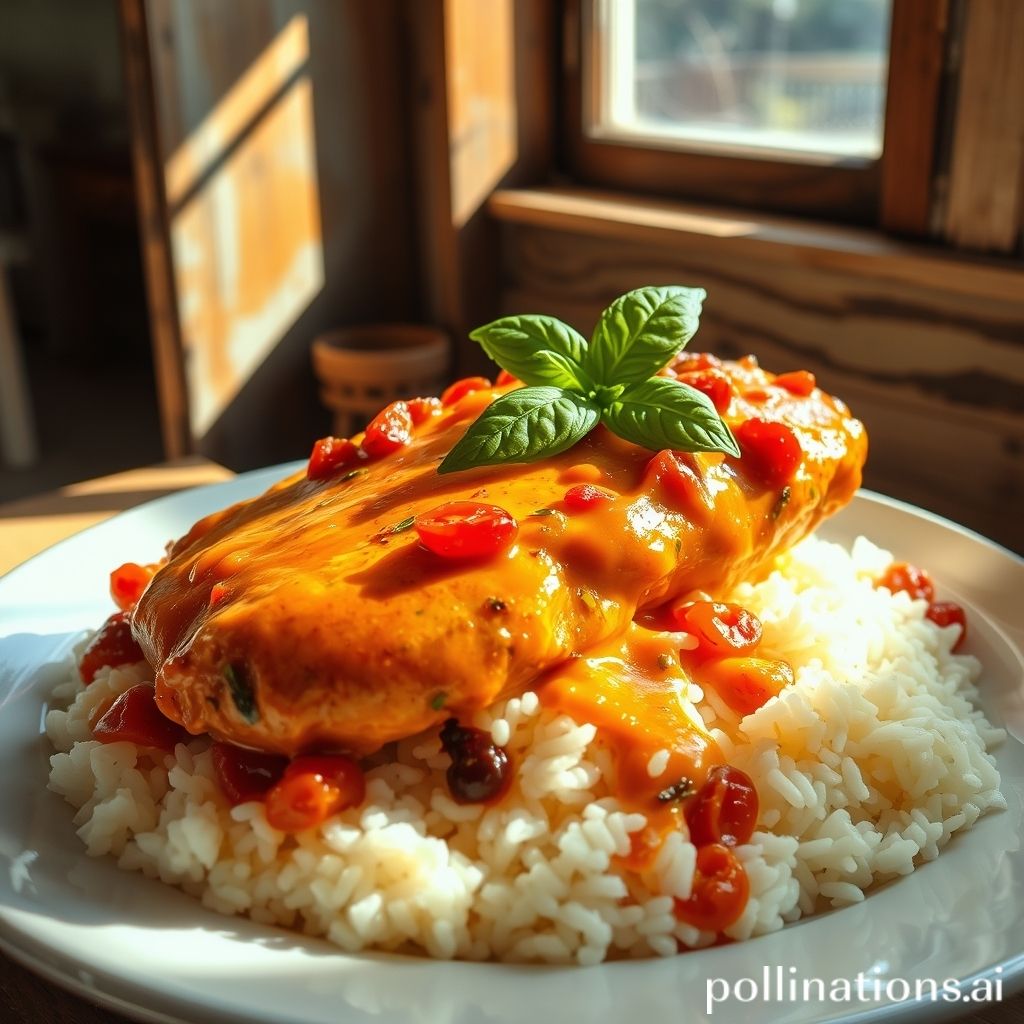
Preparation Steps for the Chicken
Preparing a delicious balsamic glazed chicken involves several essential steps to ensure the meat is flavorful and perfectly cooked. Begin by gathering fresh chicken breasts and season them generously with salt, pepper, and your choice of herbs such as thyme or rosemary.
Next, prepare the balsamic glaze by mixing balsamic vinegar, honey, and a touch of garlic. This combination offers a perfect blend of sweet and savory complements to your chicken.
Heat a skillet over medium-high heat and add a tablespoon of olive oil. Once heated, sear the chicken breasts for about 3-4 minutes on each side until they are golden brown.
After searing, brush the chicken with the balsamic glaze, ensuring an even coat. Transfer the skillet to a preheated oven at 375°F and let the chicken bake for 15-20 minutes, or until the internal temperature reaches 165°F.
Once cooked, let the chicken rest for a few minutes before serving. This allows the juices to redistribute throughout the meat, making it tender and juicy. The result is a rich, flavorful chicken that pairs perfectly with roasted vegetables.
Creating the Balsamic Glaze
Creating a perfect balsamic glaze is crucial for enhancing the flavor of balsamic glazed chicken with roasted vegetables. This glaze adds a sweet and tangy element that complements the savory chicken and vegetables beautifully. To begin, select a high-quality balsamic vinegar as the foundational ingredient, which will ensure a rich and well-rounded flavor. In a small saucepan, combine one cup of balsamic vinegar and half a cup of brown sugar or honey for a sweet touch. Place the saucepan over medium heat and bring the mixture to a gentle boil, stirring occasionally to dissolve the sugar thoroughly.
Once the mixture reaches a boil, reduce the heat to low and let it simmer gently. Stir frequently to prevent sticking and burning, allowing the glaze to reduce by half over a period of about 15 to 20 minutes. The goal is to achieve a thick, syrupy consistency that coats the back of a spoon. Be mindful not to over-reduce the glaze, as it will thicken further as it cools. Once achieved, remove from heat and allow to cool slightly before drizzling over the prepared chicken and roasted vegetables. This balsamic glaze can also be stored in an airtight container for future use, adding versatility to your culinary repertoire.
Selecting and Preparing the Vegetables
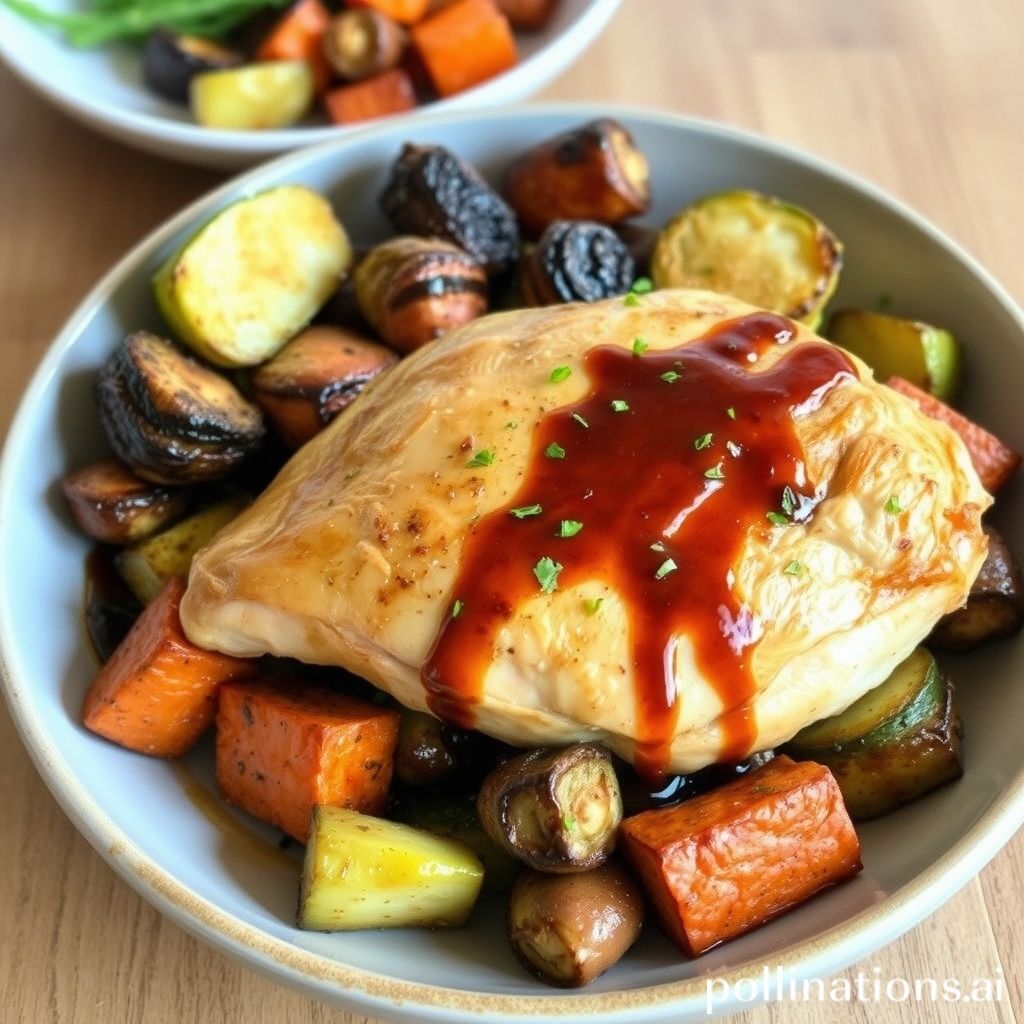
When crafting a delightful Balsamic Glazed Chicken with Roasted Vegetables, choosing the right vegetables is crucial for achieving a harmonious balance of flavors and textures. Start by selecting fresh, colorful vegetables such as bell peppers, zucchini, carrots, and red onions. These choices not only bring a vibrant appeal to the dish but also complement the sweet and tangy notes of balsamic glaze beautifully.
Begin by washing all your vegetables thoroughly under cold water to remove any dirt or pesticides. Once cleaned, pat them dry with a paper towel to ensure they roast properly. Next, chop the vegetables into uniform pieces to promote even cooking; aim for bite-sized chunks that will cook at the same rate as the chicken. This creates a consistent texture and ensures none of the vegetables are under or overcooked.
Season the vegetables with a light drizzle of olive oil, salt, and pepper. For added depth of flavor, consider adding herbs like rosemary or thyme. Toss the vegetables to ensure they’re evenly coated before spreading them out on a baking sheet. This setup allows for maximum exposure to the oven’s heat, helping to achieve a perfect roast with caramelized edges.
Roasting Process and Tips
Roasting is a cooking method that uses dry heat, typically in an oven, to create a browned, flavorful exterior while keeping the inside tender. It’s a popular way to prepare both meats and vegetables, bringing out their natural flavors. To achieve the perfect roast, ensure you preheat the oven to the desired temperature before placing the food inside. This allows the food to start cooking immediately, promoting even cooking and browning.
One essential tip for roasting is to cut vegetables into even-sized pieces. This ensures that they cook uniformly. When it comes to chicken, consider placing it on a rack within the roasting pan. This encourages hot air to circulate around the meat, cooking it evenly and allowing the skin to crisp up beautifully.
For added flavor, toss your vegetables with olive oil, salt, pepper, and any preferred herbs before roasting. Try not to overcrowd the pan as this can result in steaming rather than roasting. Finally, periodically check on your dish, lightly shaking the pan to ensure even cooking and flipping vegetables halfway through. With these tips, you’ll be able to create a delicious Balsamic Glazed Chicken with perfectly roasted vegetables every time.
Flavor Enhancements from Herbs and Spices
Enhancing the flavor of balsamic glazed chicken with roasted vegetables goes beyond the key ingredients of balsamic vinegar and olive oil. The use of herbs and spices can elevate this dish to a culinary masterpiece. Herbs such as rosemary, thyme, and basil bring an aromatic freshness that contrasts beautifully with the rich glaze of the balsamic. Rosemary, in particular, with its pine-like fragrances, pairs well with chicken, adding a sophisticated depth.
Thyme, on the other hand, offers an earthy undertone that complements both the chicken and the roasted vegetables, creating a harmonious balance. Basil adds a slight sweetness and freshness, enhancing the overall flavor profile. Besides these herbs, the inclusion of spices like black pepper, garlic powder, and smoked paprika can add a subtle kick and complexity to the dish.
Black pepper provides a bit of heat that accentuates the sweetness of the balsamic glaze, while garlic powder complements the savory notes of the chicken and veggies. Smoked paprika introduces a smoky depth, enriching the roasted flavors. Together, these herbs and spices work to create a symphony of flavors that transform a simple dish into a memorable and delicious experience.
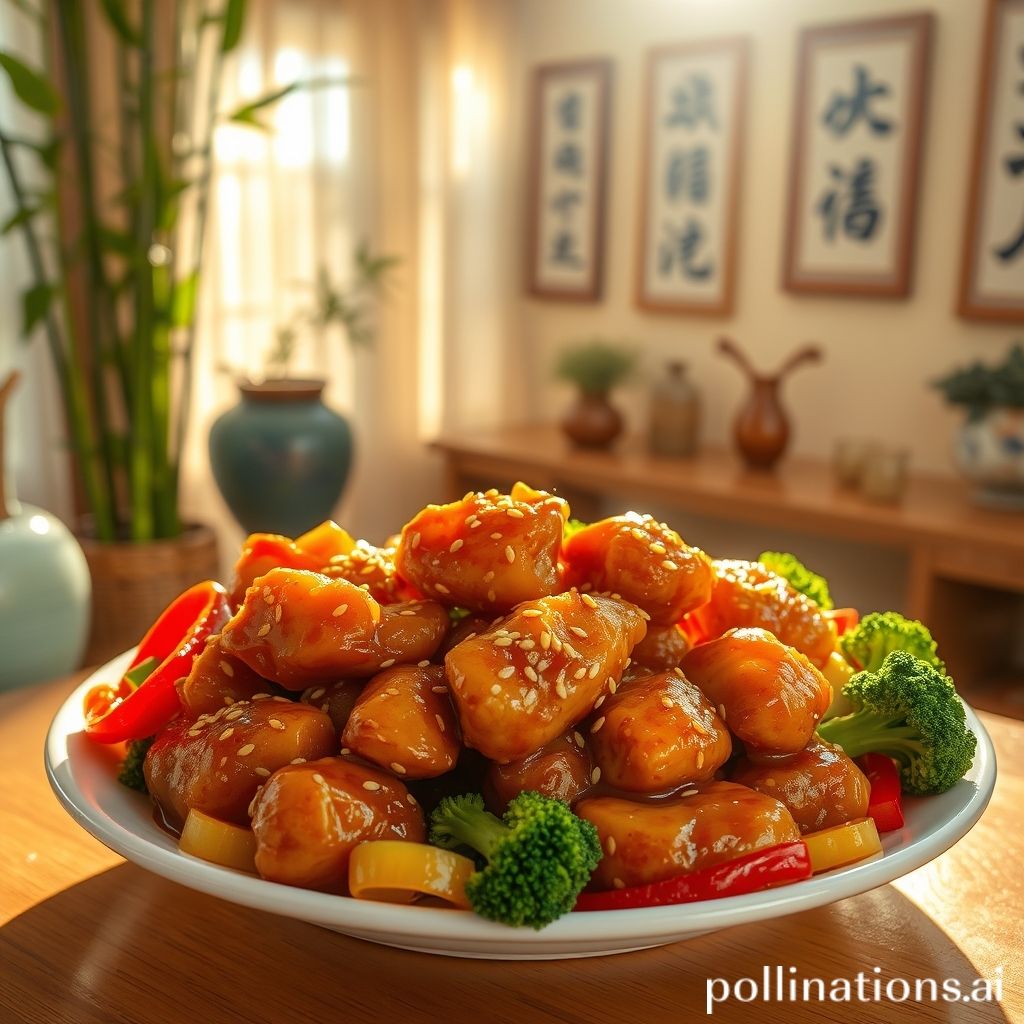
Pairing Suggestions and Serving Ideas
When serving Balsamic Glazed Chicken with Roasted Vegetables, there are numerous pairing suggestions and serving ideas that can enhance the dining experience. One delightful option is to serve it alongside a creamy polenta or a garlic-infused mashed potato dish, which complements the rich flavors of the balsamic glaze.
Alternatively, you might consider a fresh and zesty salad featuring arugula and cherry tomatoes, dressed lightly with olive oil and lemon juice, to add a refreshing contrast to the meal.
A side of warm, crusty bread is perfect for soaking up any extra glaze or juices from the roasted vegetables, ensuring nothing goes to waste.
For a touch of elegance, pair this dish with a medium-bodied red wine such as a Pinot Noir or Merlot, which pairs harmoniously with the balsamic’s acidity without overpowering the chicken’s flavors.
As a finishing touch, consider garnishing with freshly chopped herbs like parsley or basil, providing an aromatic and visually appealing presentation that is sure to impress your guests. Whether hosting a dinner party or enjoying a family meal, these pairing suggestions and serving ideas will elevate your dish to a new level of culinary delight.
Health Benefits of This Dish
Balsamic glazed chicken with roasted vegetables is not only a delicious combination but also offers numerous health benefits. This dish, rich in proteins and essential nutrients, supports overall health and well-being. Chicken, being a lean meat, is a great source of high-quality protein, which is vital for building and repairing tissues, and maintaining muscle mass. It is also lower in saturated fat compared to other meats, making it a heart-healthy option.
The balsamic glaze adds a touch of sweetness while being low in calories and is rich in antioxidants, which help in reducing inflammation and protecting the body from free radicals. Antioxidants are known for their role in preventing various chronic diseases and promoting a healthy immune system.
Roasted vegetables, such as carrots, bell peppers, and broccoli, are packed with dietary fiber, vitamins, and minerals. Fiber is essential for digestive health, while vitamins and minerals support bodily functions, including immune defense, vision health, and bone strength. By incorporating a variety of colors in your veggies, you ensure a broad spectrum of nutrients to aid in maintaining a balanced diet. Overall, this dish is a wholesome choice that provides a delicious way to meet nutritional needs.
Conclusion
In conclusion, crafting a meal that delights the senses has never been easier or more enjoyable than with Balsamic Glazed Chicken with Roasted Vegetables. This dish masterfully balances a harmonious blend of flavors and textures, from the succulent, tangy chicken to the vibrant, caramelized vegetables. By incorporating high-quality ingredients and enhancing them with thoughtfully chosen herbs and spices, you create a symphony of taste that speaks to the heart of exquisite cuisine. Whether serving for a special occasion or a comforting home-cooked meal, the versatility and elegance of this dish will surely impress. For those looking to expand their culinary repertoire and continue to explore the endless possibilities of chicken dishes, consider diving into “The Chicken Bible: Say Goodbye to Boring Chicken with 500 Recipes for Easy Dinners, Braises, Wings, Stir-Fries, and So Much More.” With this comprehensive resource at your fingertips, available here, you are empowered to transform any chicken meal into an unforgettable dining experience. Discover new favorites and elevate your cooking by embracing the art of flavor with this indispensable guide.