Table of Contents
- Introduction
- The origin and history of chicken fajitas
- Essential ingredients for making chicken fajitas
- Step-by-step guide to preparing chicken fajitas
- Different variations of chicken fajitas to try
- Tips for serving and enjoying chicken fajitas
- Conclusion
- Frequently Asked Questions
Introduction
Sizzling Sensations: Master the Art of Perfect Chicken Fajitas

Craving a vibrant burst of flavor wrapped in a warm tortilla? Let’s unravel the secrets to creating chicken fajitas that could make even the most discerning taste buds dance with joy!
Ingredients
- 500g chicken breast, sliced
- 2 tablespoons olive oil
- 1 red bell pepper, sliced
- 1 yellow bell pepper, sliced
- 1 large onion, sliced
- 2 tablespoons fajita seasoning
- 8 flour tortillas
- Salt and pepper to taste
- Sour cream, guacamole, and salsa for serving (optional)
These vibrant ingredients set the stage for a sizzling symphony of scents and flavors about to unfold in your kitchen. Grab your apron, and let’s dive into the swirling, spicy world of chicken fajitas that promise to be a crowd-pleaser, bringing an authentic taste of Tex-Mex right to your dinner table!
The origin and history of chicken fajitas
The beloved chicken fajita traces its roots back to the Mexican culinary tradition, originally emerging as a Tex-Mex staple. The word ‘fajita’ itself is derived from ‘faja,’ a Spanish term for ‘strip’ or ‘belt,’ which accurately describes the preparation style. Although originally associated with grilled skirt steak, known as ‘arracheras’ in Mexico, it quickly expanded to include other proteins, such as the popular chicken version we enjoy today.
The origins of fajitas date back to the early 20th century, when Mexican ranch hands working along the Texas-Mexico border were compensated with less desirable cuts of beef like skirt steak. With resourcefulness and a flair for flavor, they marinated and grilled the meat, serving it with flour tortillas, pico de gallo, and salsas. As these ranch hands traveled, so did the dish, gaining local popularity.
The commercialization and widespread recognition of chicken fajitas can largely be attributed to restaurants in the 1960s. Notably, in the 1980s, major chains introduced chicken fajitas to a broader audience, establishing them as a beloved menu item. Over time, the recipe evolved, incorporating colorful bell peppers, onions, and various spices, solidifying chicken fajitas as a vibrant, flavorful dish enjoyed worldwide.
Essential ingredients for making chicken fajitas
Creating delicious chicken fajitas starts with gathering the right ingredients. The key element, of course, is the chicken, typically boneless, skinless chicken breasts are preferred for their lean nature and tender texture. Next, vibrant bell peppers bring not only color but also a subtle sweetness. Popular choices include green, red, and yellow peppers. Onions, either white or red, contribute a savory note and add depth of flavor. These basic vegetables, when sautéed together, create a flavorful base.
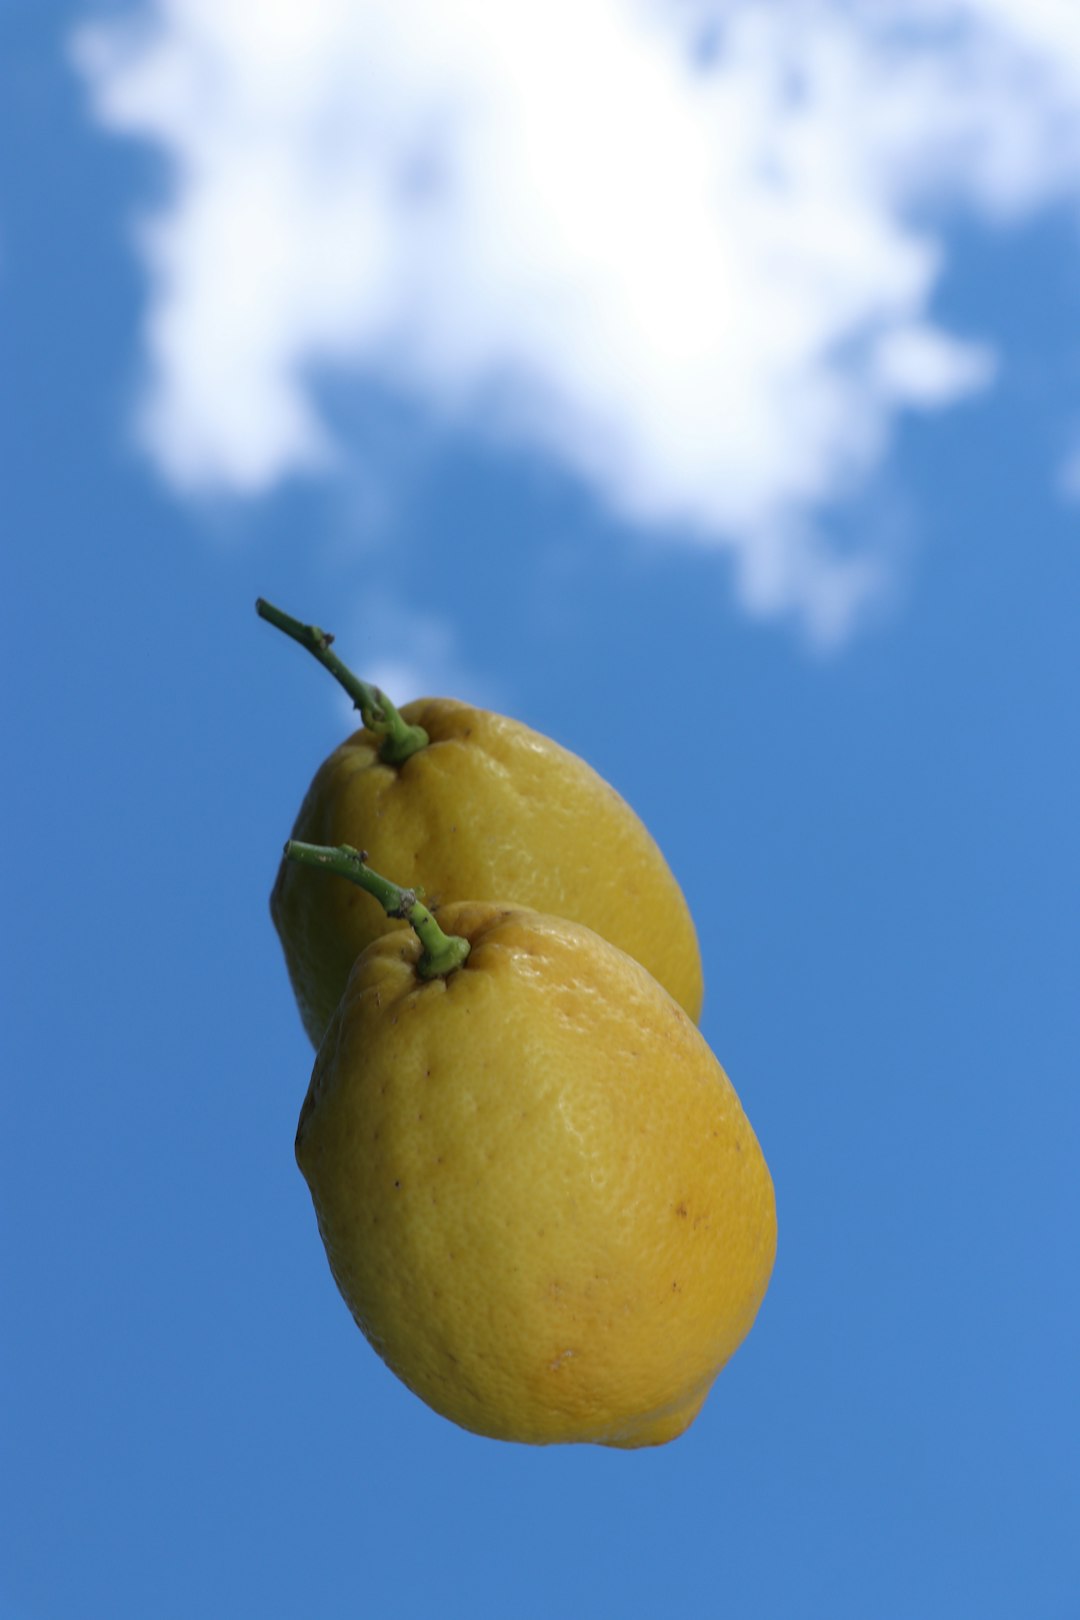
Spices are crucial for giving chicken fajitas their distinctive flavor. Traditional seasonings include chili powder, cumin, garlic powder, and paprika. For an extra kick, consider adding a dash of cayenne pepper or crushed red pepper flakes. Fresh lime juice is often used to marinate the chicken, providing a tangy contrast to the spices while tenderizing the meat.
Finally, tortillas are essential for wrapping all the ingredients in a convenient, handheld format. While flour tortillas are commonly used, corn tortillas can offer a different texture and taste. Accompaniments such as sour cream, guacamole, and salsa are popular condiments that can be added according to personal preference.
Step-by-step guide to preparing chicken fajitas
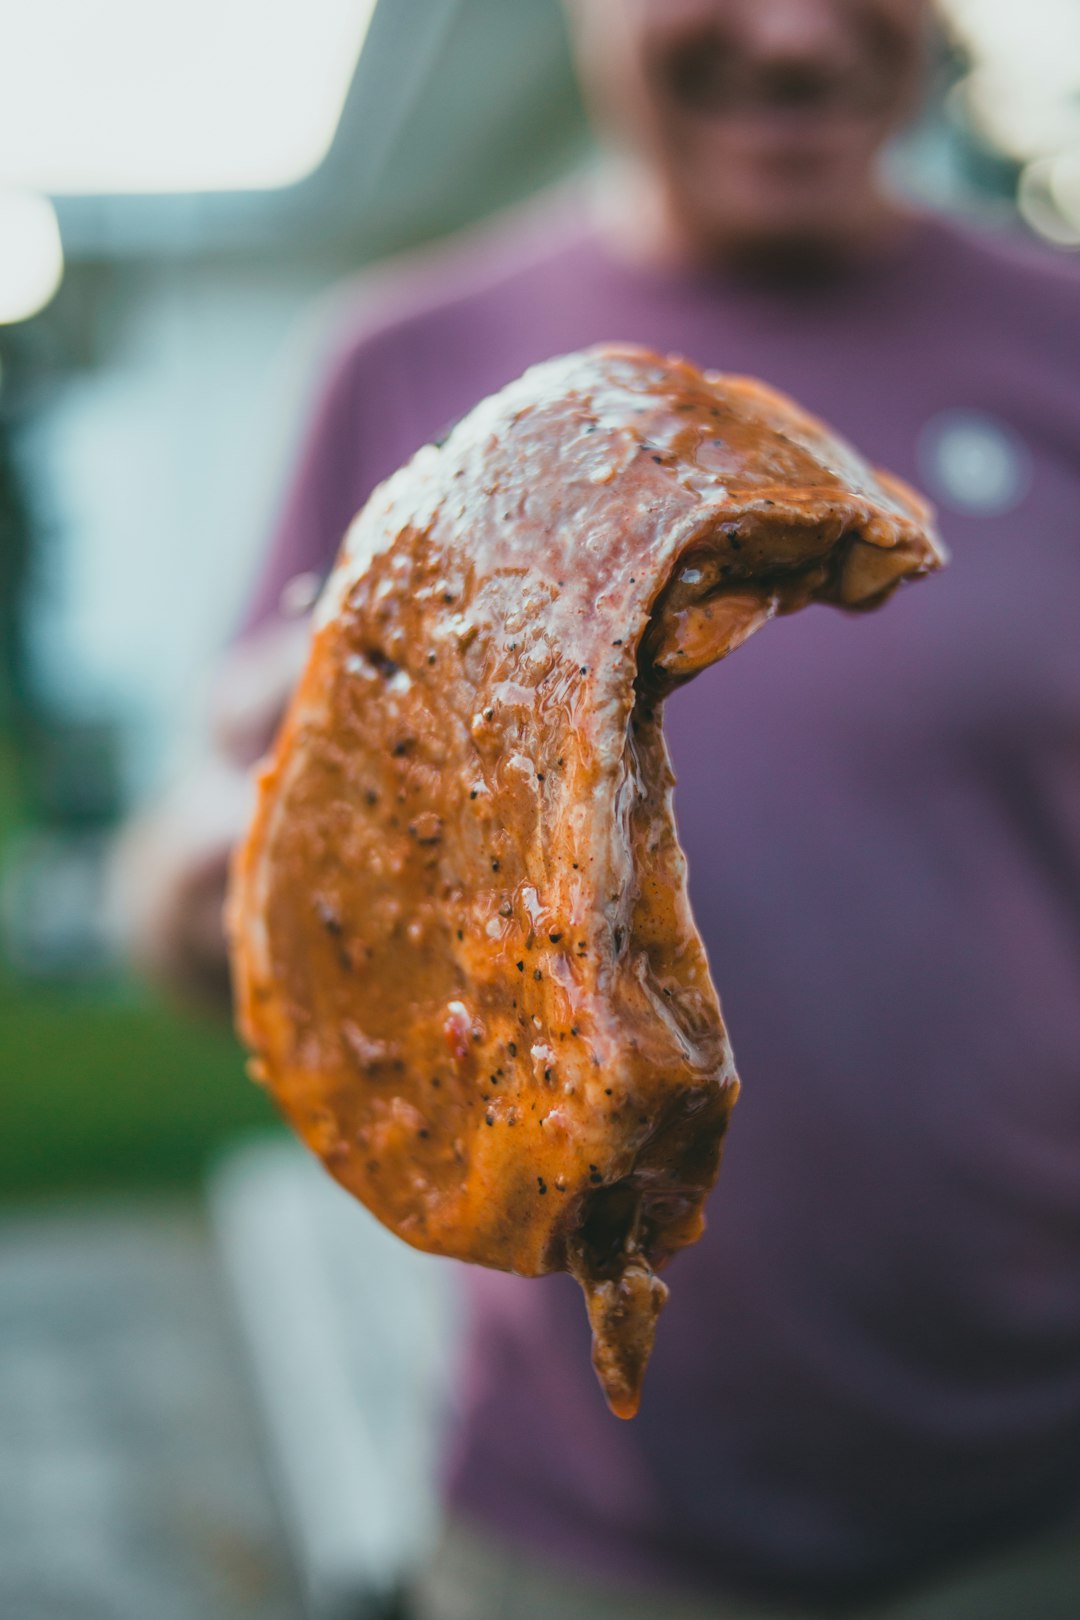
Preparing chicken fajitas is a simple and rewarding culinary experience. Start by gathering fresh ingredients: boneless chicken breasts, bell peppers, onions, lime, tortillas, and your favorite spices such as cumin, paprika, and chili powder. Slice the chicken into thin strips. Next, marinate the chicken in a mixture of spices, lime juice, and a touch of olive oil for at least 30 minutes to absorb flavors.
While the chicken marinates, slice the bell peppers and onions into thin strips. Heat a large skillet over medium-high heat and add a splash of oil. Once hot, sauté the onions and peppers until they are soft and slightly charred, then remove them from the pan.
In the same skillet, add the marinated chicken strips and cook until they are browned and cooked through, ensuring they reach an internal temperature of 165°F to ensure safety. Return the vegetables to the pan and mix them with the chicken for a few minutes to combine flavors.
Warm up the tortillas either in a separate dry skillet or in the microwave. Serve the chicken mixture in the warm tortillas, and garnish with your choice of toppings like sour cream, salsa, or cilantro for an authentic fajita experience.
Different variations of chicken fajitas to try
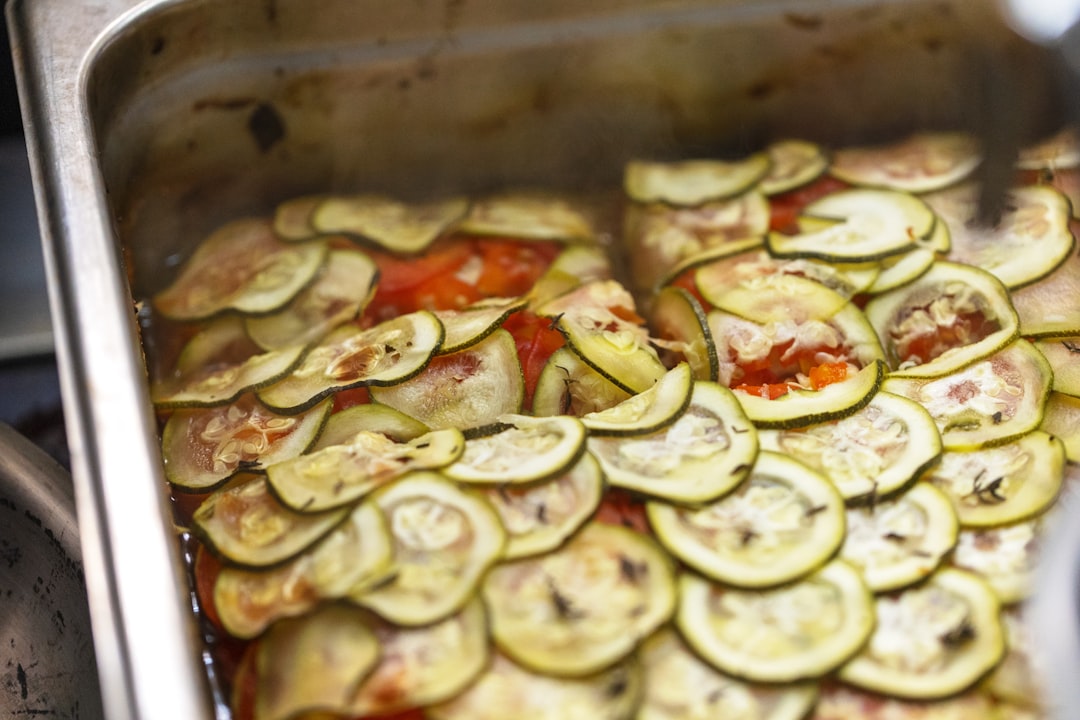
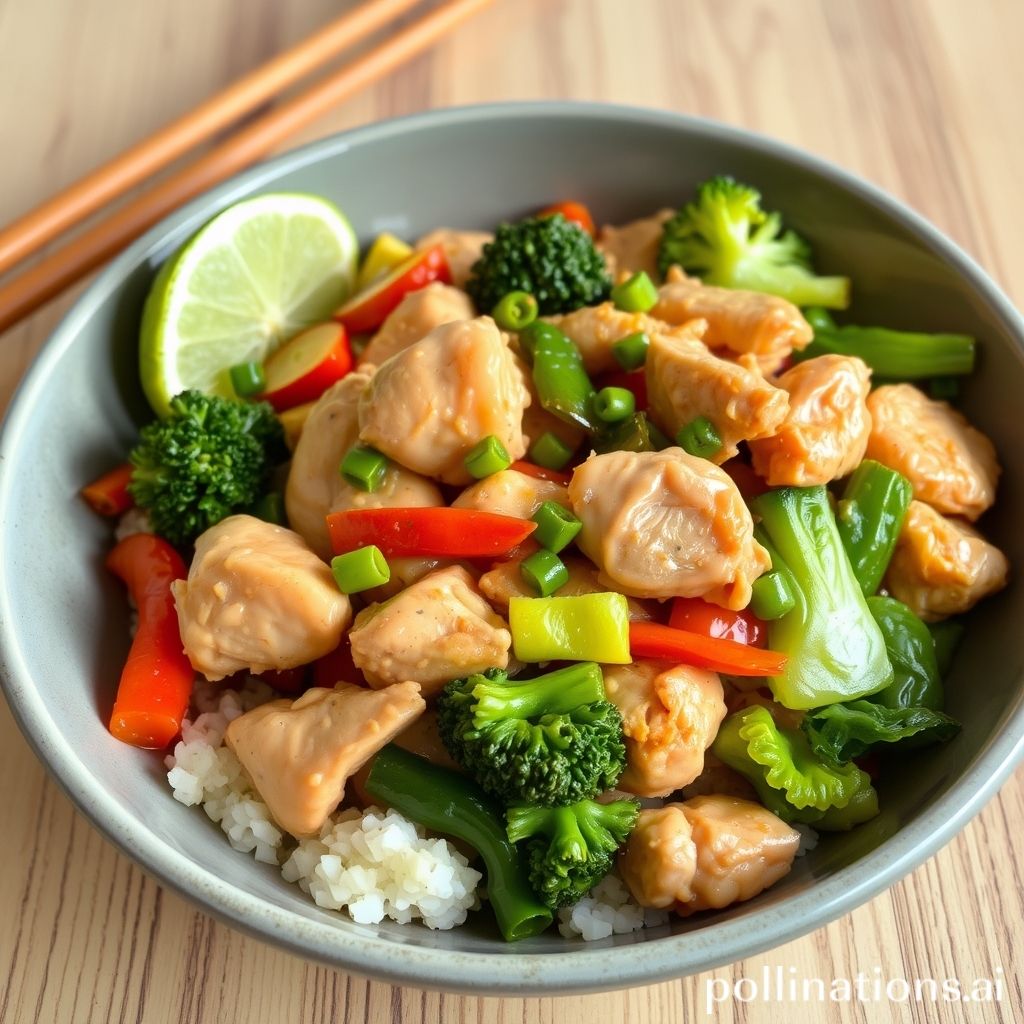
Chicken fajitas are a versatile dish that can be customized in various ways to suit different taste preferences. One popular variation is the spicy chicken fajita, which incorporates jalapeños or a spicy seasoning blend for an extra kick. For those who prefer a smoky flavor, try using chipotle peppers or smoked paprika in the marinade. Vegetarians can also enjoy the flavors of a fajita by substituting the chicken with grilled portobello mushrooms or zucchini strips.
If you’re looking for a unique twist, why not try chicken fajita tacos? Simply swap the traditional flour tortillas for corn tortillas, and you have a delightful mix of cultures on your plate. You can also experiment with different toppings like fresh pineapple salsa or avocado crema to add a refreshing contrast to the savory chicken. For a richer texture, consider adding some black beans or grilled corn into the mix.
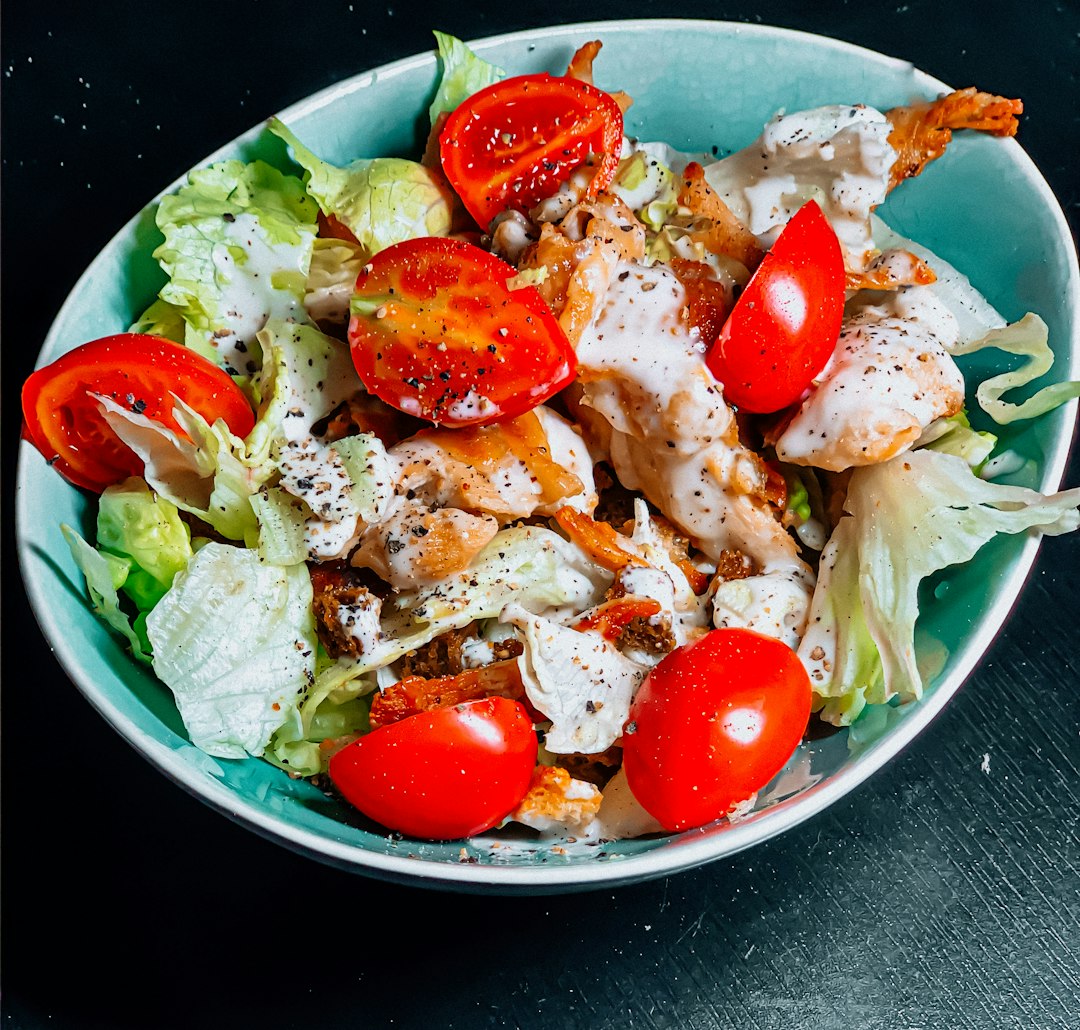
Another healthy variation is the lettuce wrap chicken fajita, which replaces the traditional tortilla with crisp lettuce leaves, offering a low-carb alternative. Whether you prefer it spicy, smoky, or fresh, there’s a chicken fajita variation out there for everyone.
Tips for serving and enjoying chicken fajitas
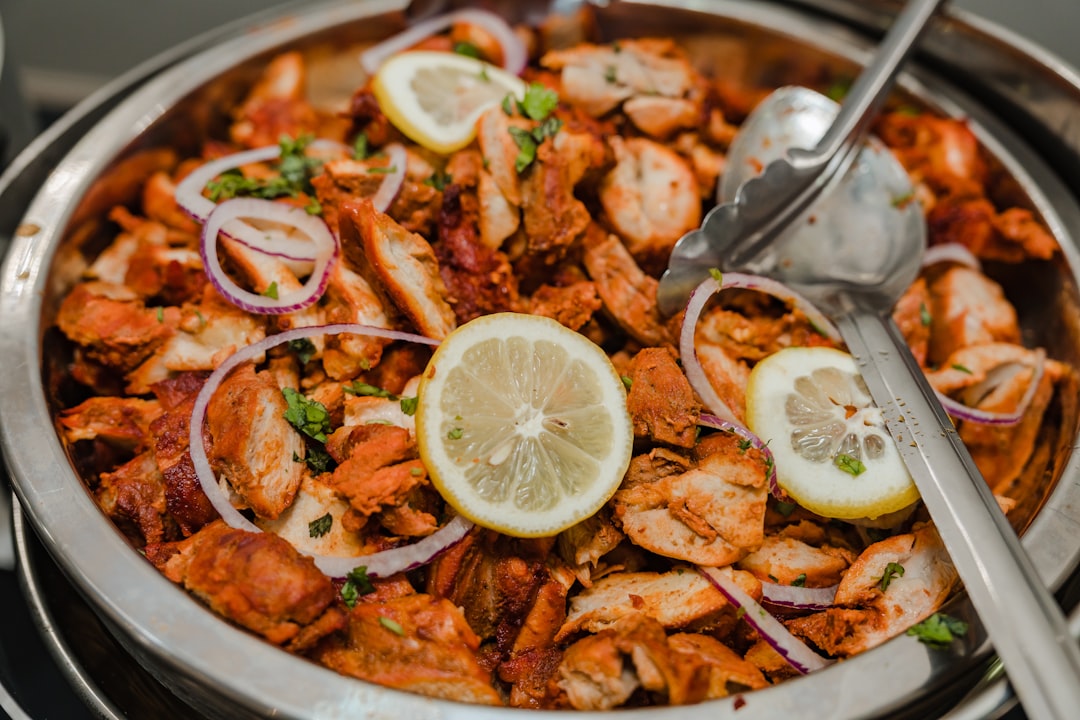
Serving and enjoying chicken fajitas can be a delightful experience when done with a touch of creativity and attention to detail. Begin with freshly grilled chicken, seasoned with classic spices like cumin, paprika, and garlic powder, which lends an authentic flavor to the dish. Once cooked, slice the chicken into thin strips for easy assembly.
Next, focus on the presentation. Arrange a colorful array of grilled vegetables such as bell peppers and onions on a large platter, alongside warm flour tortillas. This not only makes serving convenient but also ensures that everyone can customize their fajita just the way they like it. Offer a selection of toppings like shredded cheese, sour cream, guacamole, and salsa for added flavor.
Encourage your guests to get hands-on as they build their fajitas, allowing them to enjoy the sensory aspect of choosing toppings and folding their tortillas. Pair the meal with a light salad or rice on the side to add variety to the dining experience. For a refreshing twist, serve with lemonade or a chilled beer.
Finally, to truly savor the flavors, take small bites and appreciate the perfect balance of spices and textures. Chicken fajitas are not just a meal but a moment to relish with friends and family.
Conclusion
Mastering the art of perfect chicken fajitas opens up an array of culinary possibilities that can transform your dining experience into something extraordinary. The rich history and versatile variations of this dish offer a canvas for creativity, making it suitable for just about any occasion, from a casual family dinner to a festive gathering with friends. By focusing on fresh ingredients, proper seasoning, and vibrant presentation, you can elevate this Tex-Mex classic into a meal that is both satisfying and memorable.
To further enhance your cooking repertoire and explore a world of flavors, don’t miss out on ‘The Chicken Bible: Say Goodbye to Boring Chicken with 500 Recipes for Easy Dinners, Braises, Wings, Stir-Fries, and So Much More.’ This comprehensive cookbook is your ultimate guide to discovering new and exciting chicken recipes that go beyond the ordinary, including mouth-watering options for both traditional and innovative fajitas. Purchase your copy today and unlock the full potential of this versatile protein, ensuring every meal you create is nothing short of delightful!