Table of Contents
- Introduction
- Overview of Tuscan Chicken Pasta: Key Ingredients and Flavor Profile
- Step-by-Step Guide to Preparing Tuscan Chicken Pasta at Home
- Tips for Choosing the Best Pasta for Tuscan Chicken Pasta
- Variations and Substitutions: Making Tuscan Chicken Pasta to Suit Your Taste
- Pairing Suggestions: Wines and Sides to Complement Tuscan Chicken Pasta
- Conclusion
- Frequently Asked Questions
Introduction
Imagine transporting your taste buds to the sun-drenched hills of Tuscany with the simplicity of a single dish. The Tuscan Chicken Pasta is a tantalizing fusion of creamy, savory, and herby flavors that dance like a warm Italian breeze on your palate. This dish promises not just a meal, but an experience that embodies the heart of Italian cuisine.
Before we delve into the culinary masterpiece, let’s assemble the star-studded cast of ingredients:
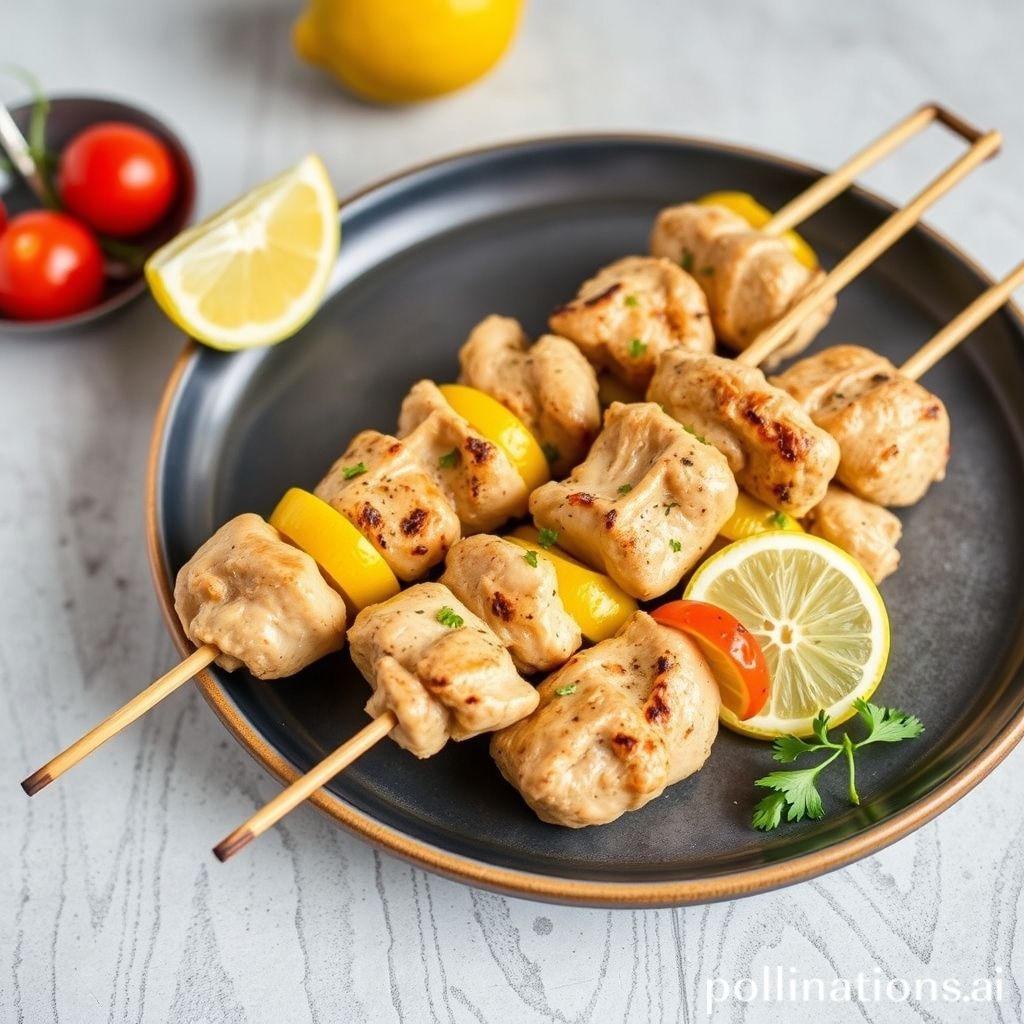
- 2 tbsp olive oil
- 1 lb chicken breast, sliced
- Salt and pepper, to taste
- 3 cloves garlic, minced
- 1/4 cup sun-dried tomatoes, julienned
- 1 cup spinach leaves
- 1 cup heavy cream
- 1/2 cup grated Parmesan cheese
- 8 oz penne pasta
- 1 tbsp Italian herbs
With each ingredient thoughtfully chosen and harmoniously combined, you’ll find that crafting the perfect Tuscan Chicken Pasta is an art form—a delightful symphony of flavors and textures that are deliciously decadent. But what are the secrets that elevate this dish to perfection? Read on, as we unveil the mysteries and techniques that transform these simple ingredients into a culinary jewel, promising to make your taste buds sing with every bite.
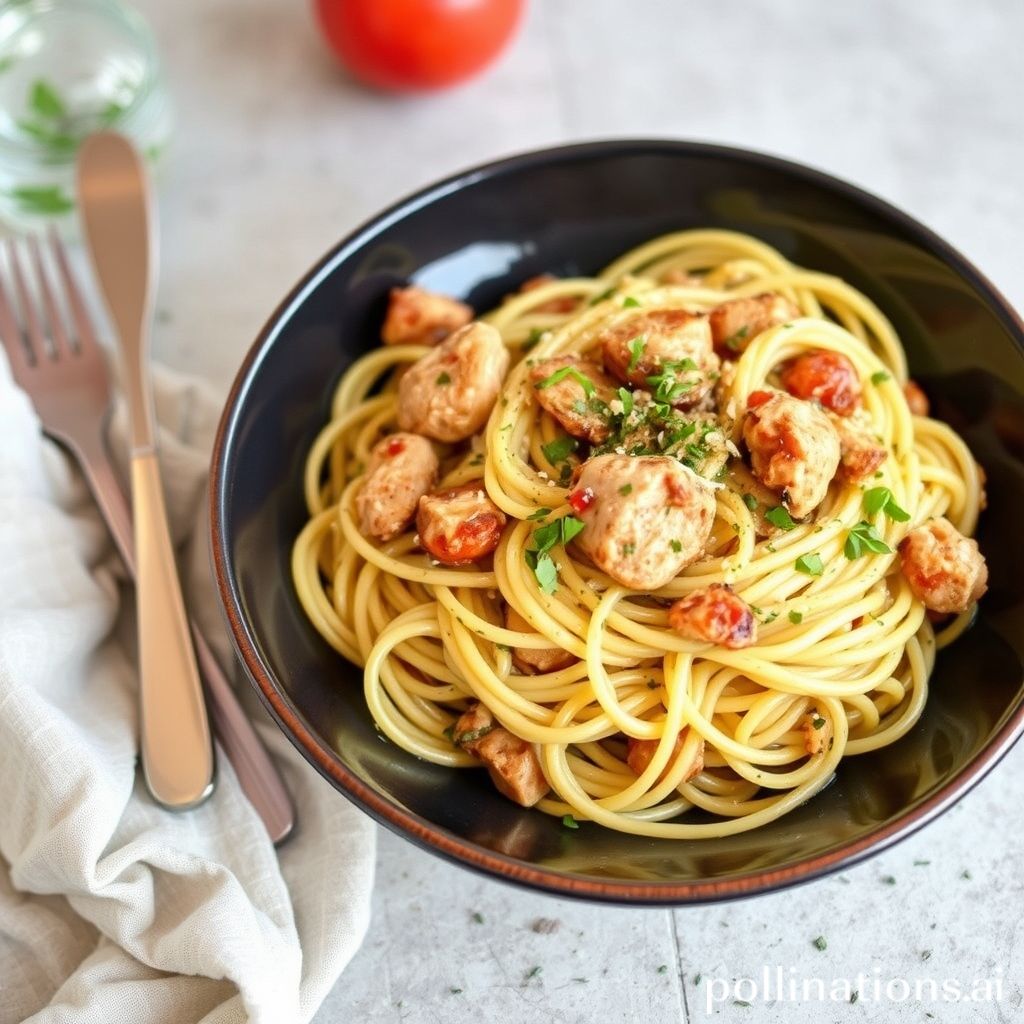
Overview of Tuscan Chicken Pasta: Key Ingredients and Flavor Profile
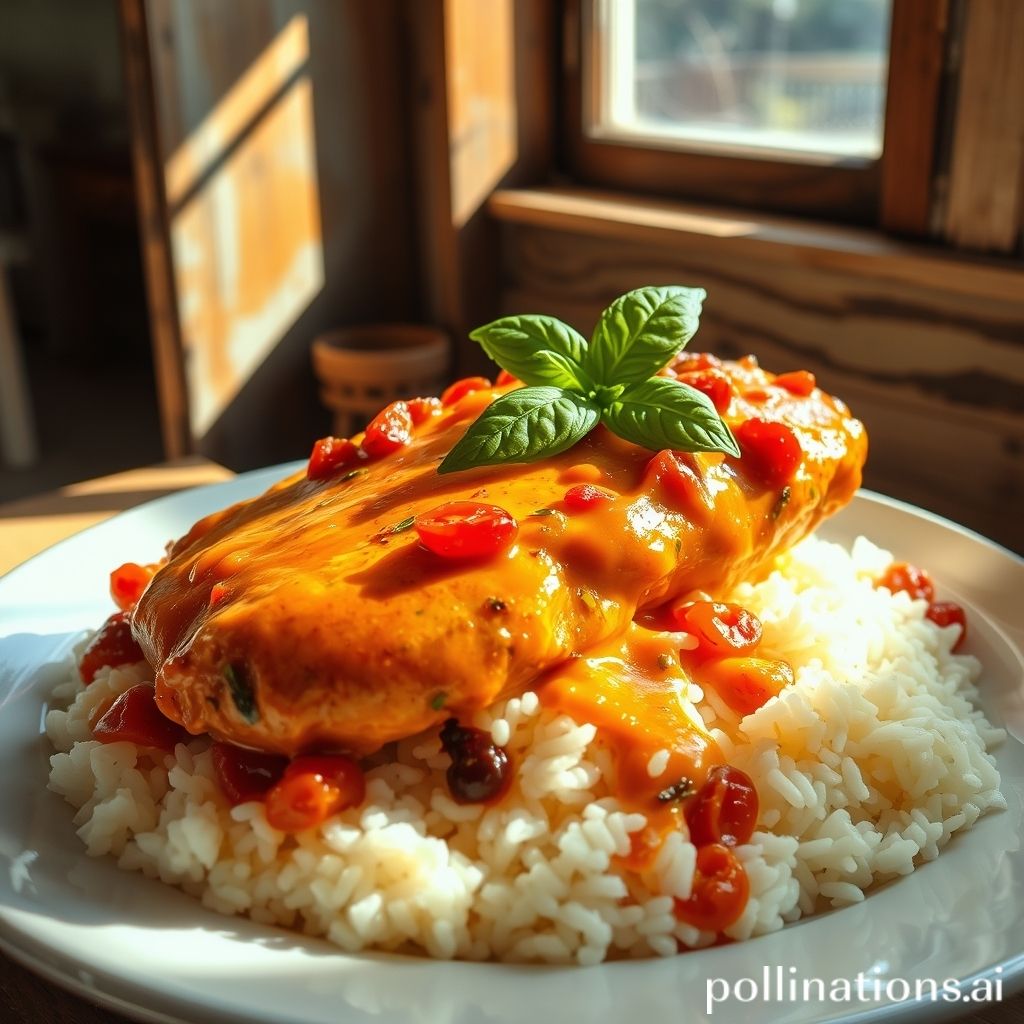
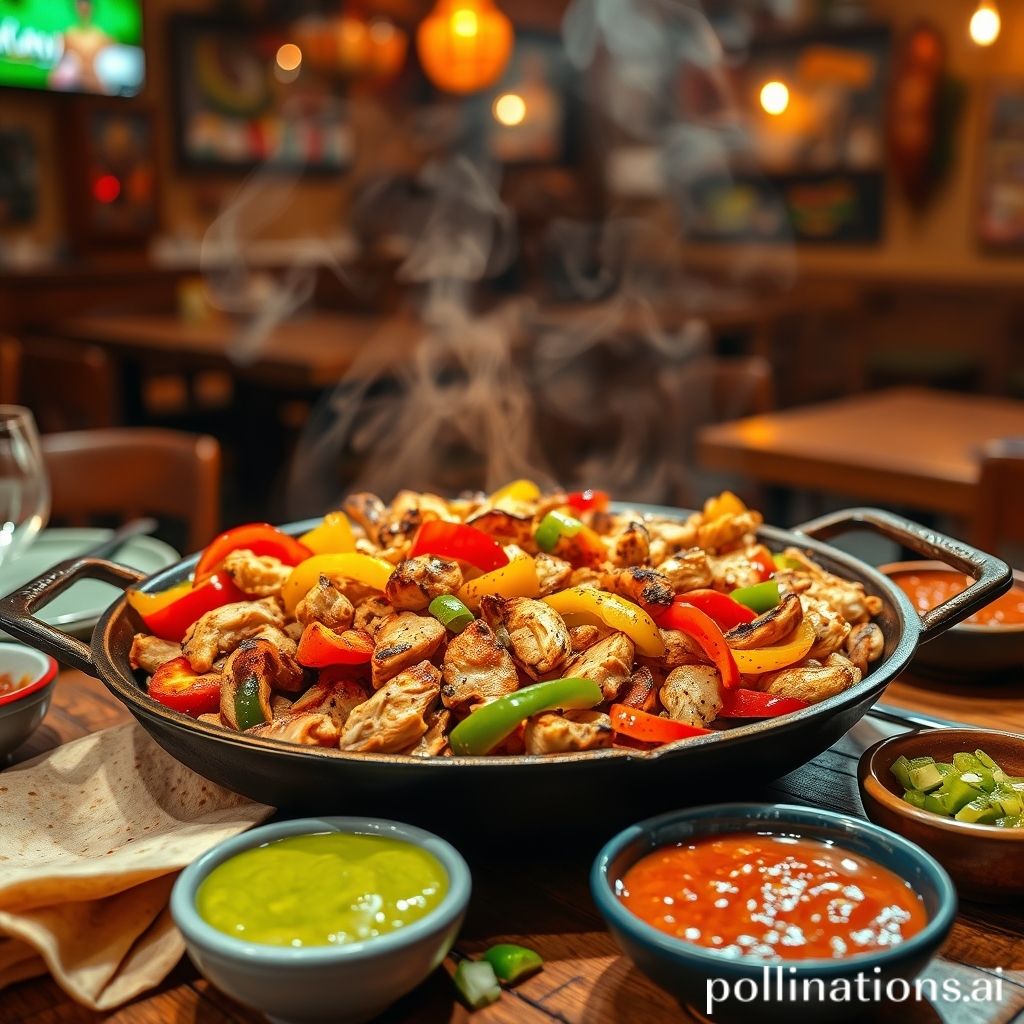
Tuscan Chicken Pasta is a delectable fusion of creamy textures and savory flavors, embodying the essence of Italian culinary tradition. At its heart, this dish is a combination of succulent pieces of chicken and perfectly cooked pasta, enveloped in a creamy, garlic-infused sauce. The richness of the sauce is often enhanced by the inclusion of heavy cream and Parmesan cheese, providing a velvety backdrop for the other ingredients.
Key ingredients that define this classic dish include sun-dried tomatoes, which impart a sweet-tart flavor, and baby spinach for a fresh, earthy note. The addition of herbs such as basil and oregano brings an aromatic complexity that ties all the components together. Crushed red pepper flakes may be used to introduce a hint of heat, providing a welcome contrast to the creaminess of the sauce.
The flavor profile of Tuscan Chicken Pasta is robust yet harmonious, with a perfect balance of savory, creamy, and slightly tangy notes. It is a dish that appeals to the senses, offering both comfort and a touch of elegance, making it a beloved choice for both casual weeknight dinners and special occasions.
Step-by-Step Guide to Preparing Tuscan Chicken Pasta at Home
Tuscan Chicken Pasta is a delicious and satisfying dish that you can easily prepare at home. Start by gathering your ingredients: boneless chicken breasts, olive oil, garlic, sun-dried tomatoes, cream, chicken broth, Parmesan cheese, baby spinach, and pasta of your choice.
First, season the chicken breasts with salt and pepper, then heat olive oil in a large skillet over medium heat. Add the chicken and cook until both sides are golden brown and the meat is fully cooked through. Remove the chicken and set it aside.
In the same skillet, add minced garlic and sauté until fragrant. Stir in the sun-dried tomatoes, followed by the chicken broth and cream, allowing the mixture to simmer and thicken.
As the sauce thickens, cook your pasta according to the package instructions. Once the pasta is al dente, drain it and add it to the skillet.
Slice the chicken and return it to the pan, adding the spinach as well. Toss everything together and let it cook for a few more minutes until the spinach wilts. Sprinkle with Parmesan cheese and toss again to combine. Serve hot and enjoy your homemade Tuscan Chicken Pasta.
Tips for Choosing the Best Pasta for Tuscan Chicken Pasta
When preparing a delicious Tuscan Chicken Pasta, selecting the right type of pasta is crucial to achieving the perfect balance of flavor and texture. Traditionally, a pasta that can hold onto the creamy sauce is preferred, so opt for varieties like fettuccine, penne, or rigatoni. These shapes offer ridges or a sturdy surface area to capture and cradle the rich, velvety sauce, ensuring every bite is bursting with flavor.
Consider the cooking time of your chosen pasta to ensure it cooks perfectly al dente. Overcooked pasta can become too soft and compromise the dish’s overall texture. A good tip is to follow the package instructions and check the pasta a minute or two before the recommended time.
Quality should not be overlooked. Opt for pasta made from high-quality semolina flour, as this type often provides a superior texture and taste. Note that dried pasta generally holds up better in hearty dishes compared to fresh varieties. This makes it an excellent choice for this creamy, flavorful meal.
Finally, consider the portion size of your pasta. It’s easy to overestimate, so weigh your pasta to maintain the balance between the juicy chicken, vibrant spinach, and luscious sauce.
Variations and Substitutions: Making Tuscan Chicken Pasta to Suit Your Taste
Tuscan Chicken Pasta is a versatile dish that invites culinary creativity, allowing you to tailor it to your personal taste preferences. One popular variation is to add a touch of heat by incorporating some red pepper flakes or a diced jalapeño for those who enjoy a spicy kick. If you prefer a creamier texture, consider using a blend of heavy cream and cream cheese to enhance the sauce’s richness.
For those looking to make the dish lighter, substitute the traditional cream with a coconut milk alternative or a reduced-fat option. You can also swap out the pasta for a whole-grain or gluten-free variety to cater to dietary needs. Vegetarians can enjoy a delicious alternative by replacing chicken with protein-rich chickpeas or tofu, which will still blend beautifully with the other flavors.
Additionally, the inclusion of seasonal vegetables such as zucchini or spinach can add freshness and nutritional value. To further customize your Tuscan Chicken Pasta, experiment with different herbs like rosemary or thyme to intensify the aromatic experience. Whether you stick to the classic recipe or explore these variations, Tuscan Chicken Pasta offers a delicious foundation for a meal that suits any palette.
Pairing Suggestions: Wines and Sides to Complement Tuscan Chicken Pasta
Tuscan Chicken Pasta, with its rich and creamy sauce, paired with tender chicken and sun-dried tomatoes, calls for a complementary wine and side dishes that enhance its flavors without overpowering them. When selecting a wine, consider a crisp Pinot Grigio or a light-bodied Chardonnay. These wines offer a fresh acidity that cuts through the creaminess of the sauce, providing a delightful balance. For those who prefer red wine, a Chianti with its medium body and fruity notes can complement the savory elements of the dish.
In terms of side dishes, a simple green salad with a tangy vinaigrette works beautifully to contrast the richness of the pasta, adding a refreshing crunch to the meal. You might also consider serving a warm loaf of garlic bread, perfect for soaking up the luscious sauce and providing a satisfying texture. If you prefer something lighter, roasted asparagus or steamed broccoli with a hint of lemon zest could offer a vibrant contrast and tie the meal together. No matter the pairing, ensure that each element complements the others, creating a harmonious dining experience that transports you to the heart of Tuscany.
Conclusion
In conclusion, mastering the art of Tuscan Chicken Pasta opens the door to a world of delicious possibilities. This dish not only showcases the simplicity and elegance of Italian cuisine but also offers a rich tapestry of flavors that captivates any palate. As you explore the nuances of creating this culinary masterpiece, the journey only becomes more rewarding with each savorous bite.
For those eager to expand their culinary repertoire beyond Tuscan Chicken Pasta, The Chicken Bible is an invaluable resource. This comprehensive guide offers 500 innovative recipes to transform your chicken cooking from mundane to magnificent, ensuring every meal is a feast for the senses. From easy dinners to delightful braises and fiery stir-fries, the book has something for every taste and occasion. Don’t miss the chance to elevate your cooking skills and make every chicken dish extraordinary. Grab your copy of The Chicken Bible today and revolutionize your kitchen adventures!