Table of Contents
- Introduction
- Ingredients needed for Creamy Sun-Dried Tomato Chicken
- Step-by-step cooking instructions
- Tips for choosing the best sun-dried tomatoes
- How to customize the dish with additional flavors
- Pairing ideas: What to serve with Creamy Sun-Dried Tomato Chicken
- Nutritional information and health benefits
- Common mistakes to avoid when making this dish
- Storage and reheating recommendations
- Conclusion
- Frequently Asked Questions
Introduction
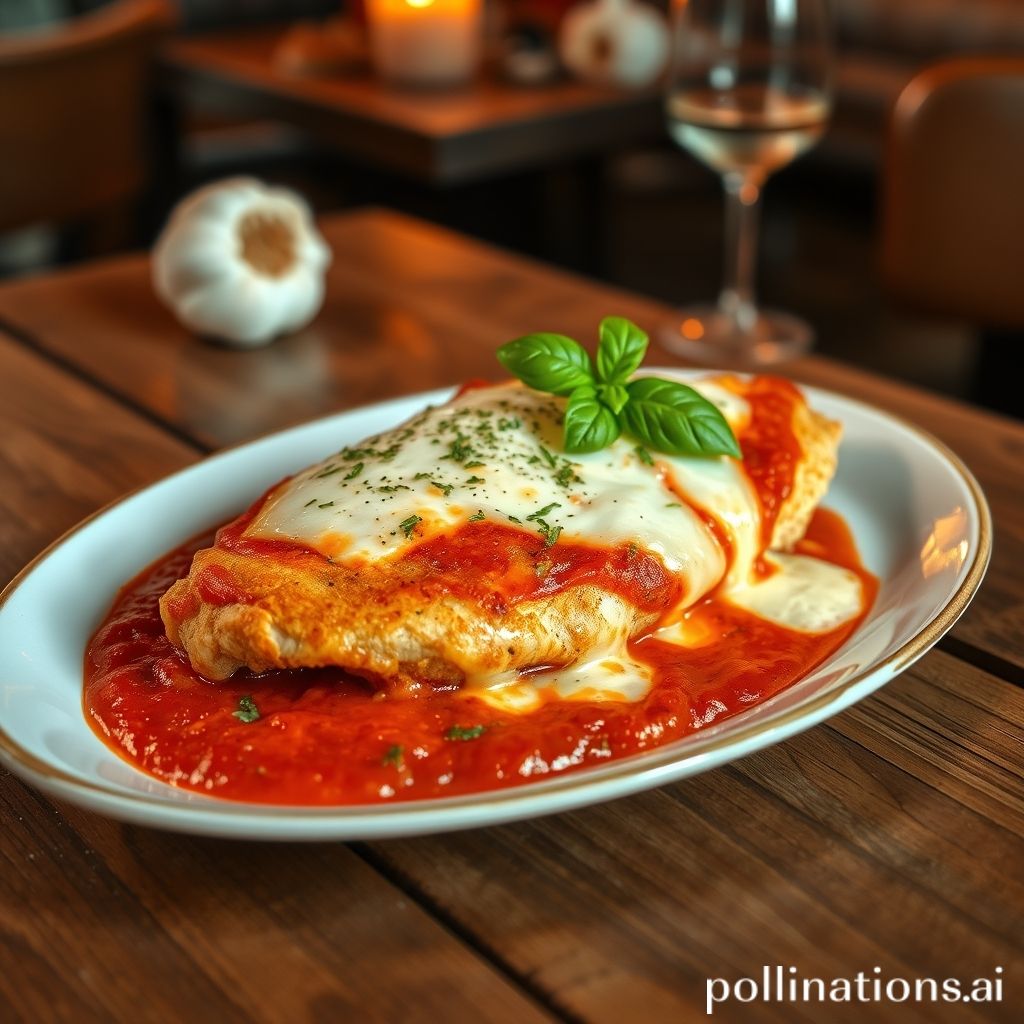
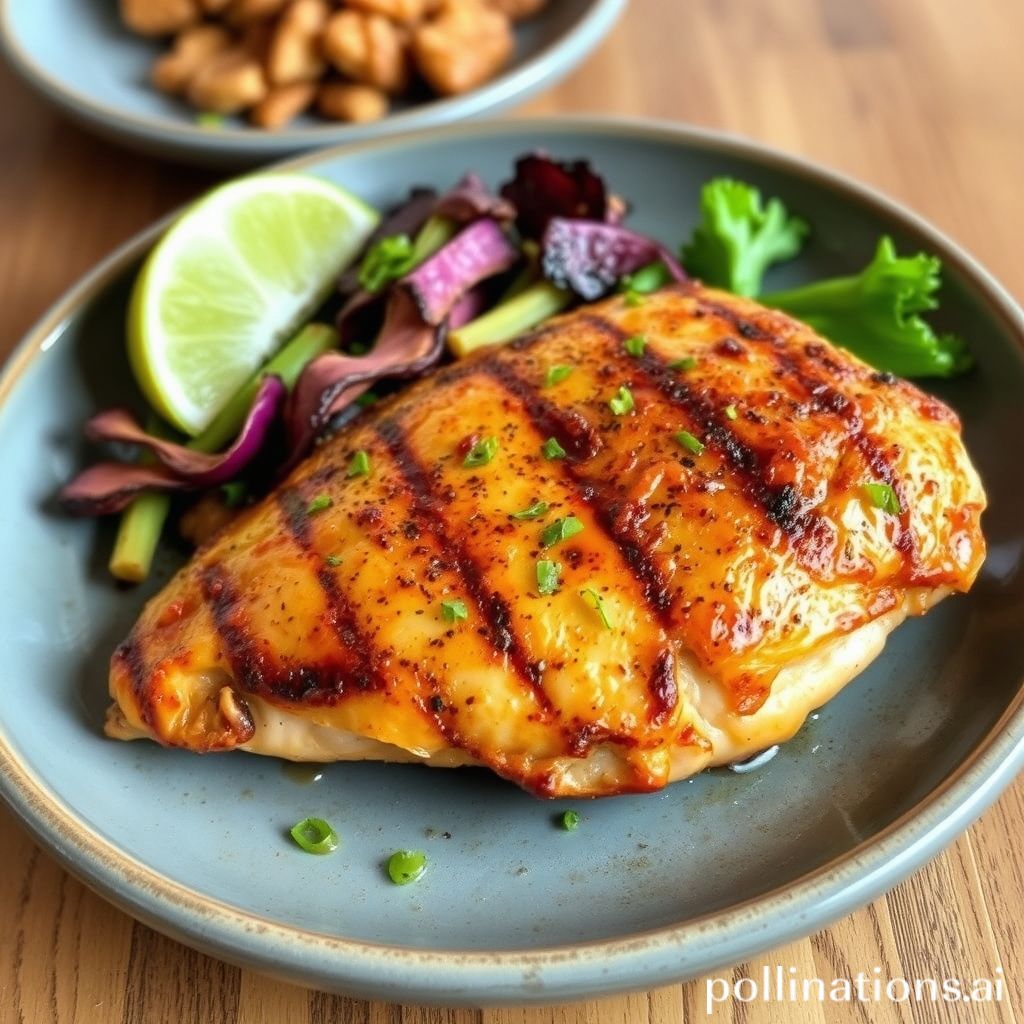
Craving a meal that combines elegance with simplicity? Look no further than our creamy sun-dried tomato chicken recipe, a sumptuous dish that promises to tantalize your taste buds and impress your dinner guests. A delightful symphony of flavors awaits as the rich creaminess of our sauce mingles flawlessly with the tangy sweetness of sun-dried tomatoes, each bite a harmonious blend of savory goodness. Perfect for a cozy family dinner or an inspiring date night, this recipe is a testament to the art of culinary indulgence.
Gather your ingredients and get ready to embark on a flavor journey. You’ll need:
- 4 boneless, skinless chicken breasts
- 1/2 cup sun-dried tomatoes, packed in oil, drained and chopped
- 1 cup heavy cream
- 1/2 cup grated Parmesan cheese
- 2 cloves garlic, minced
- 1 tablespoon olive oil
- Salt and pepper to taste
- Fresh basil leaves for garnish
Join us as we dive into the step-by-step guide that transforms these ingredients into a work of culinary art.
Ingredients needed for Creamy Sun-Dried Tomato Chicken
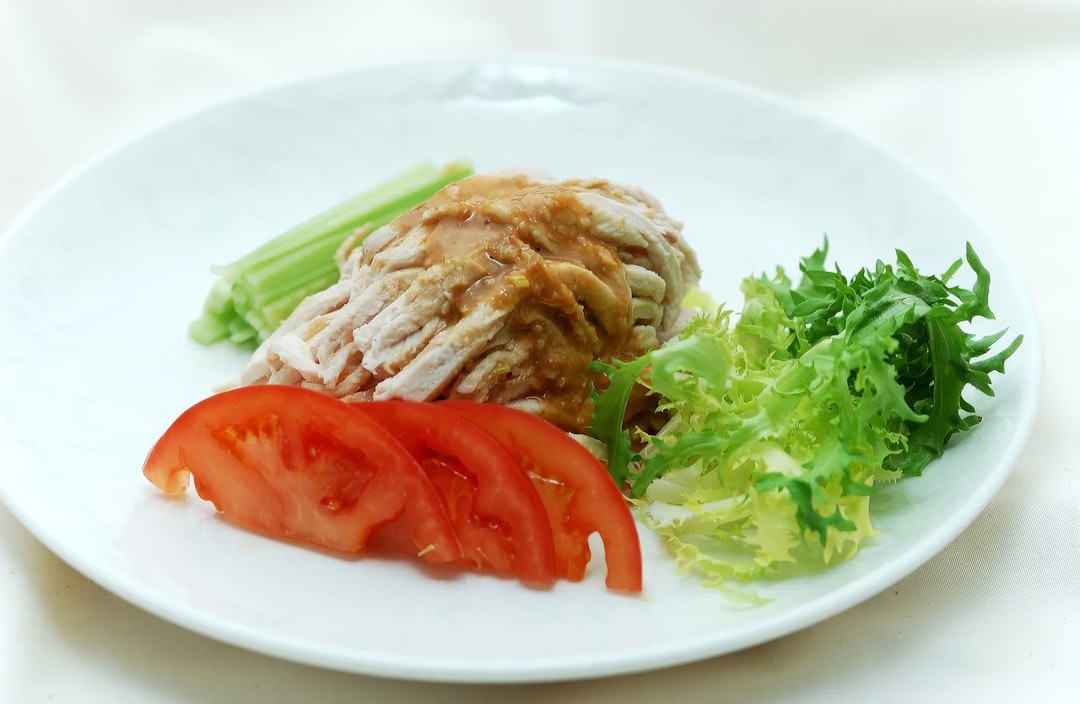
To create a delectable Creamy Sun-Dried Tomato Chicken dish, you’ll need a selection of carefully chosen ingredients, each contributing to its rich flavor and creamy texture. Begin with boneless, skinless chicken breasts, which serve as the protein base. Then, gather sun-dried tomatoes, preferably in oil, to provide a distinct, tangy sweetness. The creamy aspect comes from heavy cream, which adds a luscious texture to the sauce.
For seasoning, you’ll require garlic cloves, which infuse the dish with aromatic depth, along with salt and pepper to taste. A dash of Italian seasoning or dried herbs enhances the dish with a herby fragrance. Olive oil is necessary for sautéing the chicken and garlic, ensuring a flavorful base. Freshly grated Parmesan cheese is a must, providing a savory, umami punch that complements the creamy sauce.
Additionally, fresh spinach is often included for a pop of color and a hint of earthiness, while chicken broth or stock helps in crafting a well-rounded sauce. Each ingredient not only plays a role in creating a harmonious blend of flavors but also enhances the overall presentation, making it a standout dish on any dining table.
Step-by-step cooking instructions
To make creamy sun-dried tomato chicken, start by seasoning the chicken breasts with salt, pepper, and a touch of oregano.
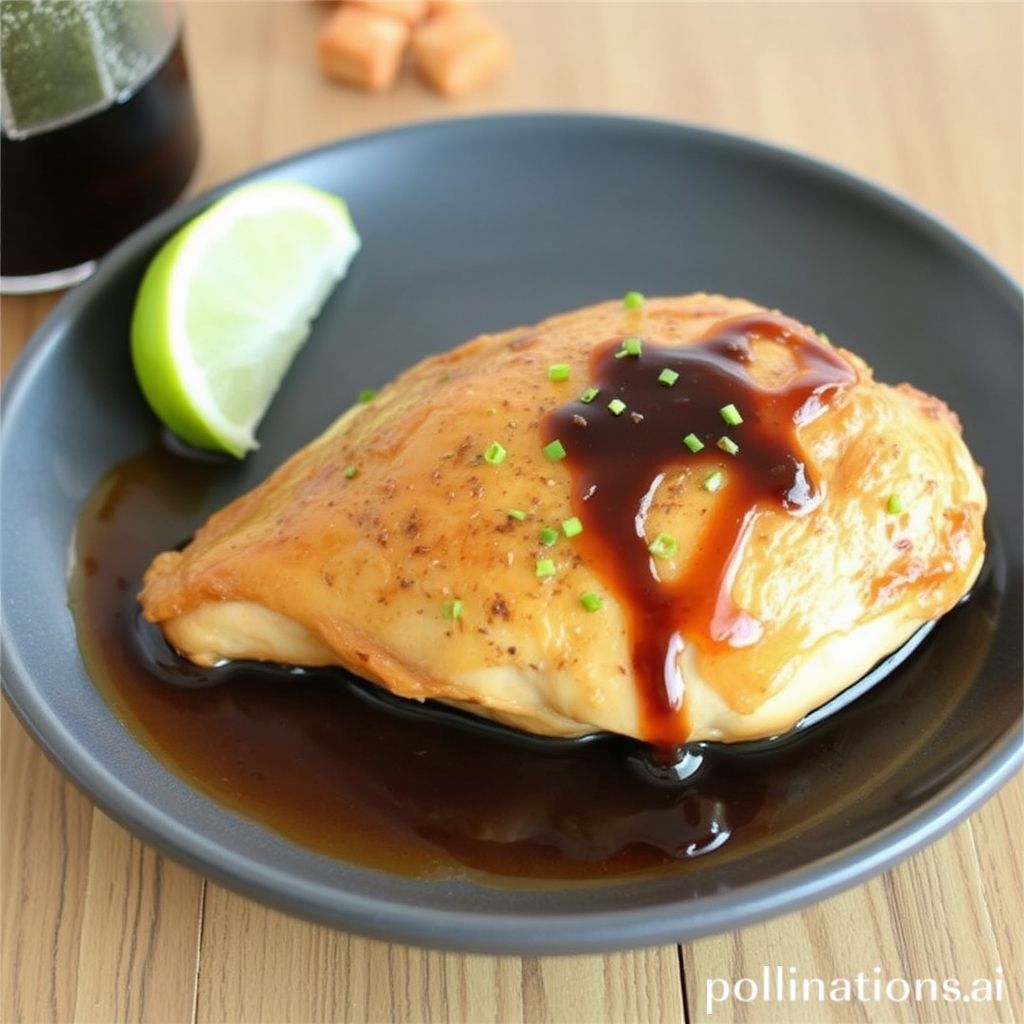
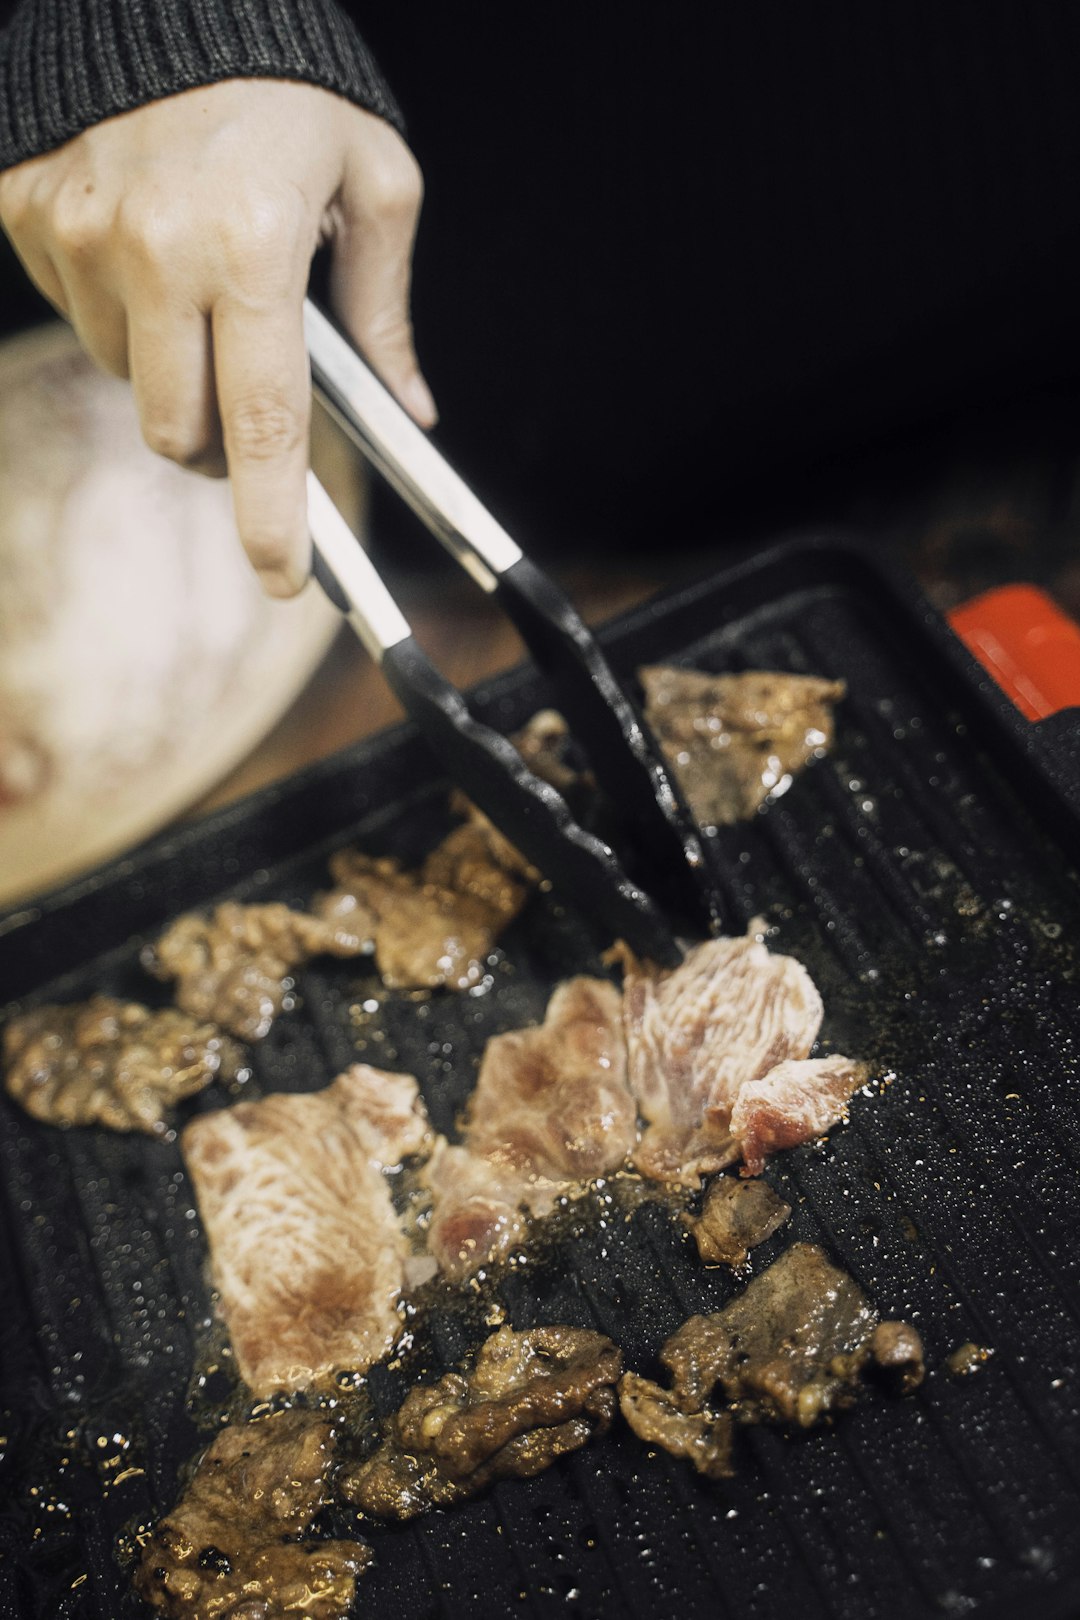
Heat a tablespoon of olive oil over medium-high heat in a large skillet. Once hot, add the chicken and cook until golden brown on each side, about 5-7 minutes per side. Remove the chicken and set aside.
In the same skillet, lower the heat to medium and add minced garlic, cooking until fragrant. Add sun-dried tomatoes, stirring for a minute or two until they begin to soften.
Pour in a cup of chicken broth, gently scraping the bottom of the skillet to deglaze. Once the liquid is reduced by half, add a cup of heavy cream and simmer until the sauce thickens.
Return the chicken to the skillet, spooning the sauce over it to ensure it’s well-coated. Cook for another 5 minutes until the chicken is cooked through.
Garnish with chopped basil or parsley before serving. This dish pairs beautifully with pasta, crusty bread, or a fresh green salad for a complete meal experience.
Tips for choosing the best sun-dried tomatoes
Selecting the best sun-dried tomatoes is essential for enhancing the flavor of your creamy sun-dried tomato chicken dish. When shopping, pay attention to the texture of the tomatoes. Opt for tomatoes that are slightly pliable, indicating they haven’t been overly dried, which can make them chewy and difficult to incorporate into dishes.
Consider the packaging as well. Sun-dried tomatoes come either packed in oil or dry. Those packed in oil are softer and often come seasoned, adding an immediate depth of flavor, but they should be drained before adding to your dish to avoid excess oil.
For dry-packed tomatoes, ensure they have a rich, deep red color, as this indicates freshness and proper drying. These will need to be rehydrated before use; simply soak them in hot water or broth for about 20 minutes.
Another tip is to check the seasoning. Some sun-dried tomatoes are seasoned with herbs or spices which can complement or overpower your dish. Choose plain tomatoes if you want full control over your seasoning. Finally, always review the expiration date and opt for organic options if available, to avoid preservatives and get a purer flavor profile.
How to customize the dish with additional flavors
Customizing creamy sun-dried tomato chicken with additional flavors can take this delectable dish to new heights. One way to enhance its richness is by adding fresh herbs such as basil or oregano, which impart a vibrant, aromatic essence that balances the creamy sauce. For a touch of heat, consider incorporating crushed red pepper flakes or a splash of hot sauce, which can add depth and a spicy kick.
Another option is to introduce garlic, either minced or roasted, for a robust flavor that complements the sun-dried tomatoes. If you are a fan of umami, a sprinkle of Parmesan cheese or a dash of soy sauce can provide a savory depth that enhances the overall taste. For a bit of zest, a squeeze of lemon juice can brighten the flavors and add a refreshing contrast to the creaminess.
To incorporate more texture, try adding sliced mushrooms or chopped bell peppers. These ingredients not only provide a nutritional boost but also bring a delightful crunch. For those who enjoy a hint of sweetness, adding a handful of caramelized onions can create a deliciously complex flavor profile. These customizations can transform your creamy sun-dried tomato chicken into a personalized culinary masterpiece.
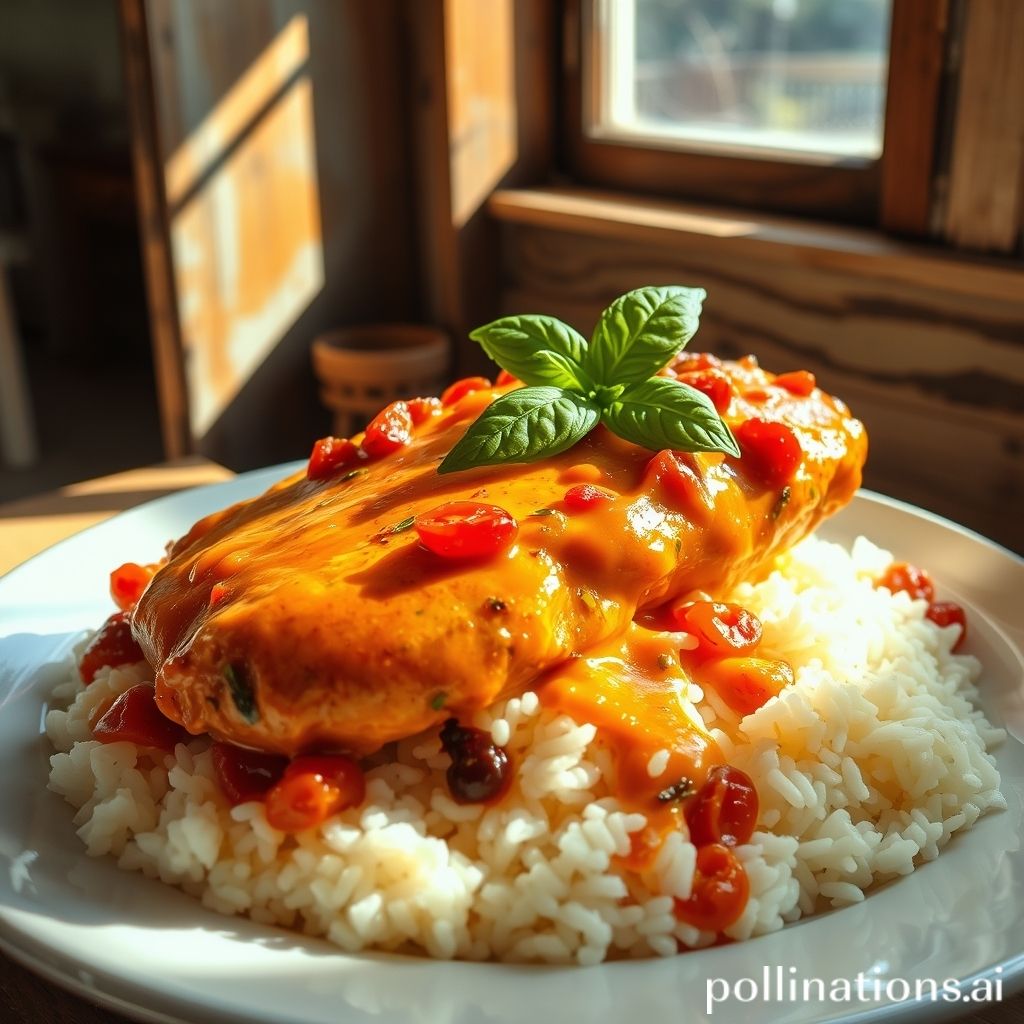
Pairing ideas: What to serve with Creamy Sun-Dried Tomato Chicken
When it comes to serving creamy sun-dried tomato chicken, there’s an array of delightful options to complement this flavorful dish. A classic choice is to pair it with a creamy risotto, allowing the rich flavors of the sun-dried tomatoes and chicken to shine through alongside the luxurious texture of the rice. Additionally, serving it with a side of sautéed spinach or roasted asparagus can add a fresh, vibrant element to the meal, perfectly balancing the creaminess of the sauce.
For those who enjoy a bit of crunch, consider serving the chicken with a crisp salad drizzled in a light vinaigrette, helping to cut through the richness and add a refreshing bite. If you’re in the mood for something heartier, garlic mashed potatoes are an excellent partner, offering a comforting and satisfying backdrop to the chicken’s bold flavors.
Pasta enthusiasts might opt for a simple penne or fettuccine, tossing it lightly in olive oil or butter to create a harmonious base that soaks up the luscious sauce. No matter your choice, the versatility of this dish allows for an endless variety of pairings that can effortlessly elevate your dining experience.
Nutritional information and health benefits
Creamy sun-dried tomato chicken is not only a delicious meal but also offers some nutritional benefits that can make it a worthwhile addition to your diet. This dish, typically made with skinless chicken breasts, provides a high-quality source of lean protein, essential for muscle repair and overall body maintenance. Chicken is rich in important nutrients like B vitamins, which support energy production and brain health.
Sun-dried tomatoes add a unique flavor to this dish, while also being packed with vitamins such as vitamin C, vitamin K, and several B vitamins. They are also a good source of antioxidants, which help fight off free radicals in the body. Antioxidants can play a role in reducing inflammation and potentially lowering the risk of chronic diseases.
The creamy texture of the dish usually comes from the use of cream or cream-based sauces, which should be consumed in moderation. Opting for low-fat dairy options can reduce the dish’s overall fat content, making it a healthier choice. Pairing the chicken with a side of fresh vegetables or a whole-grain option can enhance its nutritional profile, providing fiber and additional vitamins to round out this savory meal.
Common mistakes to avoid when making this dish
When making creamy sun-dried tomato chicken, several common mistakes can significantly impact the final dish. One common error is not properly seasoning the chicken before cooking. Be sure to season both sides generously with salt and pepper to enhance the chicken’s natural flavors. Another mistake is overcrowding the pan, which can lead to steaming rather than searing the chicken. It is crucial to cook in batches if necessary to achieve a golden brown crust.
Overcooking the chicken is another pitfall to avoid. Chicken should be cooked to an internal temperature of 165°F (75°C) to remain juicy and tender. Using low-quality sun-dried tomatoes can also affect the dish’s taste; opting for high-quality tomatoes can make a significant difference in flavor. Additionally, using too little cream can result in a dish that’s lacking in richness, so be sure to adjust the cream according to your preference for a luscious sauce.
Finally, neglecting to taste the sauce before serving can lead to a bland dish. Make sure to adjust the seasoning and add herbs like basil or oregano for added depth. Avoid these pitfalls, and you’ll have a delicious, creamy sun-dried tomato chicken every time.
Storage and reheating recommendations
Proper storage and reheating of creamy sun-dried tomato chicken are crucial for maintaining its delightful taste and creamy texture. Once cooked, allow the dish to cool to room temperature before transferring it to an airtight container. Store it in the refrigerator for up to 3-4 days, ensuring it remains fresh and safe to eat. For longer storage, consider freezing the dish. Place the chicken in a freezer-safe container or heavy-duty freezer bag and ensure that it is sealed tightly to prevent freezer burn. This way, it can be stored for up to 2-3 months.
When ready to enjoy your creamy sun-dried tomato chicken again, the reheating process plays a key role in preserving its flavors and consistency. For refrigerated leftovers, gently reheat on the stovetop over medium heat, stirring occasionally, until thoroughly warmed. If reheating from frozen, it is best to thaw the dish in the refrigerator overnight before reheating in a similar manner. Alternatively, you can use a microwave to reheat; cover the dish and heat in short intervals, stirring between each to ensure even warming. Add a splash of cream or broth if needed to regain the sauce’s richness.
Conclusion
In conclusion, the Creamy Sun-Dried Tomato Chicken recipe is a true culinary delight, offering a rich and flavorful experience that’s both satisfying and versatile. With each step carefully outlined and the potential for customization, this dish caters to various taste preferences and dietary needs. Whether you’re aiming to impress at a dinner party or simply indulge in a comforting meal at home, this recipe is a sure way to elevate your cooking repertoire. As you explore this delectable dish, why not expand your chicken recipe collection even further? Discover the endless possibilities with The Chicken Bible: Say Goodbye to Boring Chicken with 500 Recipes for Easy Dinners, Braises, Wings, Stir-Fries, and So Much More. This comprehensive guide can transform your everyday meals into extraordinary feasts. Don’t miss the chance to enhance your culinary skills and delight your taste buds. Purchase your copy today and start exploring the delicious world of chicken recipes like never before!