Table of Contents
- Introduction
- Choosing the Right Ingredients: Chicken Tenders and Hot Sauce
- Preparing the Marinade: Balancing Flavor with Heat
- Coating the Chicken: Achieving the Perfect Crisp with Panko
- Baking Techniques: Ensuring Juicy and Crispy Results
- Pairing and Serving Suggestions
- Conclusion
- Frequently Asked Questions
Introduction
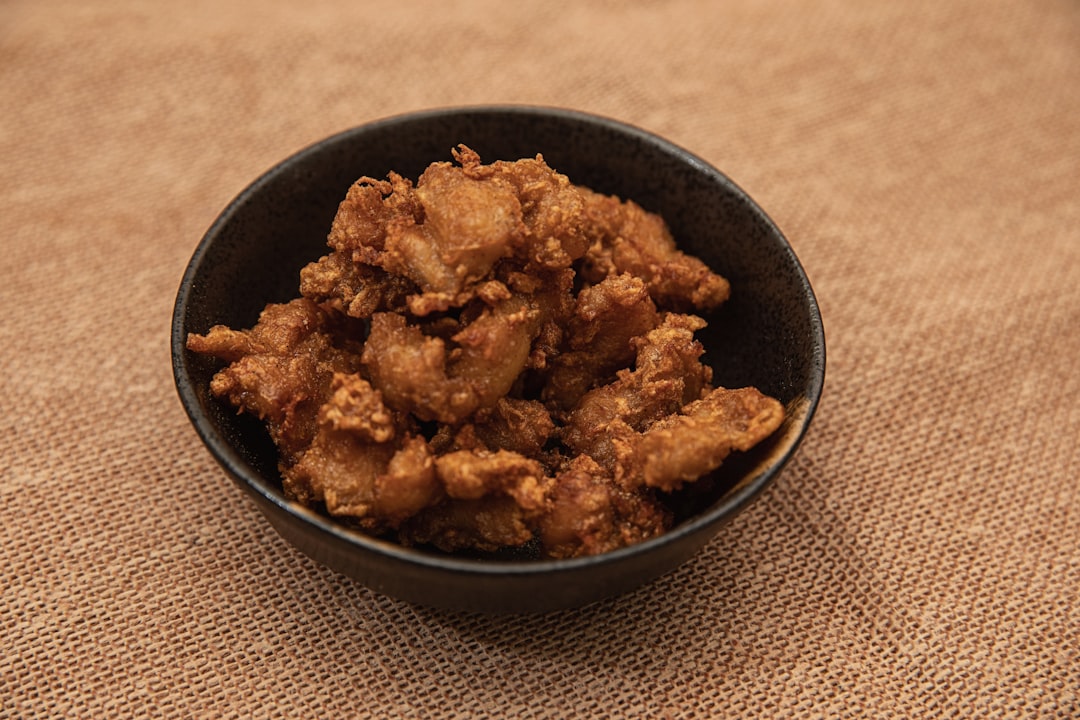
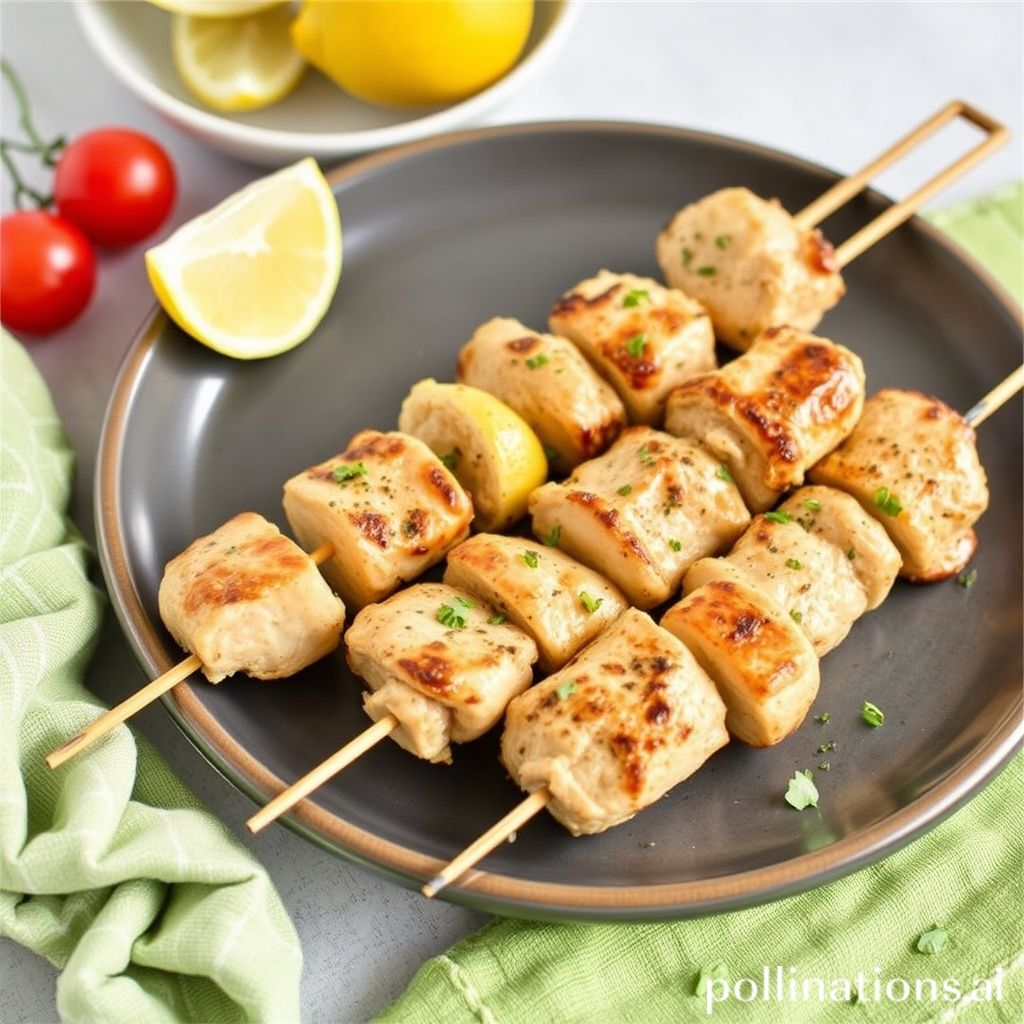
If your taste buds have been yearning for an adventure or you’re in search of a family-friendly dinner that will leave everyone craving for more, you’ve come to the right place. Buffalo Chicken Tenders are the perfectly crispy, slightly spicy delight that can transform an ordinary meal into a memorable feast.
Imagine tender strips of chicken, coated in a unique blend of spices and herbs, baked to perfection, and then generously drizzled with fiery buffalo sauce. Just the right amount of heat and crispiness, these tenders are not only mouthwateringly delicious but also healthier than their fried counterparts. Intrigued? Here’s a sneak peek at the ingredients you need to get started:

Ingredients:
- 1 pound of chicken tenders
- 1 cup of breadcrumbs
- 1/2 cup of hot buffalo sauce
- 1/4 cup of melted butter
- 1 teaspoon garlic powder
- Salt and pepper to taste
These simple yet flavorful ingredients come together to create a dish that’s fit for any occasion. Whether you’re entertaining guests or seeking the ultimate comfort food, these buffalo chicken tenders promise to deliver.
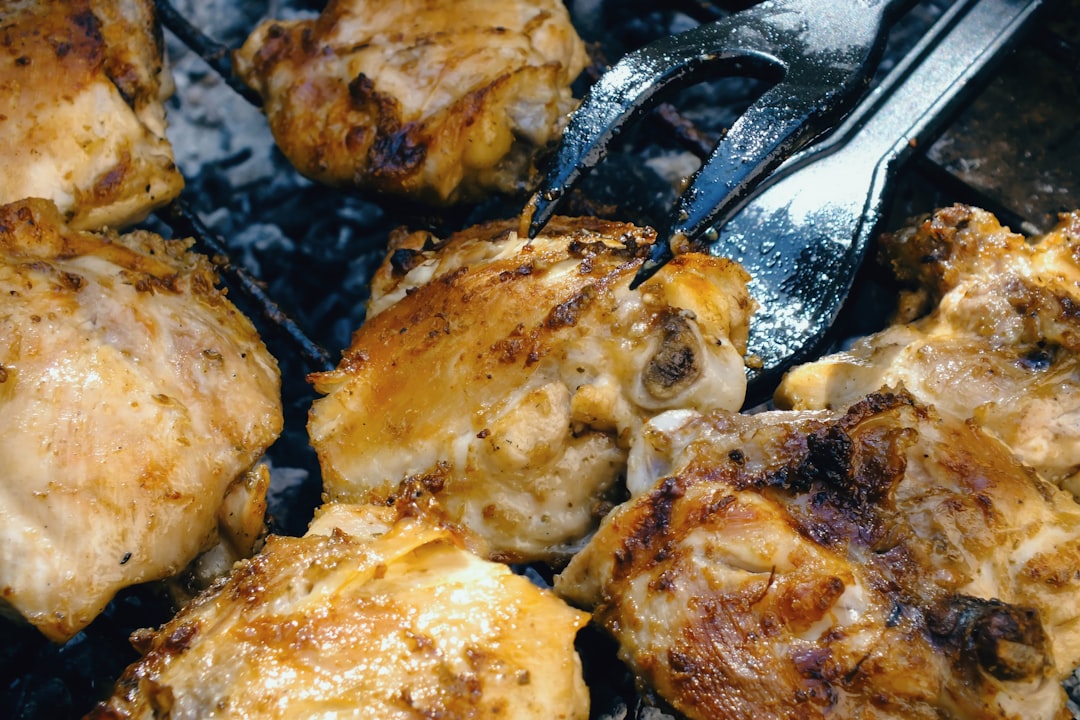
Choosing the Right Ingredients: Chicken Tenders and Hot Sauce
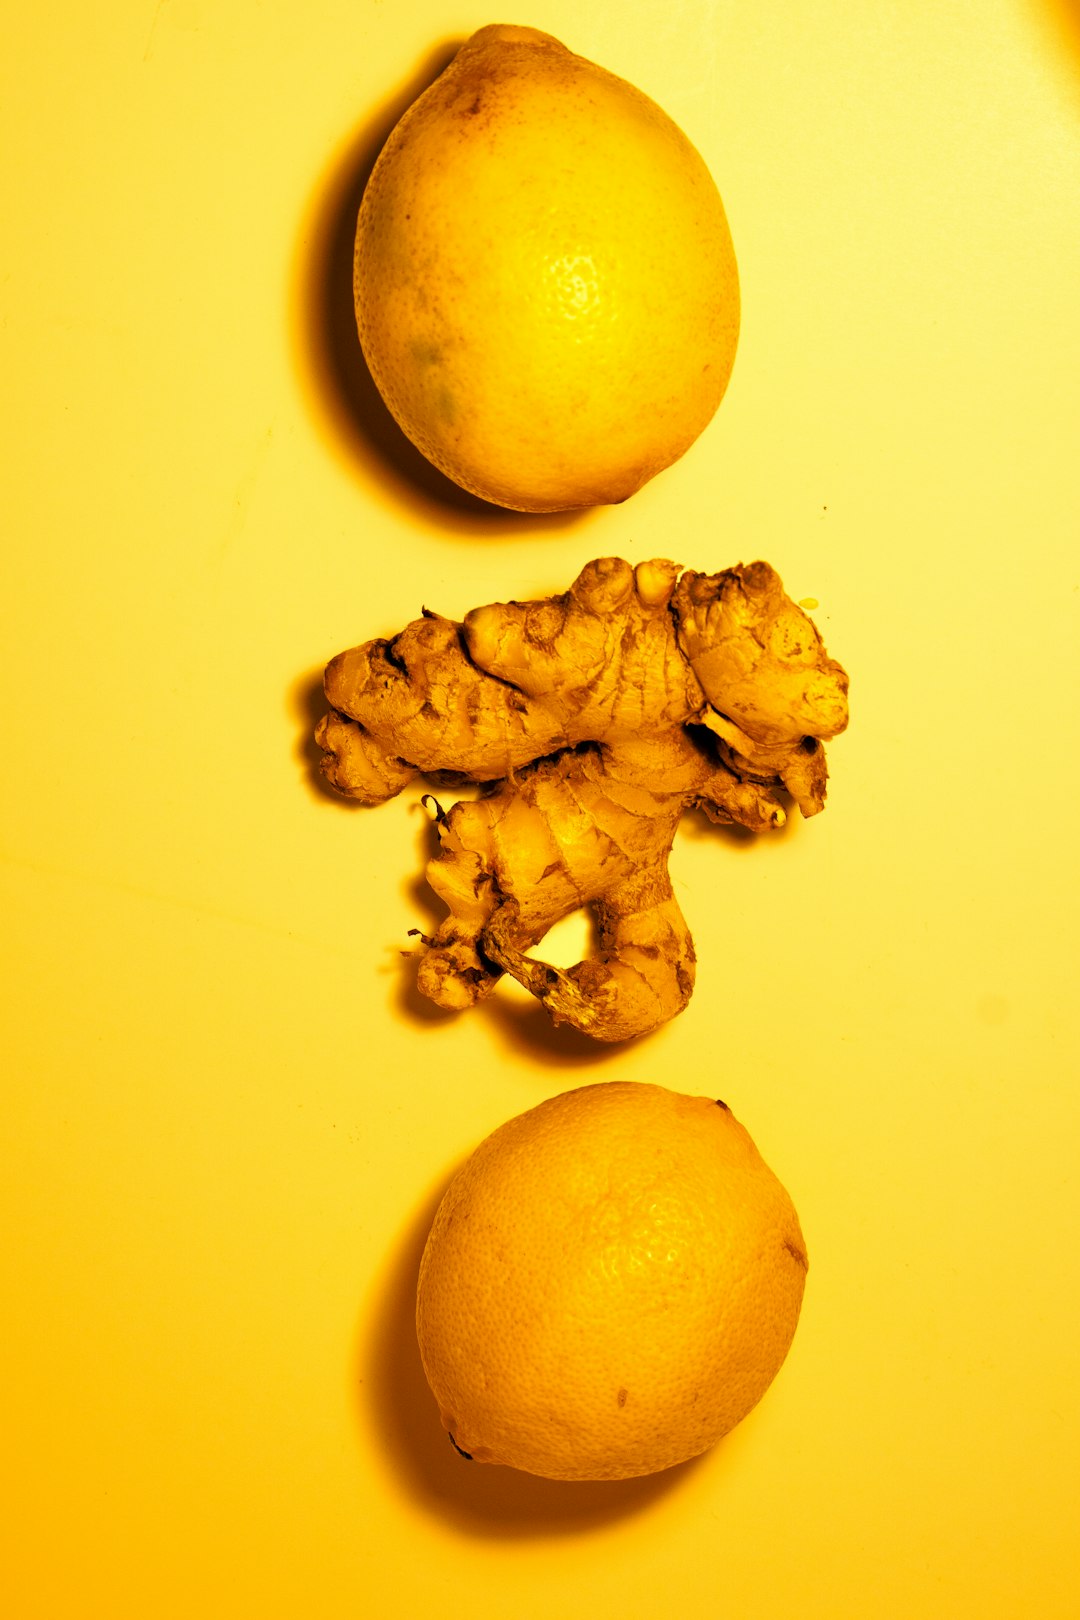
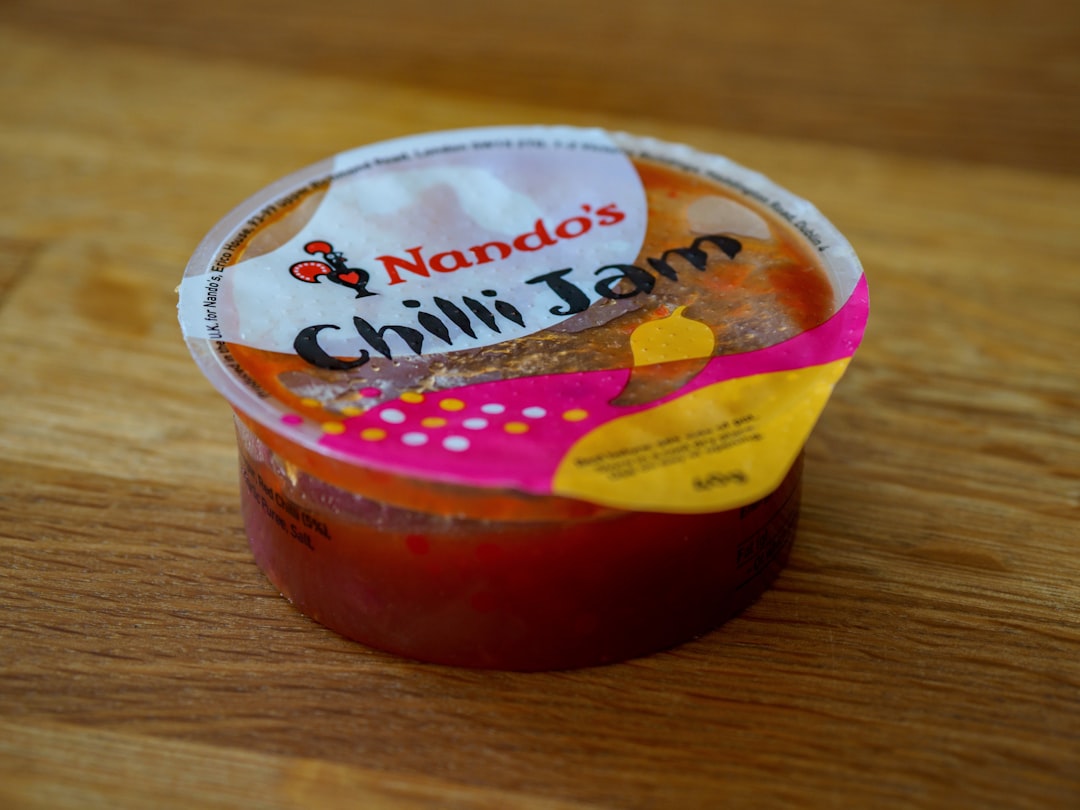
Choosing the right ingredients is key to making irresistible crispy baked buffalo chicken tenders. Start with high-quality chicken tenders. Opt for fresh, hormone-free chicken, if possible, to ensure the best texture and flavor. Look for tenders that are uniform in size, which helps in even cooking, so each piece has consistent juiciness and crispiness. When it comes to the signature kick of buffalo chicken, selecting the right hot sauce is crucial. Frank’s RedHot Original Cayenne Pepper Sauce is a classic choice, known for its balanced heat and rich flavor. However, feel free to experiment with other hot sauces to suit your spice preference, whether you want a milder heat or a fiery punch.
For those desiring a tangy and slightly sweet undertone, consider sauces infused with garlic or honey. Combine the sauce with melted butter for a rich base that coats the tenders evenly. Additionally, remember to season with a touch of salt and pepper to enhance all the flavors. With the right chicken and hot sauce combination, your buffalo chicken tenders will surely be a crowd-pleaser, crispy on the outside and tender on the inside.
Preparing the Marinade: Balancing Flavor with Heat
When preparing the marinade for crispy baked buffalo chicken tenders, achieving the perfect balance between flavor and heat is essential. The marinade serves as the first layer of taste, setting the stage for the buffalo sauce that will coat the baked tenders. Start with a base of buttermilk, which not only tenderizes the chicken but also provides a slight tang that complements the spicy buffalo flavors. Add in hot sauce—choose your preferred level of spiciness—to infuse the chicken with its hallmark heat. For a deeper flavor profile, incorporate garlic powder, onion powder, and a pinch of paprika. These spices enhance the savory notes without overpowering the heat.
Don’t forget a dash of salt and pepper to elevate the overall taste. For an extra kick, consider adding cayenne pepper, but remember, a little goes a long way. Mix all ingredients thoroughly and let the chicken tenders marinate for at least an hour in the refrigerator. This allows the flavors to penetrate the meat, ensuring each bite is seasoned perfectly. By balancing the elements of flavor and heat in your marinade, you’ll create a standout dish that’s both zesty and delicious.
Coating the Chicken: Achieving the Perfect Crisp with Panko
Achieving the perfect crisp on your baked buffalo chicken tenders starts with the right coating technique. Panko breadcrumbs are the secret ingredient to reaching that elevated level of crunchiness everybody craves. Unlike regular breadcrumbs, panko is lighter and flakier, allowing for a crunchier coating that complements the tenderness of the chicken inside. To coat the chicken effectively, start by setting up a breading station. You’ll need three shallow dishes: one with flour, one with beaten eggs, and the last with panko breadcrumbs mixed with your favorite seasonings such as garlic powder, onion powder, and a pinch of paprika for extra flavor.
Begin by dredging each chicken tender in the flour, ensuring it’s fully submerged. The flour helps the egg adhere to the chicken, which then acts as a glue for the panko. Dip the floured chicken into the beaten eggs, letting the excess drip off before pressing it into the panko mixture. Ensure each piece is thoroughly coated with panko on both sides by gently pressing the breadcrumbs into the chicken. This method not only guarantees an even coating but also results in a delightful textured finish that bakes to crispy perfection in the oven without using excess oil.
Baking Techniques: Ensuring Juicy and Crispy Results
To achieve crispy baked buffalo chicken tenders without compromising on juiciness, attention to technique is crucial. Start by selecting high-quality chicken tenders and patting them dry with paper towels to remove excess moisture, which helps the coating adhere better. For an extra crispy texture, consider using a combination of bread crumbs and crushed cornflakes or panko. This mixture creates a flavorful, crunchy exterior that contrasts beautifully with the tender chicken inside.
Before baking, preheat your oven to around 425°F (220°C) to ensure a hot start, which aids in crisping up the coating. A wire rack placed over a baking sheet allows air to circulate around the chicken, promoting even cooking and preventing sogginess. For added flavor and moisture, marinate the chicken in buttermilk or a mixture of spices and hot sauce for at least thirty minutes before breading.
While baking, observe the tenders and turn them halfway through to ensure even browning. Typically, baking for 15-20 minutes should suffice, but confirm doneness with a meat thermometer, ensuring the internal temperature reaches 165°F (74°C). The result is perfectly crispy buffalo chicken tenders that are juicy on the inside and packed with flavor.
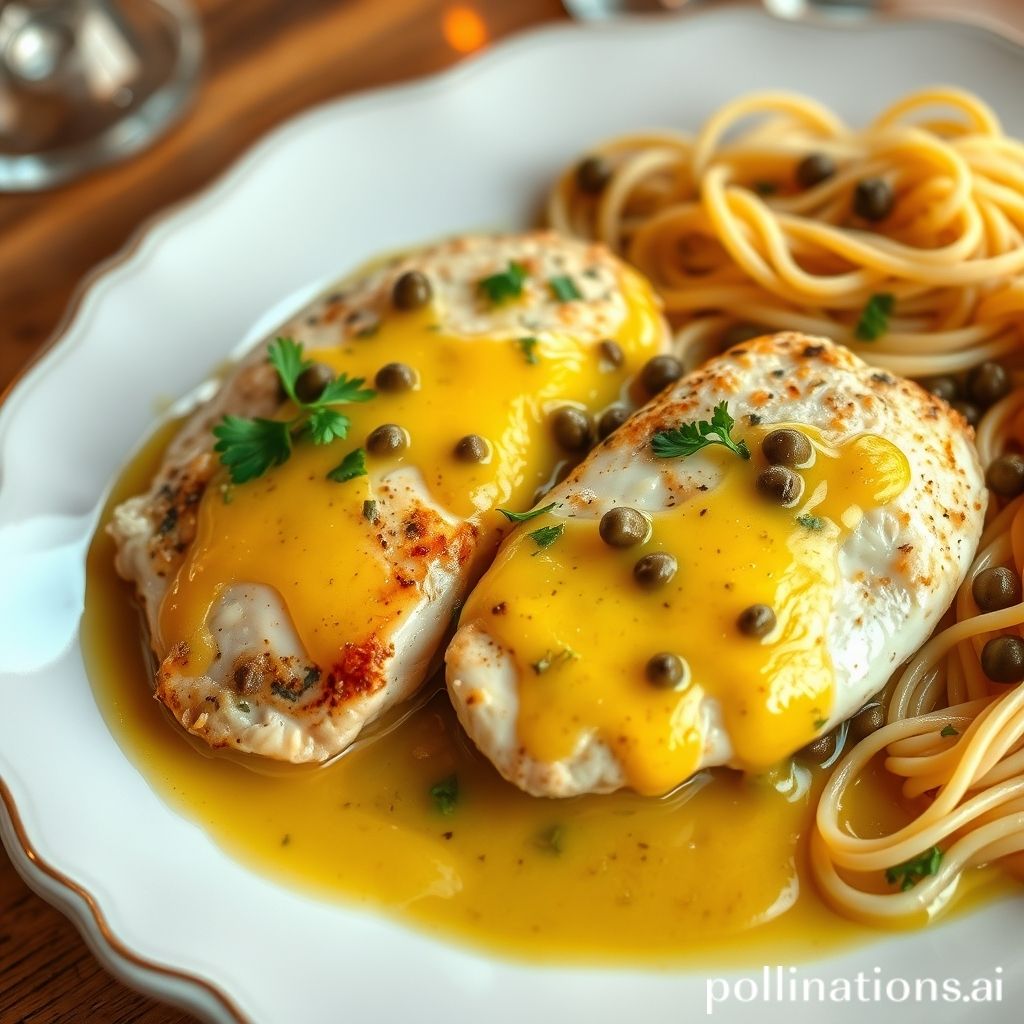
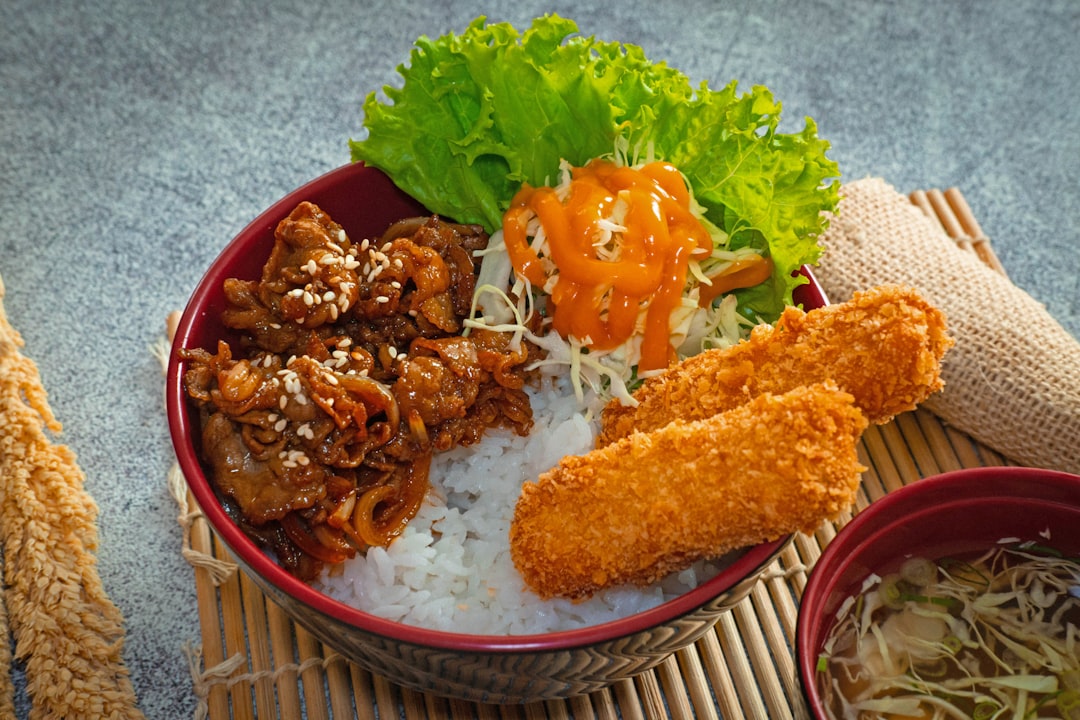
Pairing and Serving Suggestions
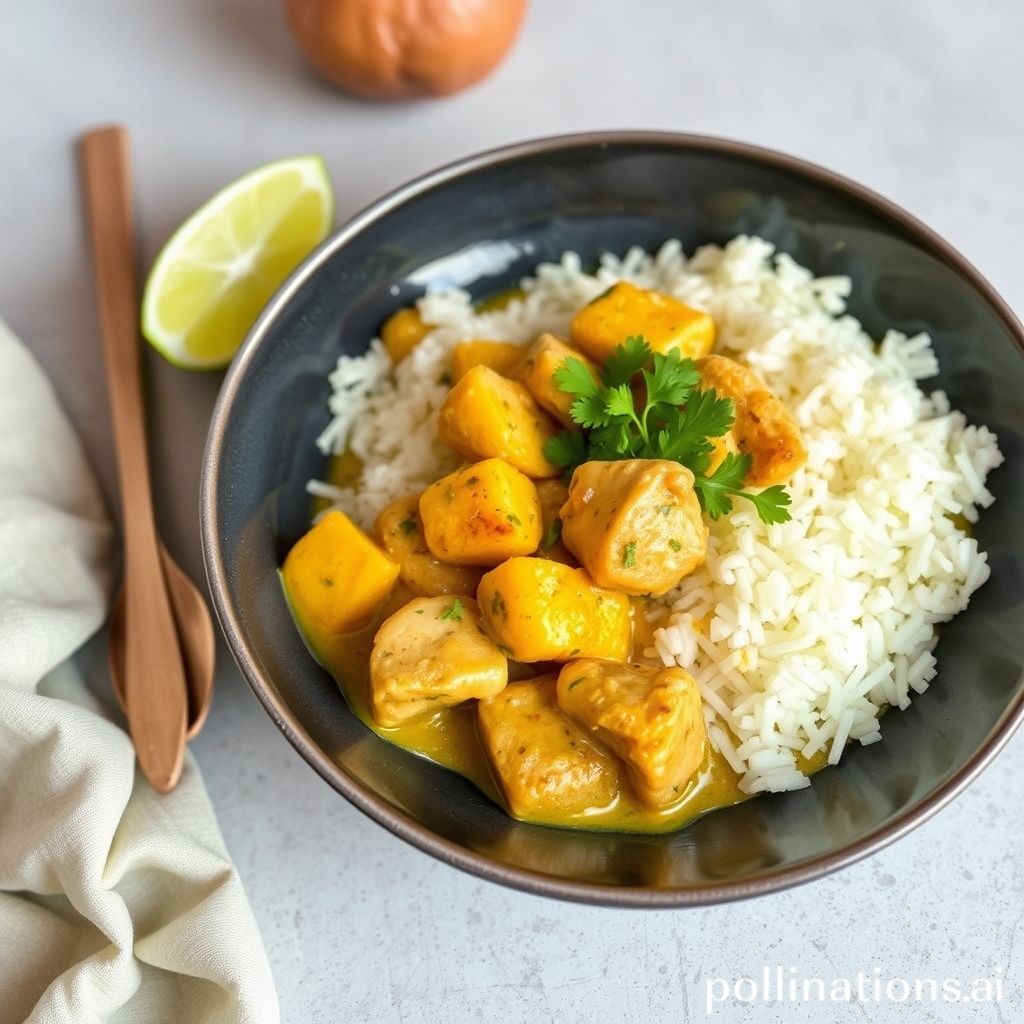
When serving crispy baked buffalo chicken tenders, it’s essential to think about the sides and pairings that will enhance their spicy, tangy flavor. One classic combination is to serve them with a cool, creamy side like ranch or blue cheese dressing. These dips not only complement the heat but also add a refreshing counterbalance that makes each bite more enjoyable.
For a well-rounded meal, consider adding a crunchy vegetable medley, such as carrot and celery sticks. These veggies provide a crisp texture that pairs well with the tender chicken and the potent buffalo sauce. Besides, they add a pop of color and freshness to your plate, enhancing the visual appeal of your dish.
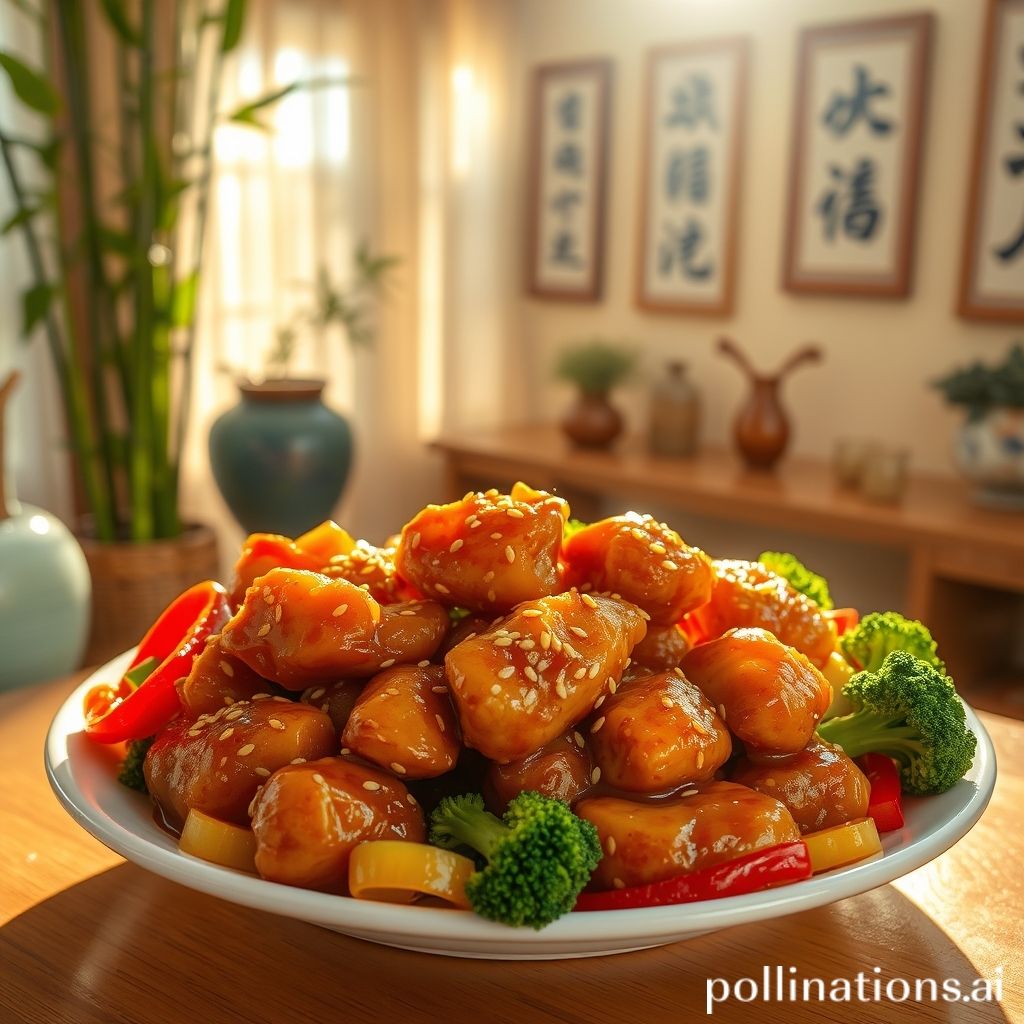
Another serving suggestion would be to incorporate these chicken tenders into a vibrant salad. Combine mixed greens, cherry tomatoes, sliced cucumbers, and perhaps a sprinkle of cheese to create a satisfying meal that’s both nutritious and flavorful. Drizzle a little additional dressing over the top to tie all the components together.
For a heartier option, you could serve the buffalo chicken tenders alongside roasted sweet potato fries. The sweetness of the potatoes wonderfully offsets the spicy chicken, making for a delicious combination that’s sure to please any crowd.
Conclusion
In conclusion, bringing the flavorful essence of buffalo-style chicken into your kitchen has never been easier or more delicious. With expertly chosen ingredients, a balanced marinade, and innovative baking techniques, your homemade crispy baked buffalo chicken tenders are set to steal the show at any meal. Whether you’re preparing a weeknight dinner or impressing guests at a gathering, these tenders offer a satisfying combination of crunch and zest, delighting every palate. For those who love to experiment further in the kitchen, now is the perfect time to elevate your culinary repertoire. Dive deeper into the world of chicken dishes with The Chicken Bible: Say Goodbye to Boring Chicken with 500 Recipes for Easy Dinners, Braises, Wings, Stir-Fries, and So Much More. This invaluable resource will inspire and guide you through a diverse array of mouthwatering recipes ensuring you’ll never have a dull chicken meal again. Discover a treasure trove of delectable dishes by purchasing your copy today here. Bon appétit!

 . Let’s dive into this enticing world of spice and comfort, where every step brings you closer to mastering a truly exquisite dish.