Table of Contents
- Introduction
- Key ingredients for a classic chicken and vegetable stir-fry
- Step-by-step cooking process
- Nutritional benefits of chicken and vegetable stir-fry
- Tips for perfecting your stir-fry technique
- Variations and substitutions for different flavors
- Best types of vegetables to use in a stir-fry
- Pairing sauces and seasonings for enhanced taste
- Storing and reheating leftovers effectively
- Conclusion
- Frequently Asked Questions
Introduction
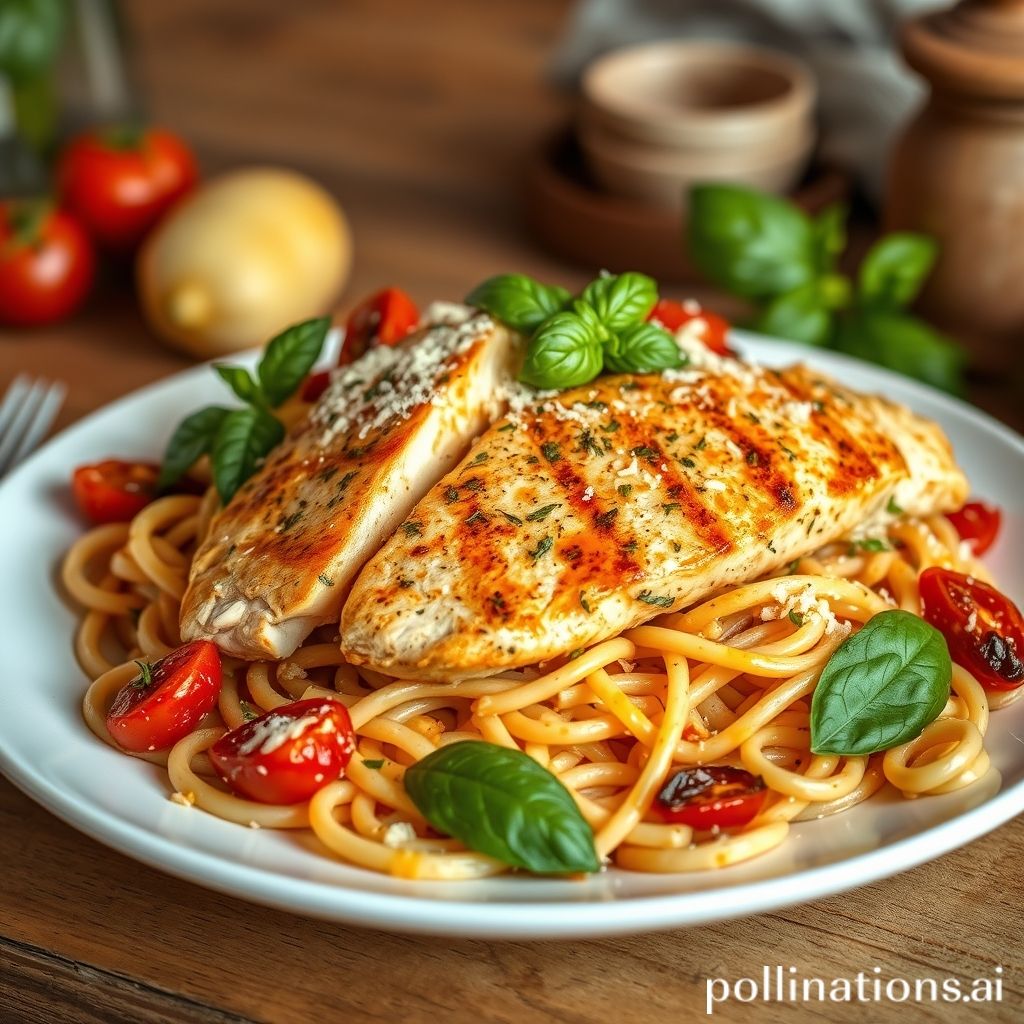
Sizzle and Savor: Mastering the Art of Chicken and Vegetable Stir-Fry
Picture yourself wielding your spatula with the confidence of a maestro as you create a symphony of flavors with a simple, yet versatile dish: chicken and vegetable stir-fry. Perfect for weeknight dinners and as an exotic flair for any occasion, this dish captures the essence of culinary creativity, bringing together bold spices and fresh ingredients in a sizzling performance. Do you crave the satisfaction of mastering a beloved classic while brightening your taste buds with colorful, veggie-packed goodness?
Gather these ingredients and embark on your culinary adventure: 200g of tender chicken breast, 1 cup of crisp bell peppers, 1 cup of vibrant broccoli florets, and a dash of fragrant soy sauce, just to start. This journey invites you to explore textures and aromas that dance exuberantly in your mouth with every bite. Prepare to be inspired as you delve into the art of stir-frying, transforming everyday ingredients into a lavish feast.
Key ingredients for a classic chicken and vegetable stir-fry
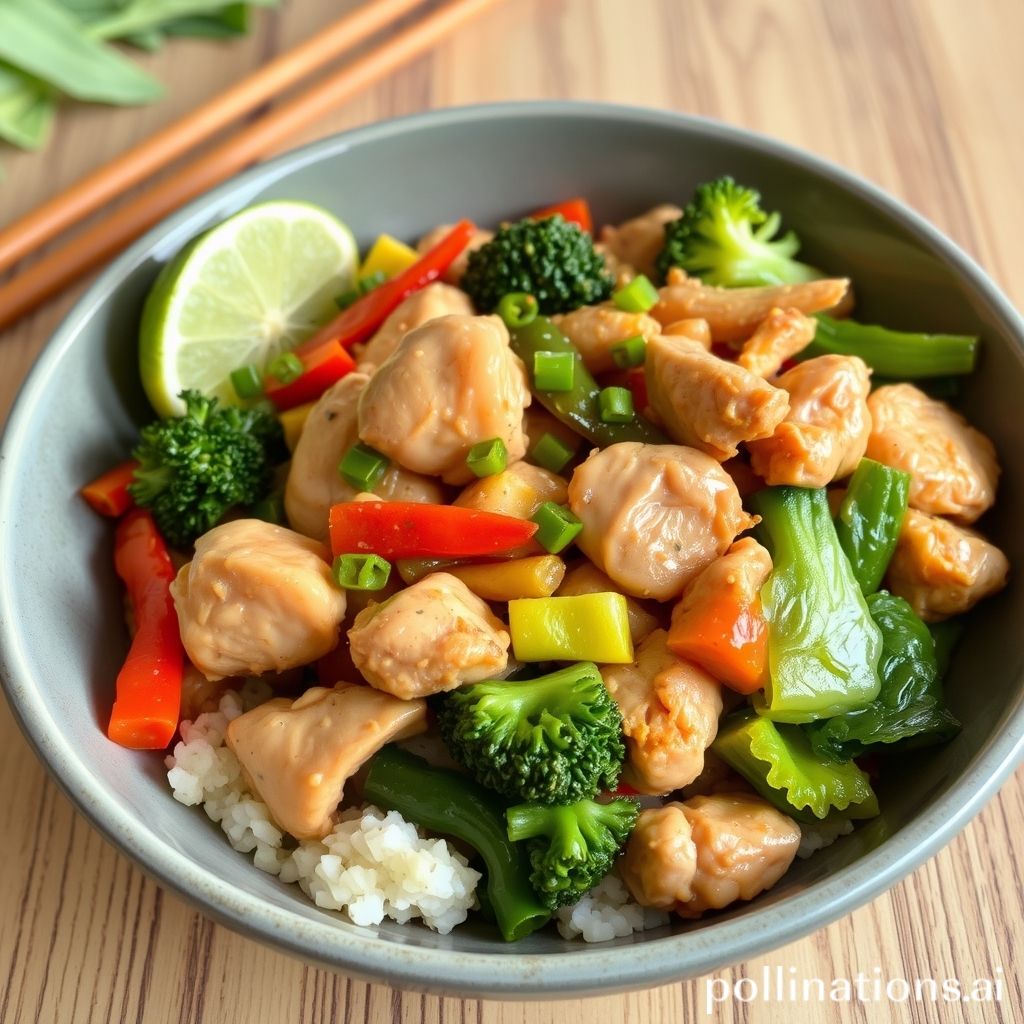
A classic chicken and vegetable stir-fry is a flavorful dish that is both nutritious and versatile. The key ingredients start with tender, juicy chicken, typically breast or thigh, cut into bite-sized pieces to ensure quick cooking. The meat is often marinated in a simple mixture of soy sauce, garlic, and ginger for enhanced flavor.
Vegetables are an essential part of this dish, adding color, texture, and nutrition. Common choices include bell peppers, broccoli, snap peas, and carrots, all of which are sliced thinly to ensure they cook evenly.
A quality stir-fry sauce ties the dish together, typically comprising soy sauce, oyster sauce, and sesame oil, giving the dish its signature umami punch. To add a touch of heat, a spoonful of chili sauce or flakes can be included.
Finally, a garnish of fresh green onions or sesame seeds adds a final flourish, completing this vibrant, fast, and fulfilling meal.
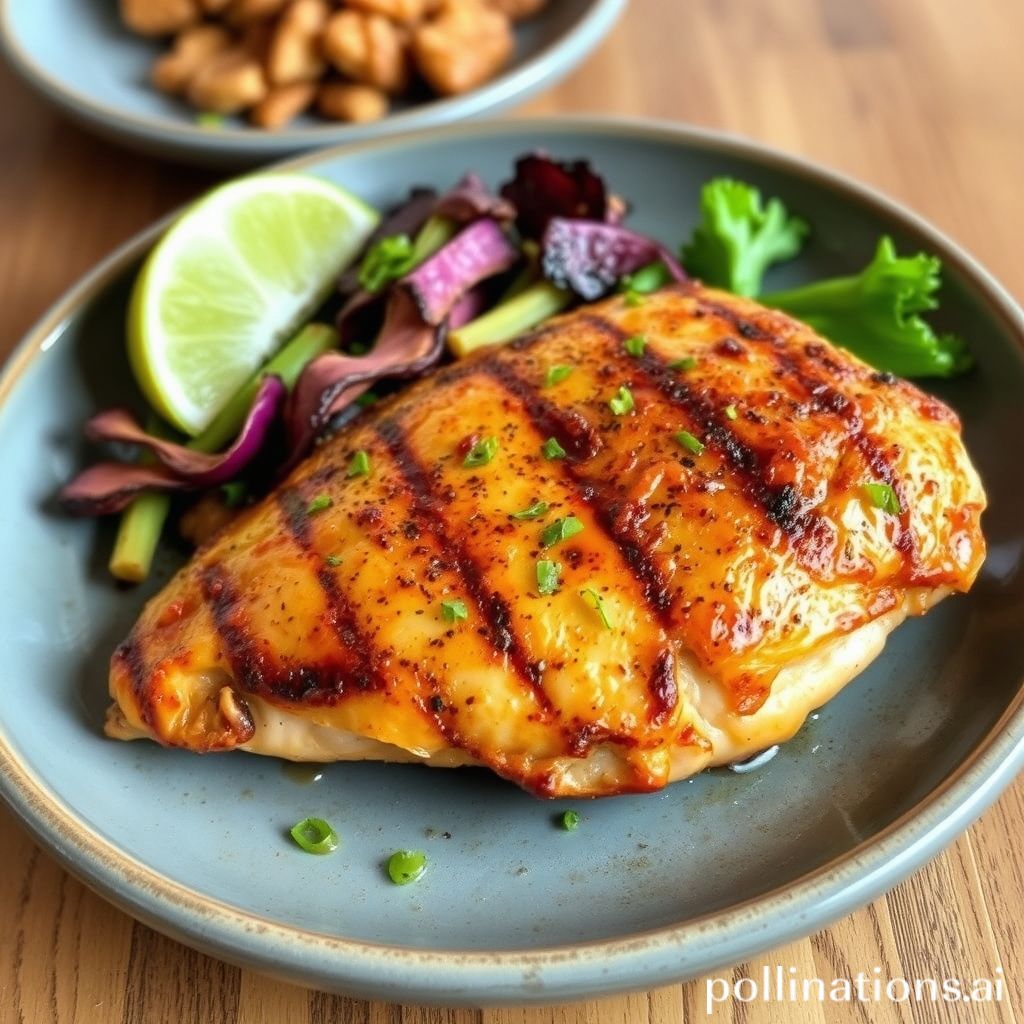
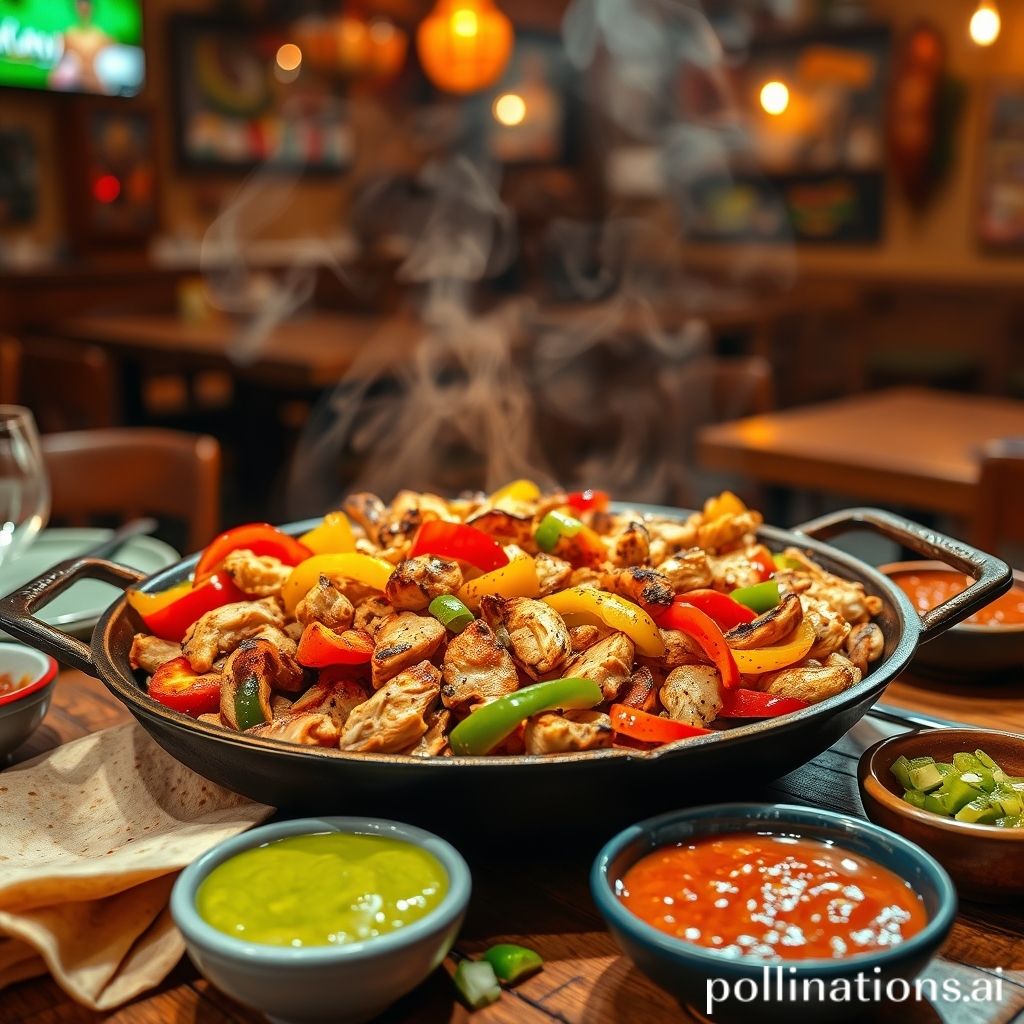
Step-by-step cooking process
To make a delicious chicken and vegetable stir-fry, start by gathering your ingredients: boneless chicken breast, a mix of your favorite vegetables like bell peppers, broccoli, and snap peas, soy sauce, ginger, garlic, and sesame oil.
Begin by slicing the chicken into thin, bite-sized pieces and marinating them in soy sauce, minced garlic, and grated ginger for about 15 minutes. Meanwhile, chop the vegetables into even pieces to ensure they cook uniformly.
Heat a tablespoon of sesame oil in a large pan or wok over medium-high heat. Add the marinated chicken and stir-fry it until it’s cooked through and slightly golden, then remove it from the pan and set it aside.
In the same pan, add a bit more oil if necessary and toss in the vegetables. Stir-fry them for about 5-7 minutes or until they are tender-crisp.
Return the chicken to the pan and add additional soy sauce if desired, stirring everything together for another 2-3 minutes to allow the flavors to meld.
Serve your chicken and vegetable stir-fry hot with steamed rice or noodles for a satisfying meal.
Nutritional benefits of chicken and vegetable stir-fry
Chicken and vegetable stir-fry is a dish renowned for its nutritional benefits, making it a popular choice for health-conscious individuals. It typically combines lean chicken breast with a variety of colorful vegetables, providing a robust profile of essential nutrients. Chicken is an excellent source of high-quality protein, which is crucial for muscle repair, immune function, and overall growth. It is also low in saturated fat when appropriately prepared, contributing to cardiovascular health.
On the other hand, the array of vegetables used in the stir-fry, such as bell peppers, broccoli, and carrots, add a raft of vitamins and minerals. These vegetables are rich in dietary fiber, which aids digestion and promotes a feeling of fullness, helping to manage weight effectively. They also contain antioxidants like vitamin C and beta-carotene, which help combat free radicals and reduce inflammation. The quick cooking method of stir-frying preserves the nutritional value of these ingredients, ensuring that the vitamins and minerals remain largely intact, offering a healthy meal that is both nutritious and flavorful.
Tips for perfecting your stir-fry technique
To perfect your chicken and vegetable stir-fry technique, the first step is to ensure that all ingredients are prepped and ready before you start cooking. This means chopping your vegetables and chicken into uniform sizes for even cooking.
Another key tip is to use a high smoke point oil such as canola or peanut oil. These oils can withstand the high heat required for stir-frying without burning, ensuring a crisp texture and robust flavor.
It’s also essential to keep the wok or pan hot throughout the process. This prevents the ingredients from steaming instead of frying. Cook ingredients in small batches if necessary, to maintain this consistent high temperature.
Marinating the chicken beforehand can add an extra layer of flavor. Allowing the meat to soak in soy sauce, garlic, and ginger for at least 15 minutes can enhance its taste significantly.
Lastly, make sure to add ingredients in the correct order, starting with those that take the longest to cook, such as chicken and denser vegetables, like carrots. Fresh, tender veggies like bell peppers and sugar snap peas should be added last to keep their vibrant color and crispness intact. These tips can transform a simple stir-fry into a delightful culinary experience.
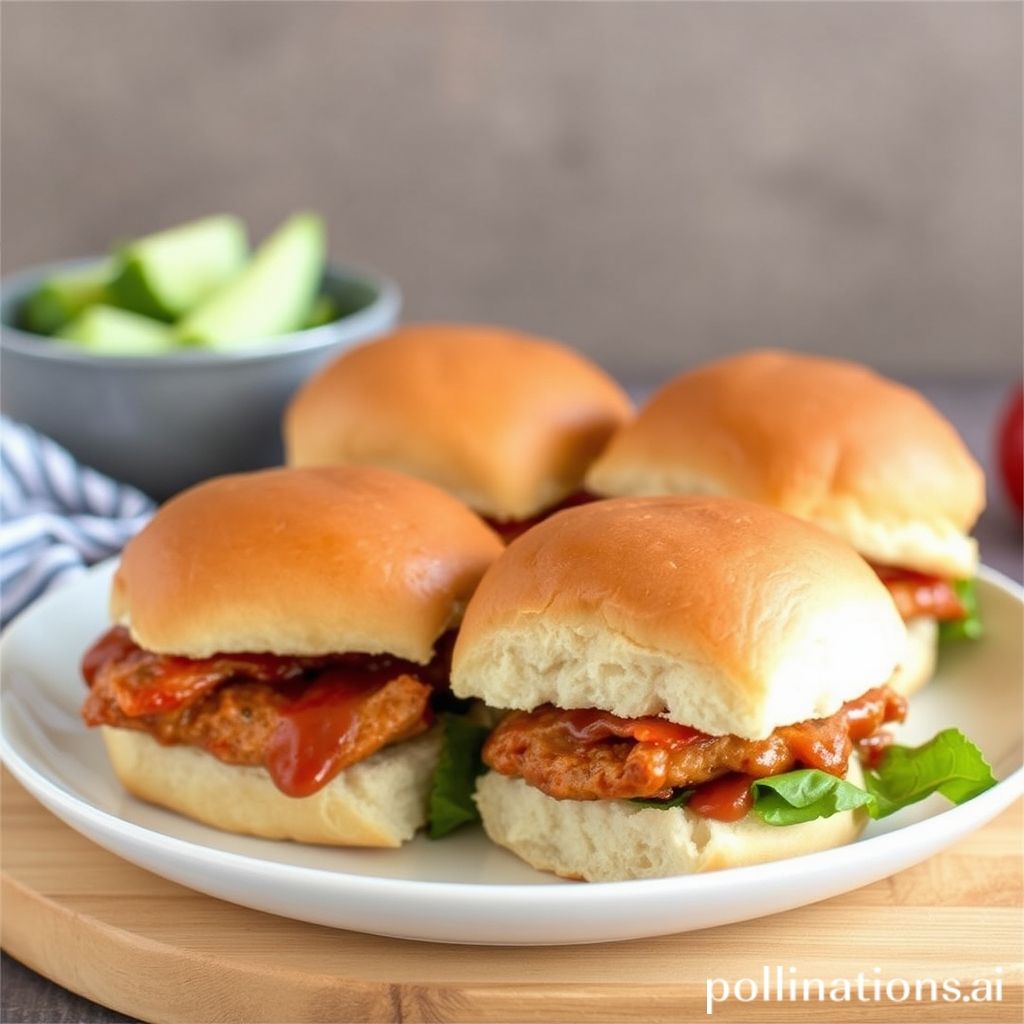
Variations and substitutions for different flavors
Chicken and Vegetable Stir-Fry is an incredibly versatile dish that lends itself to a myriad of variations, allowing you to tailor the flavors to suit your taste preferences or dietary requirements. One simple substitution is swapping the chicken for shrimp, beef, or tofu to cater to different protein preferences or to create a vegetarian option. For a different twist, consider using peanut oil or sesame oil instead of the usual vegetable oil for added aroma and depth of flavor.
Adjusting the vegetables can also significantly change the flavor profile; try adding bell peppers, snap peas, or even pineapple for a touch of sweetness. For those who enjoy heat, incorporating sliced chilies or a dash of chili paste can add a spicy kick.
The sauce can be varied by experimenting with different soy sauce types such as light, dark, or tamari for a gluten-free choice. Alternatively, add oyster sauce, hoisin sauce, or a splash of rice vinegar for a sweet and tangy twist. To enhance the Asian-inspired flavors, garnish your dish with fresh herbs like cilantro or Thai basil and a sprinkle of toasted sesame seeds to finish.
Best types of vegetables to use in a stir-fry
When preparing a chicken and vegetable stir-fry, selecting the right types of vegetables is essential for adding flavor, texture, and nutritional value to the dish. Broccoli is a popular choice due to its crisp texture and ability to soak up the sauce, adding a satisfying crunch. Bell peppers, with their vibrant colors and sweet taste, can elevate any stir-fry, offering a nice contrast to the chicken. Carrots are another favorite, providing a hint of sweetness and a firm bite, which complements softer ingredients like mushrooms.
Sugar snap peas and snow peas are excellent options for their crunchiness and slightly sweet flavor, which pairs well with savory elements. For a touch of color and mild heat, consider adding sliced red or green chili peppers. Bok choy, with its leafy greens and crisp stalks, also makes for a nutritious addition, adding both texture and freshness. Don’t forget aromatic vegetables such as garlic and ginger, which enhance the overall flavor profile of your stir-fry.
Ultimately, using a mix of these vegetables ensures a well-rounded stir-fry that is both delicious and visually appealing.
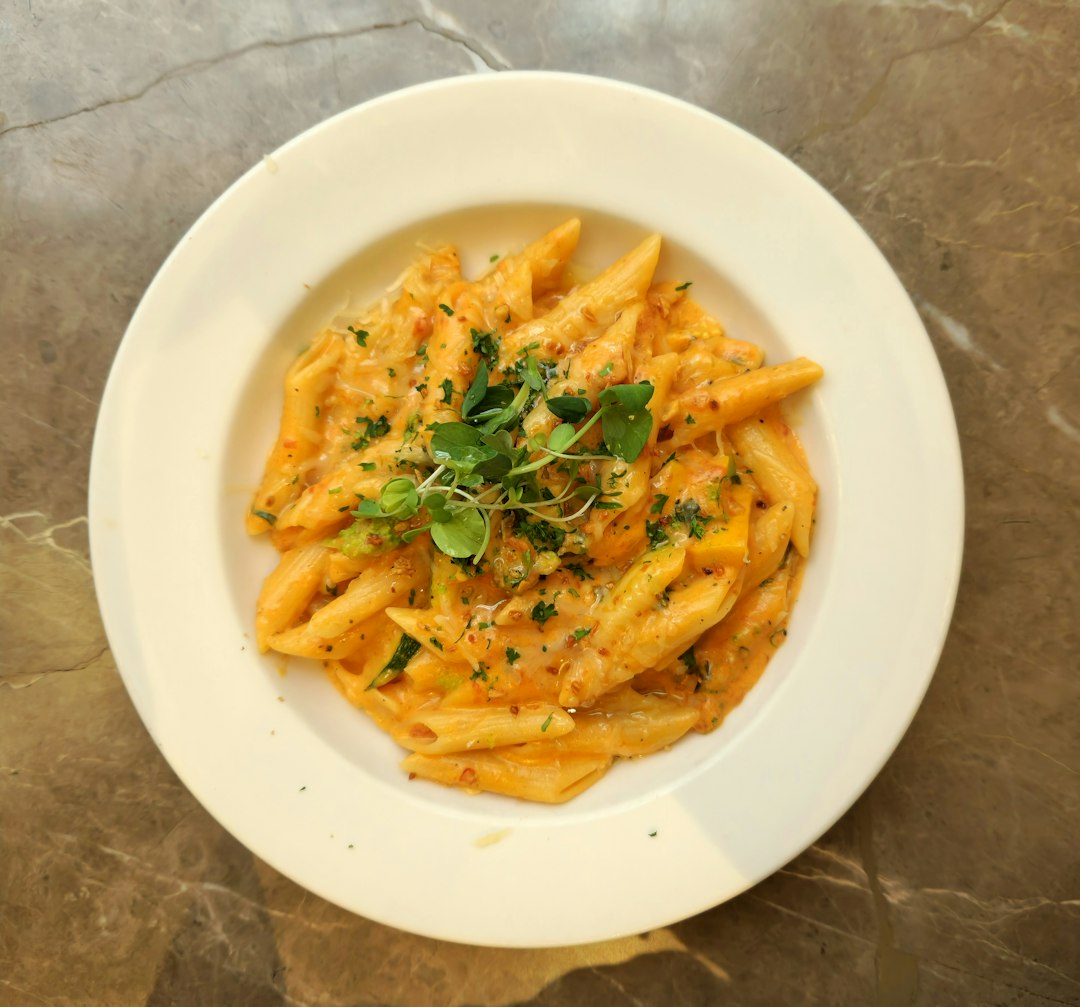
Pairing sauces and seasonings for enhanced taste
When it comes to creating a delicious chicken and vegetable stir-fry, the right combination of sauces and seasonings can make all the difference in elevating your dish’s flavor profile. A classic choice is soy sauce, which provides a salty, umami-rich base that complements both chicken and vegetables. To add depth and sweetness, consider incorporating hoisin sauce or oyster sauce; these will enhance the overall taste while adding complexity. For a hint of heat and tang, a dash of rice vinegar paired with chili paste or Sriracha can invigorate the stir-fry.
In terms of seasonings, garlic and ginger are quintessential in infusing aromatic zest. Freshly minced garlic adds a pungent, fiery note, while ginger contributes a warm, slightly sweet spiciness. For a nutty and slightly citrusy aroma, consider using sesame oil; just a drizzle towards the end of cooking will suffice to bring out its intense flavor. Lastly, garnishing with fresh herbs like cilantro or green onions not only visually enhances the dish but also contributes a burst of fresh flavor that balances the richness of sauces. By thoughtfully pairing these elements, your chicken and vegetable stir-fry can reach new heights of culinary delight.
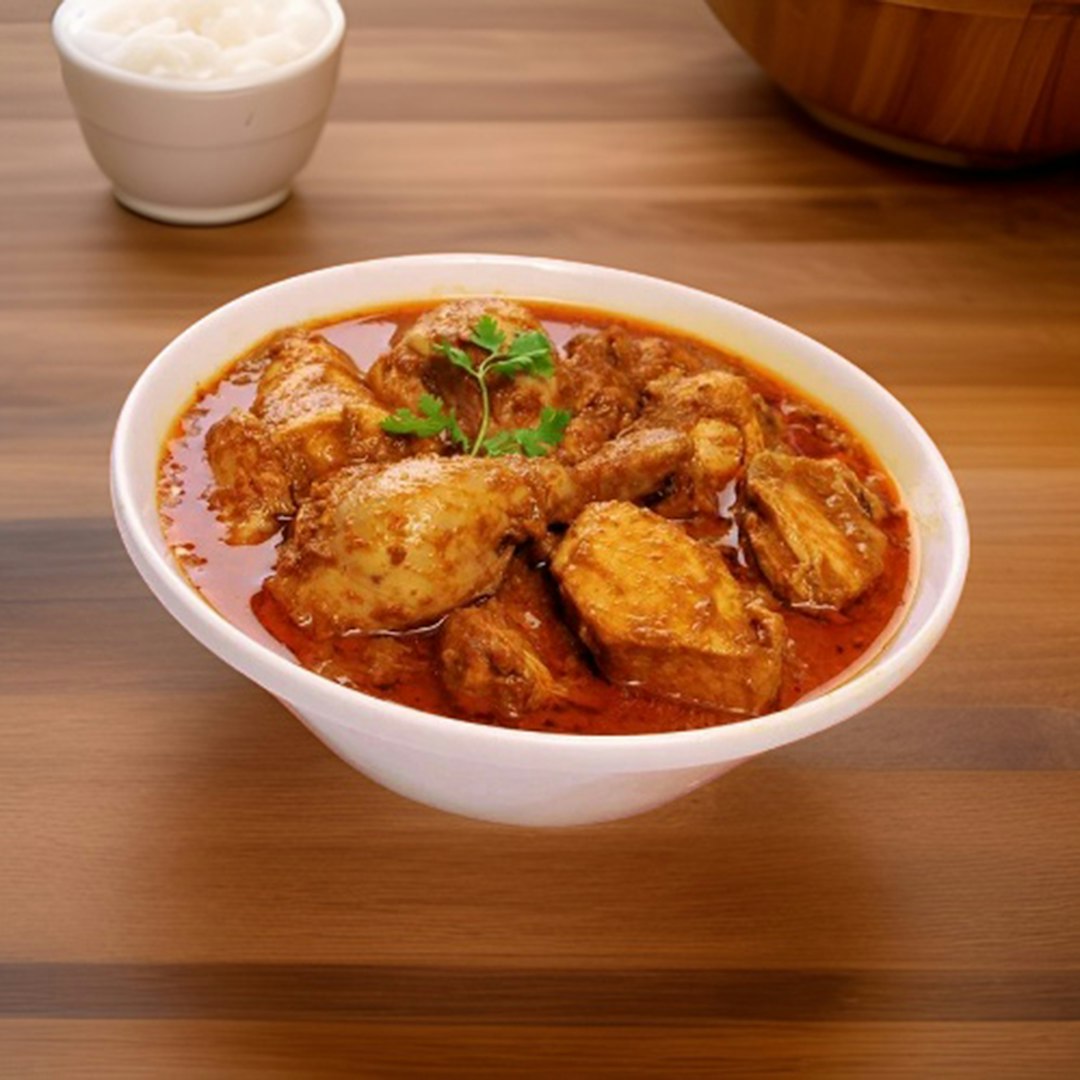
Storing and reheating leftovers effectively
Storing and reheating leftovers effectively ensures that your Chicken and Vegetable Stir-Fry tastes just as delicious the next day. To preserve freshness, place your stir-fry in an airtight container. It’s important to let it cool at room temperature before sealing to prevent condensation and maintain texture. Store the container in the refrigerator, where it will remain safe to consume for up to three to four days.
When it’s time to reheat, choosing the right method is crucial. The best option is to use the stovetop. Add a splash of water or broth to the pan to prevent drying out, and slowly reheat over medium heat, stirring occasionally until the dish is thoroughly warmed. If you’re short on time, the microwave is a convenient alternative. Place the stir-fry in a microwave-safe dish, cover it with a microwave-safe lid or wrap, and heat in short bursts, stirring in between, to distribute heat evenly.
Finally, remember that while reheating, the goal is to bring the dish to a piping hot temperature, ideally 165°F or 74°C, to ensure it’s safe to eat. By following these tips, you can enjoy your Chicken and Vegetable Stir-Fry just as much as the first time.
Conclusion
Mastering the art of Chicken and Vegetable Stir-Fry offers not only a delightful dining experience but also a rewarding culinary journey that is both nutritious and versatile. With a mix of fresh vegetables and tender chicken, this dish is perfect for those seeking a quick yet flavorful meal that satisfies on all levels. By refining your techniques and experimenting with different ingredients, you can personalize this dish to suit any palate or dietary preference. As you explore this rich tapestry of flavors and textures, consider deepening your culinary repertoire even further.
Why limit yourself to just one dish when you can explore an entire universe of chicken recipes? Unleash your inner chef by diving into “The Chicken Bible: Say Goodbye to Boring Chicken with 500 Recipes for Easy Dinners, Braises, Wings, Stir-Fries, and So Much More“. This comprehensive guide promises to inspire your cooking adventures, serving up 500 mouthwatering recipes that transform everyday chicken into extraordinary meals. Purchase it now at Amazon and start your journey toward culinary excellence today!