Table of Contents
- Introduction
- Ingredients and preparation steps
- The role of soy sauce and honey in flavor
- Importance of rice vinegar and sesame oil
- Cooking techniques for perfect chicken texture
- Garnishing with sesame seeds and green onions
- Pairing suggestions with side dishes
- Nutritional benefits and considerations
- Common variations and tweaks to the recipe
- Conclusion
- Frequently Asked Questions
Introduction
There’s something universally appealing about the harmonious blend of sweet, savory, and sticky when it comes to Asian-inspired cuisine. Imagine each bite of chicken cloaked in a luscious sauce of sesame goodness, where every morsel transports you to a world of culinary delight. Welcome to this flavorful journey—a revelation of the secret formula to crafting perfectly sticky sesame chicken. The kind that sticks to your fingers and invites endless enjoyment!
As we unravel the mysteries behind this beloved dish, we’ll explore the indispensable ingredients that serve as the backbone of its deliciousness. From soy sauce and mirin to freshly grated ginger and garlic cloves, each element contributes to the harmonious symphony that is sesame chicken. A dash of honey brings the sweetness, while crispy sesame seeds provide that nutty finish. But the true magic lies in how you combine and transform these components into a divine feast for the senses.
Ingredients and preparation steps
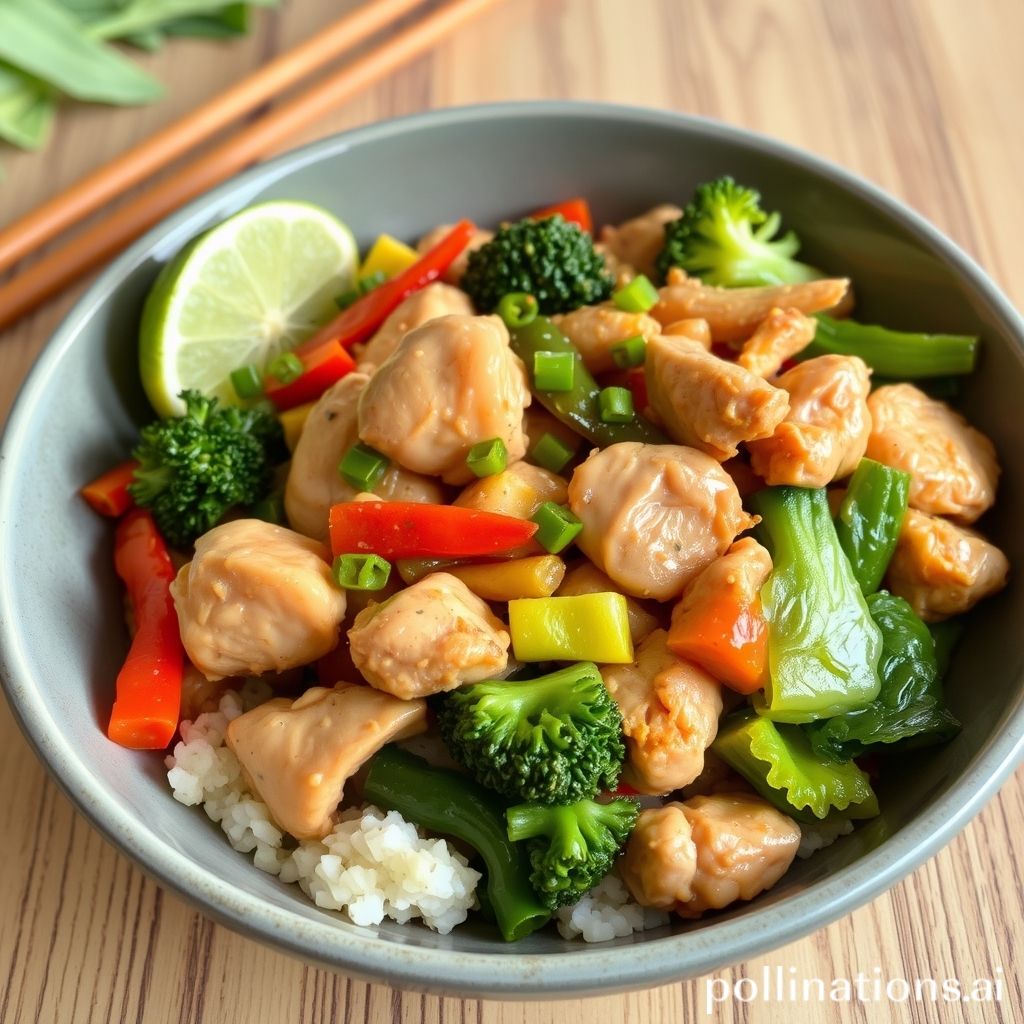
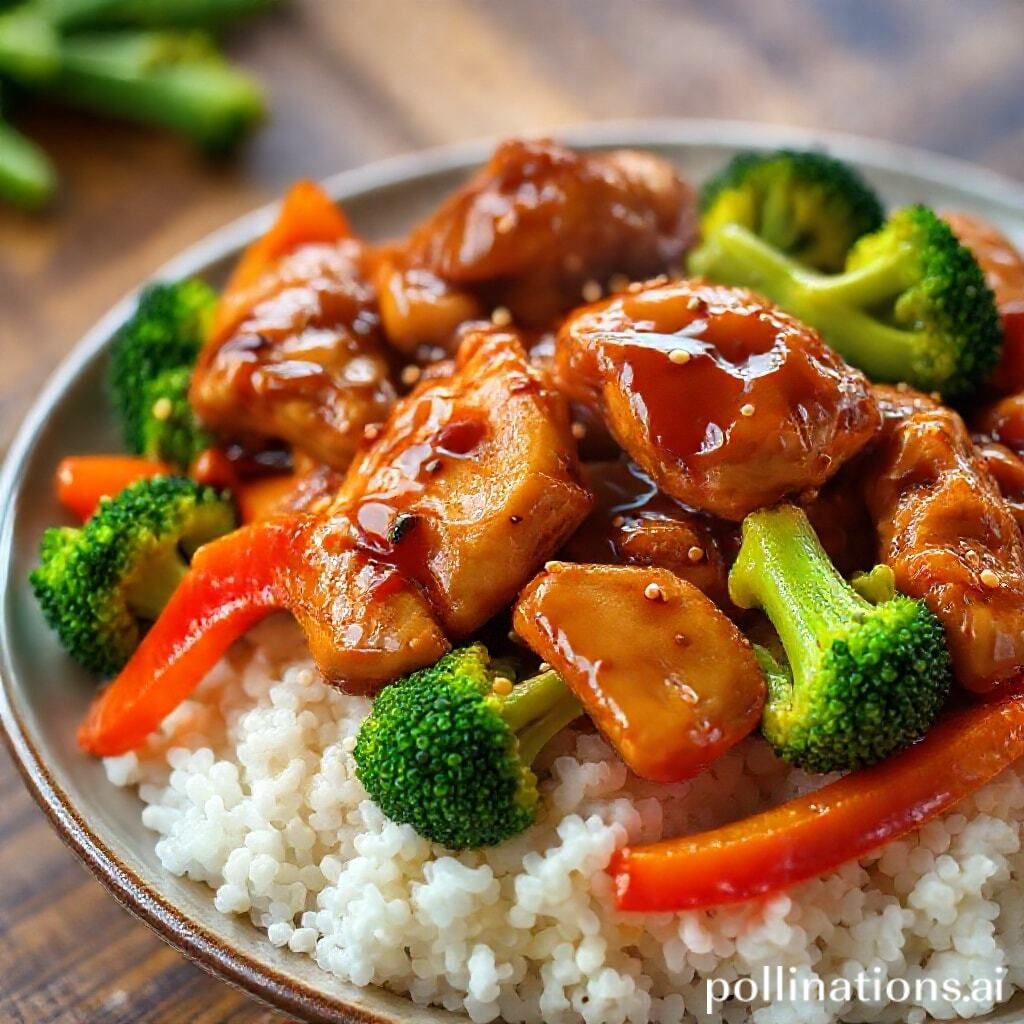
Sticky Sesame Chicken is a delicious and popular dish that combines succulent chicken pieces with a sweet and savory sauce. To prepare this delightful meal, you will need the following ingredients: boneless, skinless chicken thighs or breasts, soy sauce, honey, sesame oil, garlic, and ginger for the marinade. To thicken the sauce, you’ll also need cornstarch, water, and a little vegetable oil for frying.
Start by cutting the chicken into bite-sized pieces and marinating them in a mixture of soy sauce, honey, sesame oil, minced garlic, and grated ginger. Let the chicken absorb the flavors for about 20 minutes. Meanwhile, in a small bowl, mix cornstarch and water to create a slurry.
Heat vegetable oil in a large pan over medium-high heat. Add the marinated chicken pieces, cooking them until evenly browned and cooked through. Once the chicken is done, add the cornstarch slurry to the pan. Continuously stir until the sauce thickens and coats the chicken, creating that desired sticky consistency. Finish by sprinkling toasted sesame seeds over the chicken before serving.
This delightful dish pairs well with steamed rice or your choice of vegetables, making it a perfect meal for any occasion.
The role of soy sauce and honey in flavor
Soy sauce and honey play pivotal roles in crafting the rich and savory flavor profile of sticky sesame chicken. Soy sauce, a key umami-packed ingredient, provides a depth of flavor that enhances the natural taste of chicken. Its salty and slightly bitter characteristics balance the sweetness of honey, creating a harmonious blend of flavors. The fermentation process soy sauce undergoes lends complexity, offering a subtle tang that brings out the savoriness of the dish.
On the other hand, honey serves as the perfect counterpart, adding a layer of sweetness that contrasts beautifully with the soy sauce. This sweetness not only enriches the palate but also contributes to the glaze, giving the chicken its signature sticky texture. Additionally, honey aids in caramelization during cooking, which imparts a delightful golden-brown hue and a slight crispness to the chicken’s exterior.
Together, soy sauce and honey create a dynamic flavor duo that is essential for achieving the perfect sticky sesame chicken. Their complementary tastes ensure a dish that is both flavorful and satisfying, leaving a lasting impression on anyone who tastes it.
Importance of rice vinegar and sesame oil
Rice vinegar and sesame oil are two essential ingredients that play a crucial role in imparting a unique flavor profile to Sticky Sesame Chicken.
Rice vinegar, made from fermented rice, offers a mild, slightly sweet acidity that balances the sweetness of other ingredients like honey or sugar used in the dish. Its subtle flavor enhances the overall taste without overpowering other elements, making it an indispensable part of Asian cuisine.
On the other hand, sesame oil is known for its rich, nutty aroma and distinctive taste. Derived from toasted sesame seeds, this oil is often used as a finishing touch to add depth and complexity to dishes. In Sticky Sesame Chicken, sesame oil elevates the sauce, complementing the savory, sweet, and spicy notes.
Together, rice vinegar and sesame oil create a harmonious balance, ensuring that the dish stands out with its vibrant flavors. Their contribution is significant not just in taste but also in upholding the traditional essence of Asian cooking, making them must-haves in any kitchen aiming to recreate authentic, flavorful Sticky Sesame Chicken.
Cooking techniques for perfect chicken texture
Achieving the perfect chicken texture requires some key cooking techniques that ensure the meat is both tender and flavorful. One essential method is brining, which helps the chicken retain moisture and remain juicy during cooking. A simple brine solution of water, salt, and sugar can work wonders if allowed to soak for a few hours.
Another technique involves using a meat mallet to pound the chicken evenly. This ensures uniform cooking and helps tenderize the fibers, resulting in a soft, melt-in-the-mouth texture.
When it comes to cooking, controlling the temperature is crucial. Searing the chicken at a high temperature initially locks in the juices, followed by reducing the heat to cook the chicken through without drying it out.
For oven-cooked methods, baking the chicken covered with foil or in an oven-safe dish can trap steam and moisture, basting the chicken from within.
Lastly, allowing the chicken to rest after cooking is vital. Resting lets the juices redistribute throughout the meat, ensuring every bite is flavorful and moist. By employing these techniques, you can consistently create a perfectly textured chicken ready to be enjoyed in dishes like Sticky Sesame Chicken.
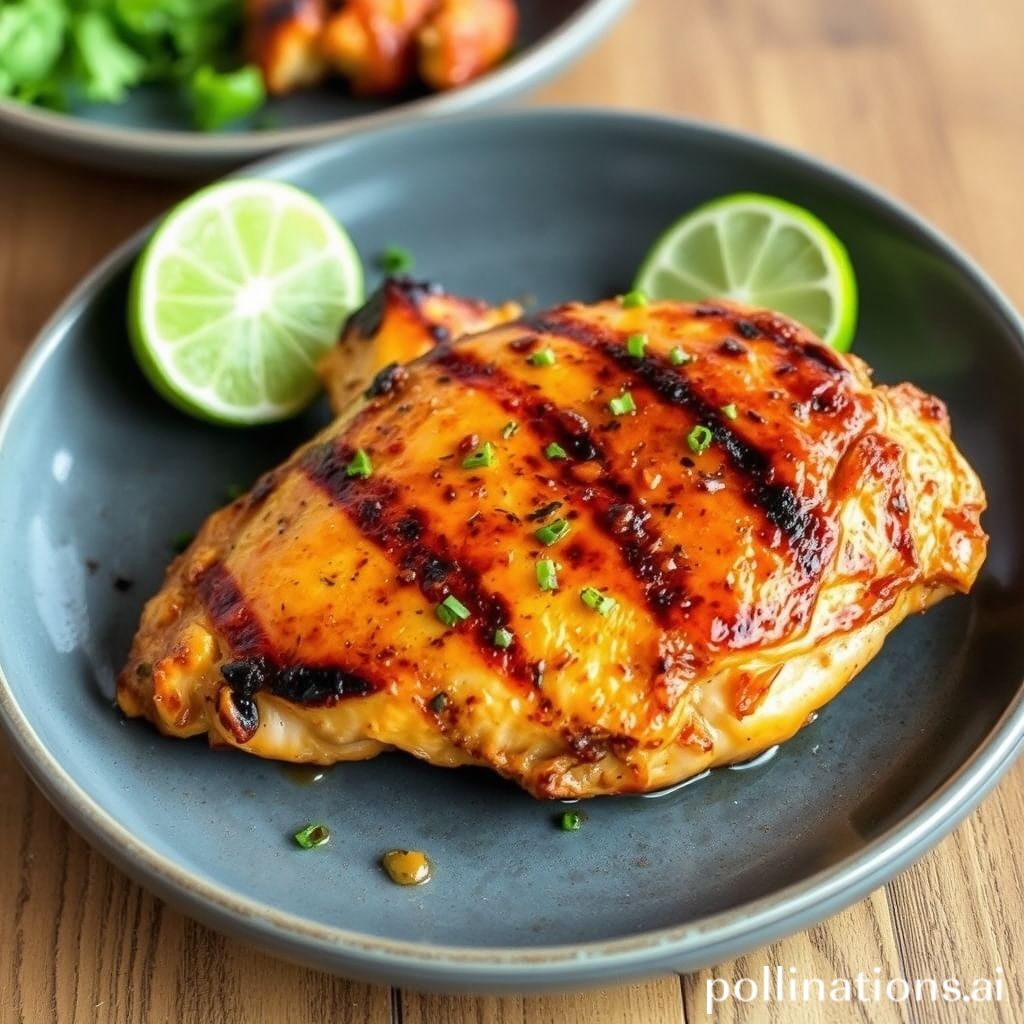
Garnishing with sesame seeds and green onions
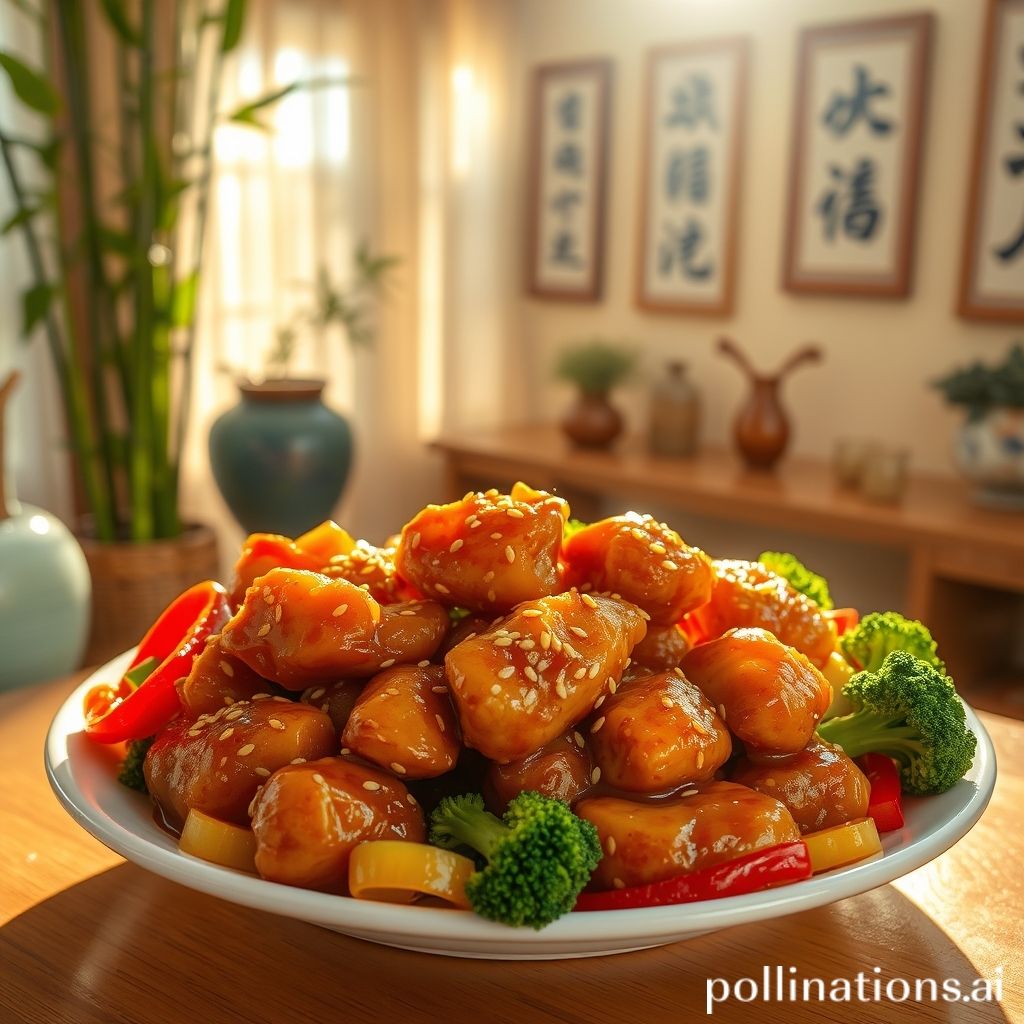
Garnishing Sticky Sesame Chicken with sesame seeds and green onions is a simple yet effective way to enhance both the visual appeal and flavor profile of the dish. Sprinkling toasted sesame seeds over the cooked chicken adds a delightful crunch and a nutty aroma, elevating the overall taste experience. These tiny seeds not only bring a subtle earthiness but also add texture that contrasts beautifully with the sticky glaze of the chicken.
Green onions, also known as scallions, provide a fresh and vibrant touch to the dish. They add a pop of color with their bright green hue while also bringing a mild onion flavor that complements the savory-sweet notes of the sesame chicken. To maximize their visual and flavor impact, slice the green onions thinly and scatter them generously over the top.
This combination of sesame seeds and green onions as garnishes not only enhances the dish aesthetically but also introduces layers of flavor that make each bite more enjoyable. Together, they create a harmonious balance of taste and texture that enhances the Sticky Sesame Chicken experience, making it even more appealing to both the eyes and the palate.
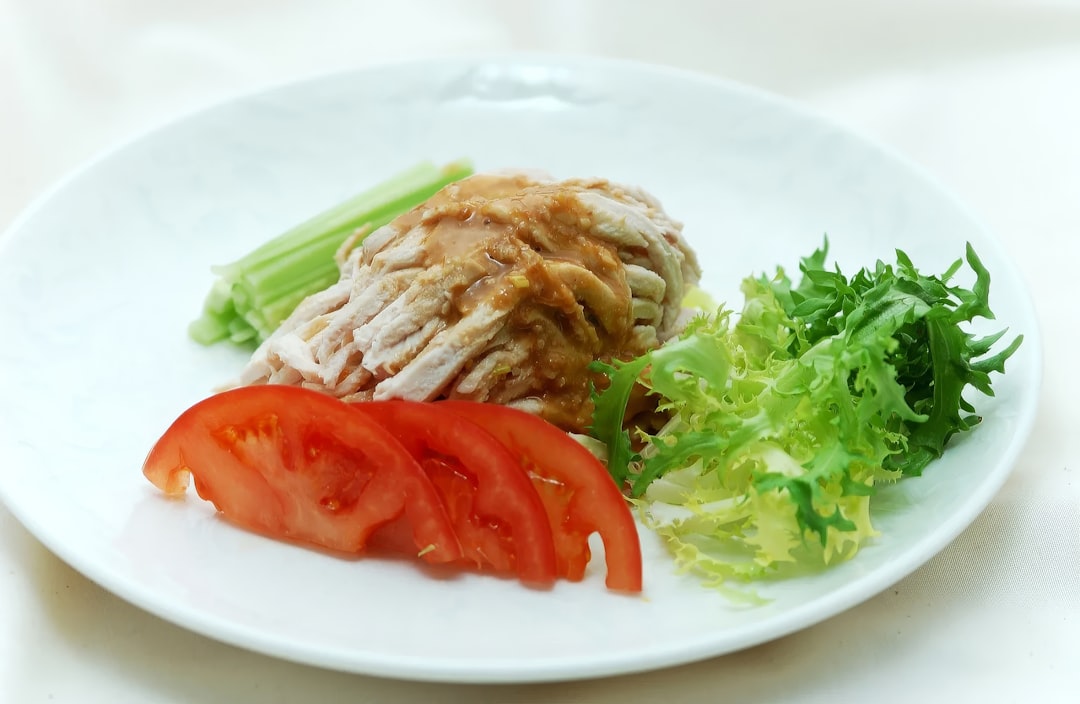
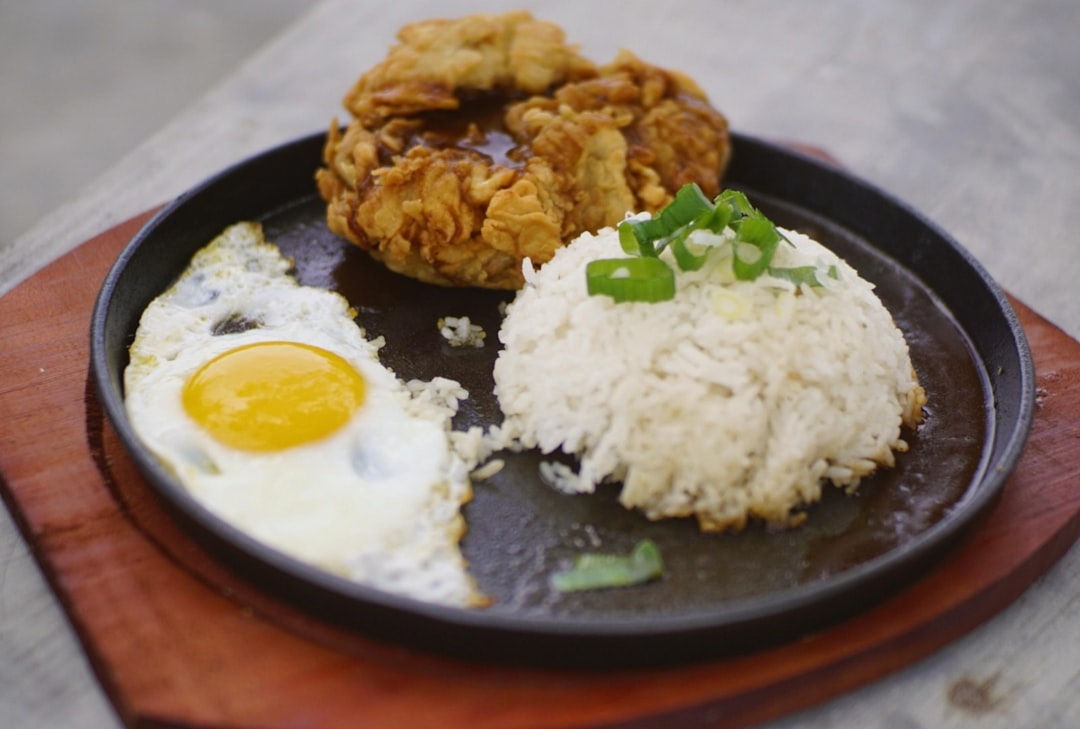
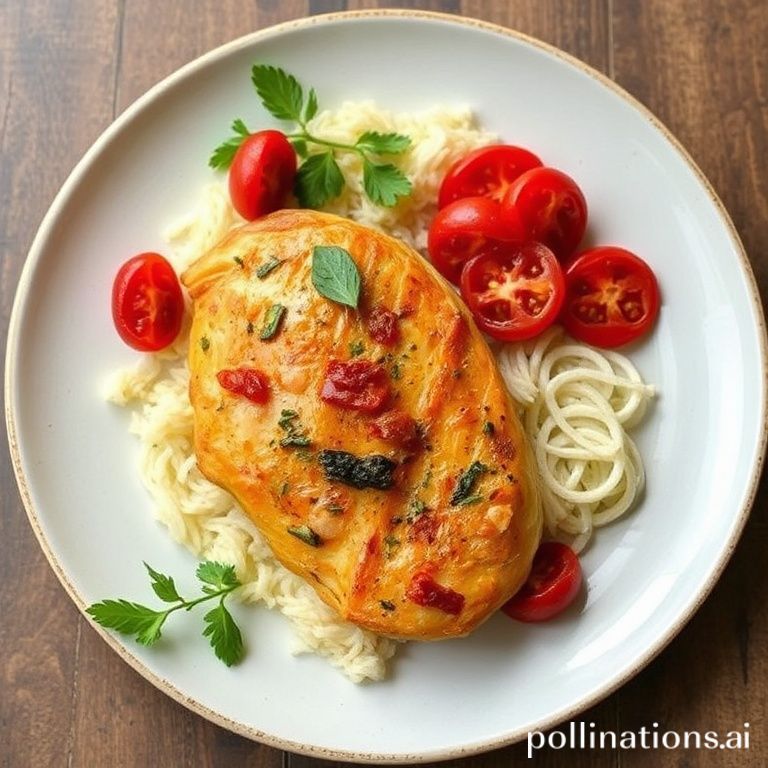
Pairing suggestions with side dishes
When preparing a delicious dish like sticky sesame chicken, choosing the right side dishes can enhance the flavors and create a well-rounded meal. A classic choice is steamed jasmine rice, which provides a subtle base that complements the rich and savory sauce of the chicken. For a healthier option, consider brown rice or a mix of quinoa and wild rice.
Vegetables make a great pairing as well. Steamed broccoli or green beans add a fresh crunch, while their mild flavors balance the sweetness and acidity of the sesame sauce. A quick sauté of bok choy or snap peas in garlic can provide a flavorful and nutritious side that pairs beautifully with the chicken.
If you’re looking to add a bit of flair, a fresh cucumber salad with sesame oil and vinegar dressing offers a refreshing contrast. Alternatively, a simple Asian slaw with cabbage, carrots, and a light sesame dressing can provide a crunchy texture. These side dishes not only complement the sticky sesame chicken but also elevate the dining experience with diverse flavors and textures.
Nutritional benefits and considerations
Sticky Sesame Chicken is not only a delicious dish but also provides several nutritional benefits. The primary ingredient, chicken, is an excellent source of high-quality protein, which is essential for muscle growth, repair, and overall body function.
Additionally, it contains vital nutrients such as vitamin B6 and niacin, which support metabolism and energy production.
Sesame seeds, another key component, are rich in healthy fats, including omega-6 fatty acids, which are beneficial for heart health. They also provide minerals like calcium, magnesium, and zinc, which are vital for bone health and immune function. Moreover, sesame seeds offer antioxidants such as sesamin and sesamol, promoting cellular health and reducing inflammation.
However, it is important to consider the calorie and sodium content of Sticky Sesame Chicken, especially if the sauce contains significant amounts of sugar and soy sauce. Moderation is key, and using low-sodium soy sauce and honey instead of sugar can make the dish healthier.
Pairing it with whole grains and vegetables can create a balanced meal while enhancing fiber and nutrient intake. Overall, enjoying Sticky Sesame Chicken can be part of a nutritious diet when prepared mindfully.
Common variations and tweaks to the recipe
Sticky Sesame Chicken is a versatile dish that allows for creativity and personalization in the kitchen. One common variation involves using different proteins such as pork or tofu for those seeking a non-chicken option. These alternatives can soak up the rich sesame glaze just as well, providing a unique twist to the classic recipe.
Another popular tweak is to adjust the level of sweetness or spice in the sauce. By adding more honey or maple syrup, you can enhance the sweetness, while a dash of chili flakes or sriracha can increase the heat, catering to varying taste preferences.
For a healthier take, some opt to bake the chicken instead of fry it, reducing the oil content while maintaining the dish’s essential flavors. Additionally, incorporating vegetables like broccoli, bell peppers, or snap peas can not only boost the nutritional value but also add color and variety to the meal.
Swapping out regular soy sauce for low-sodium options or tamari for a gluten-free alternative allows those with dietary restrictions to enjoy this dish without compromising on flavor. Finally, garnishing the dish with fresh elements like green onions or sesame seeds can provide a refreshing contrast to the sticky, savory sauce.
Conclusion
Embarking on the flavorful journey of crafting the perfect Sticky Sesame Chicken offers a delightful culinary experience, enriched by mastering the harmonious blend of ingredients and techniques detailed throughout the article. Whether you’re savoring the vibrant notes of soy sauce and honey or appreciating the critical roles of rice vinegar and sesame oil, the journey toward creating this dish is both rewarding and satisfying. The inclusion of garnishes like sesame seeds and green onions elevates the dish aesthetically and palatably, enhancing your overall dining experience. With the opportunity to tweak and personalize the recipe, Sticky Sesame Chicken is as versatile as it is delicious, promising to be a hit at any meal occasion.
For those who crave even more creative and delectable chicken dishes, a must-have addition to your culinary collection is “The Chicken Bible.” This comprehensive cookbook is your gateway to 500 diverse recipes, guiding you to say goodbye to bland chicken forever. From easy dinners and braises to wings and stir-fries, this book promises endless possibilities for transforming chicken into extraordinary meals. Don’t miss this opportunity to elevate your cooking skills and delight your taste buds with every meal. Grab your copy today and bring a world of flavor to your kitchen.