Table of Contents
- Introduction
- Choosing the right chicken cuts for baking
- Key ingredients for honey mustard sauce
- Steps for preparing and marinating the chicken
- Optimal baking techniques for achieving juicy and flavorful results
- Ideas for complementary side dishes and serving suggestions
- Conclusion
- Frequently Asked Questions
Introduction
Unlock the secret to irresistibly juicy and flavorful chicken with our Honey Mustard Baked Chicken recipe that promises to become your new kitchen favorite! Imagine biting into tender, perfectly baked chicken, drenched in a mouth-watering honey mustard glaze that’s simultaneously sweet, tangy, and delightfully savory.

This culinary masterpiece begins with staple ingredients you might already have in your pantry. All you need is 4 boneless, skinless chicken breasts, 1/3 cup of honey, 1/3 cup of whole grain mustard, a dash of salt and pepper for seasoning, and a sprig or two of fresh rosemary as a fragrant finishing touch.
In this article, we’ll guide you through every step of the process with precision and ease, ensuring your Honey Mustard Baked Chicken doesn’t just taste incredible, but looks impressive enough to serve at any dinner party. Whether you’re an aspiring home chef or just looking to spice up your weeknight dinners, this recipe delivers on all fronts. Are you ready to transform your kitchen into a haven for delicious aromas and culinary satisfaction? Let’s dive in and savor the flavor together!
Choosing the right chicken cuts for baking
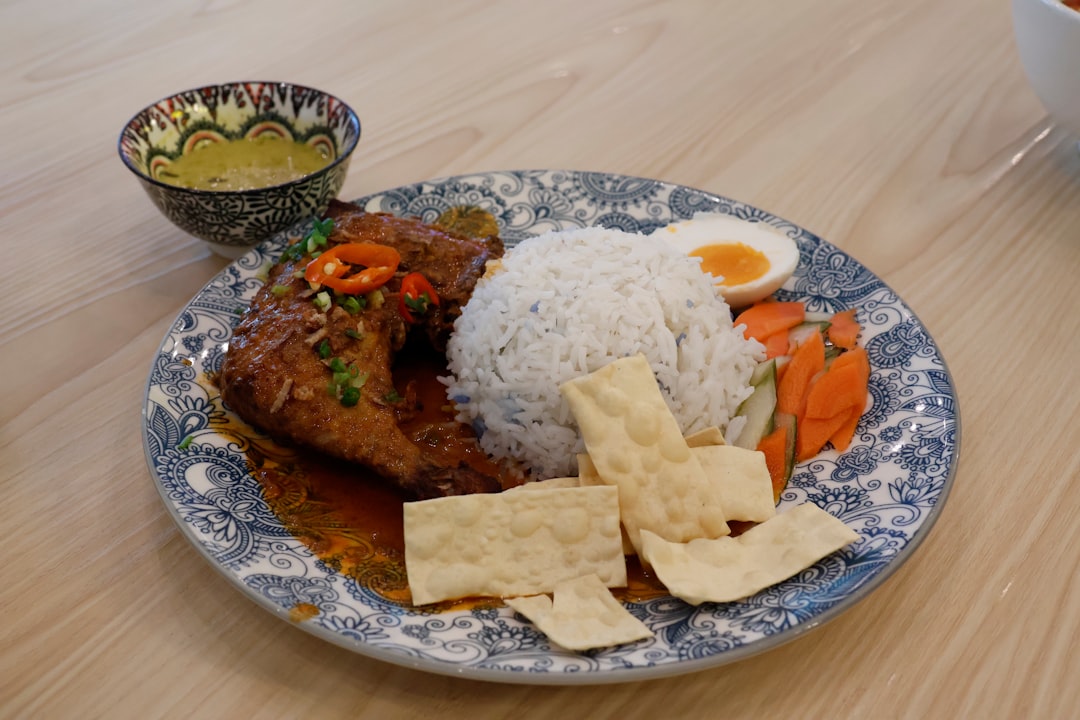
When it comes to baking chicken, choosing the right cut can make all the difference in achieving a juicy and flavorful dish. Bone-in, skin-on chicken thighs are favored for their rich taste and moisture retention, making them an ideal choice for baking. The skin helps lock in moisture while providing a crispy texture that contrasts beautifully with the tender meat underneath.
Alternatively, if you prefer leaner cuts, chicken breasts can also be a good option, though they tend to dry out if not cooked carefully. Consider using bone-in, skin-on chicken breasts, which offer a bit more protection against drying out. To ensure they stay moist, you might marinate them beforehand or bake them covered for most of the cooking process.
Both drumsticks and wings are excellent choices for a more casual meal or when serving a crowd. They offer easy handling and a satisfying crispiness when baked at higher temperatures. Regardless of the cut, allow the chicken to rest after baking to let the juices redistribute, ensuring each piece is full of flavor. Choosing the appropriate cut not only impacts flavor and juiciness but also aligns the dish with personal preferences and dietary needs.
Key ingredients for honey mustard sauce
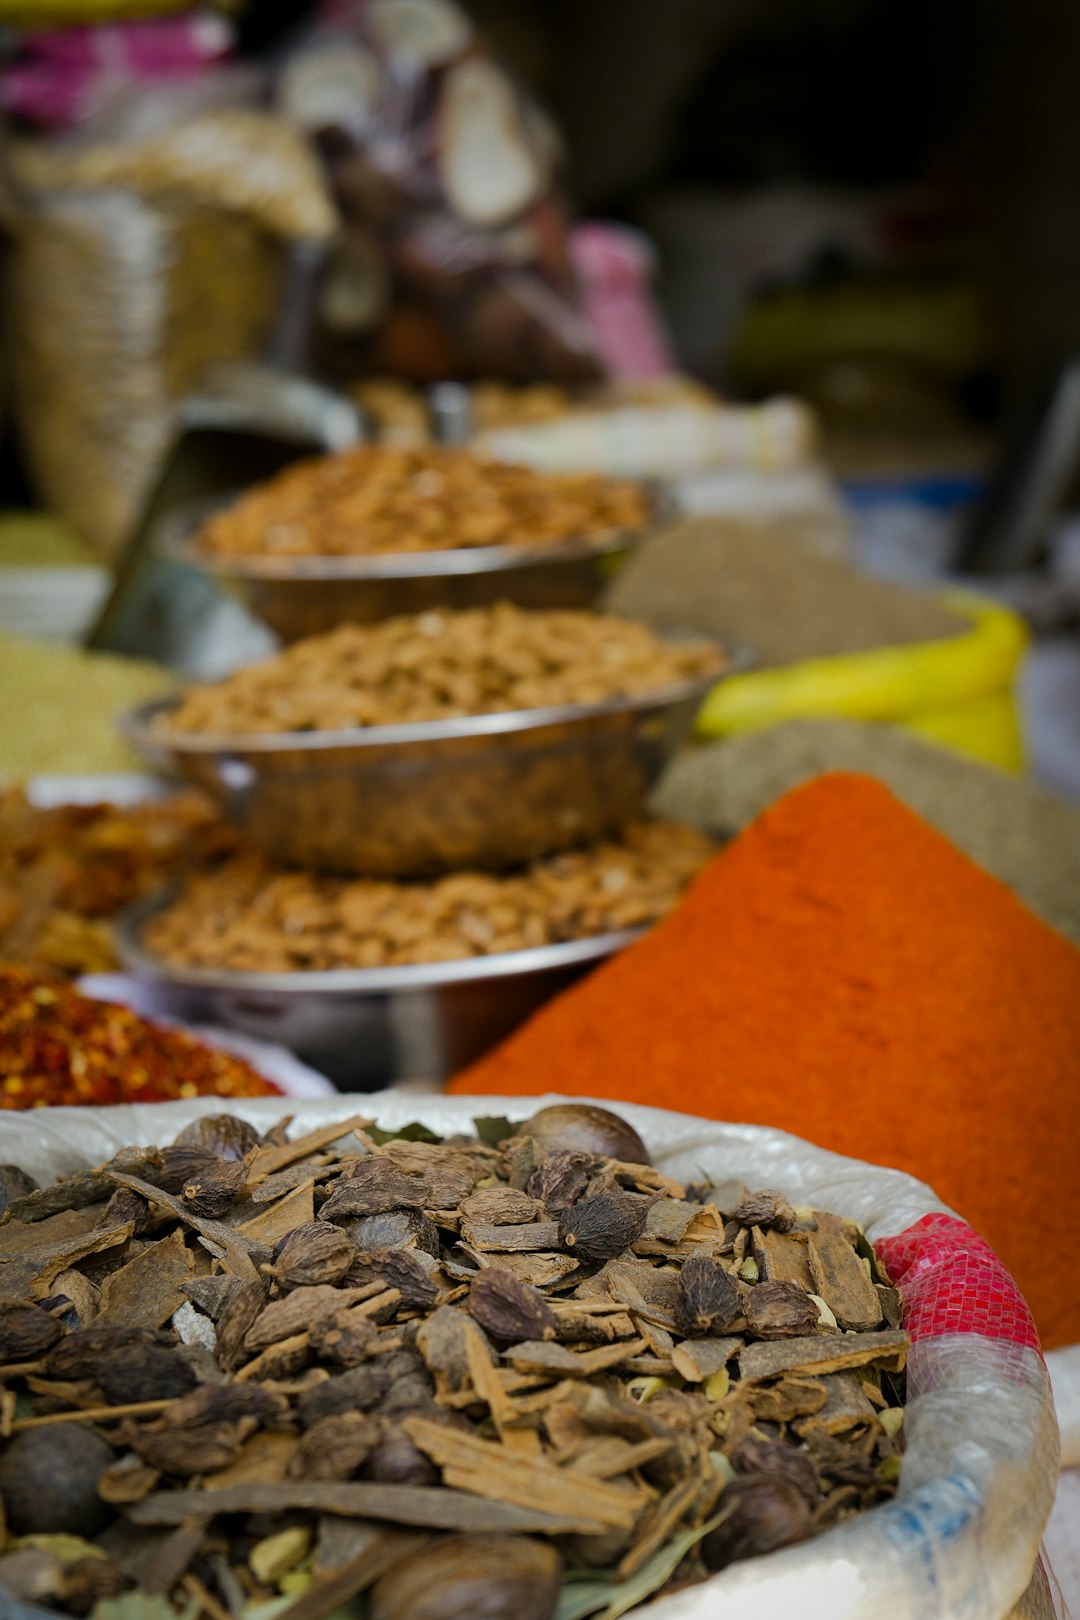
Honey mustard sauce is a delightful blend that combines the sweetness of honey with the tanginess of mustard, creating a versatile condiment perfect for chicken. The key ingredients in a honey mustard sauce typically include honey and mustard as the base elements. Honey adds a natural sweetness that balances the sharpness of the mustard. Yellow mustard is the common choice, but dijon mustard can be used for a spicier, more complex flavor. Both types of mustard add their unique zestiness, blending beautifully with the honey.
To enhance the sauce’s richness, mayonnaise is often added, providing a creamy texture and mellow flavor. Apple cider vinegar or lemon juice is another essential component, contributing an acidic bite that brightens the sauce. Finally, garlic powder or fresh minced garlic is frequently incorporated, offering a depth of savory flavor that complements the sweet and tangy notes.
Seasoning the sauce with salt and pepper is crucial to ensure all flavors are well-balanced, while optional additions like paprika or cayenne pepper can introduce a subtle heat. Creating a perfect honey mustard sauce lies in adjusting these ingredients to taste, ensuring a harmonious balance that suits your palate.
Steps for preparing and marinating the chicken
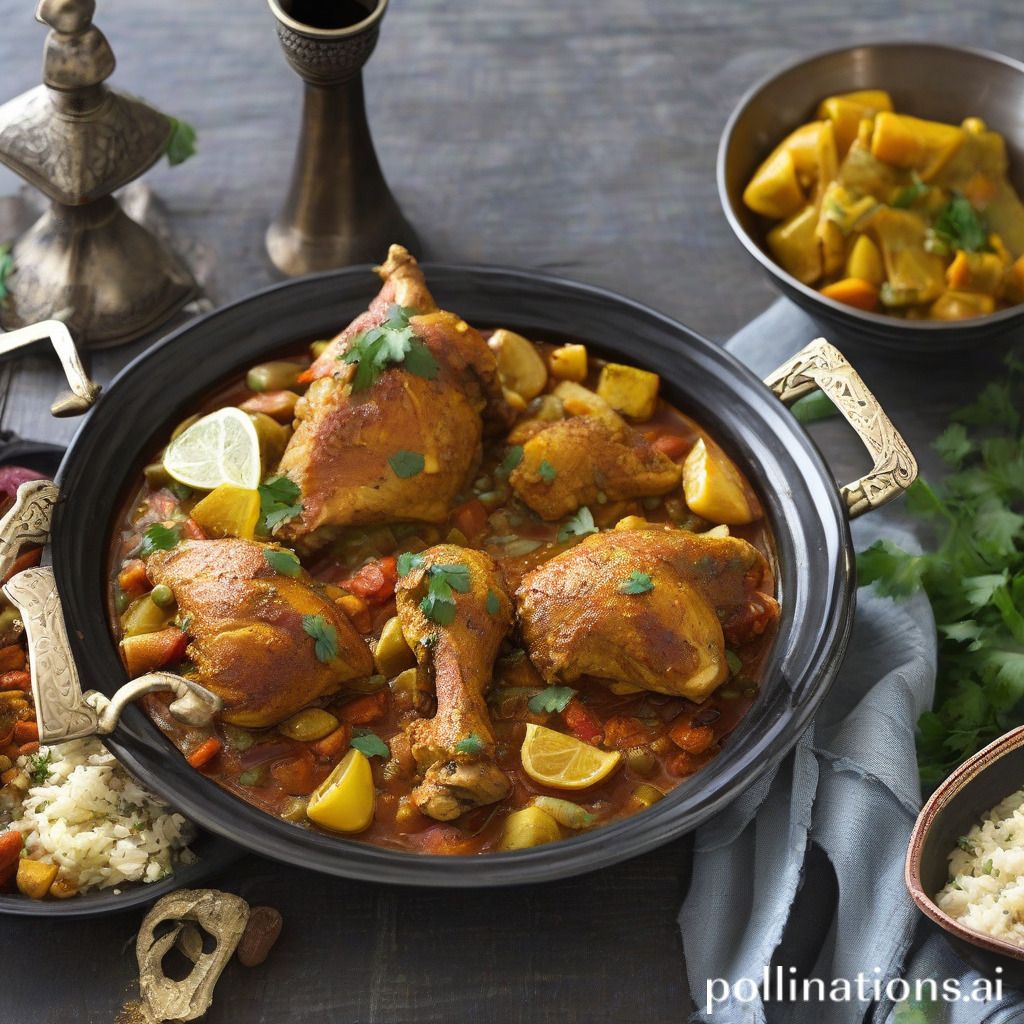
Preparing and marinating chicken for a honey mustard baked dish is a straightforward process that enhances the flavor profile of the meal. Begin by selecting quality chicken pieces, such as thighs or breasts, depending on your preference. Rinse the chicken under cold water and pat dry with paper towels to remove any excess moisture. Trimming any excess fat or skin is optional but can lead to a leaner dish.
For the marinade, in a medium bowl, mix together honey, Dijon mustard, olive oil, minced garlic, and a splash of apple cider vinegar to balance the sweetness. Whisk until the ingredients are well combined and smooth. Season the mixture with salt, pepper, and any additional herbs, such as rosemary or thyme, according to taste.
Place the chicken pieces in a resealable plastic bag or a shallow dish, and pour the marinade over them. Ensure that all pieces are well-coated. Seal the bag or cover the dish with plastic wrap, and refrigerate for at least 2 to 4 hours to allow the flavors to meld, but overnight marination is preferable for a more intense flavor infusion.
Optimal baking techniques for achieving juicy and flavorful results
To achieve juicy and flavorful honey mustard baked chicken, employing optimal baking techniques is key. First, start by marinating the chicken in a mixture of honey, mustard, olive oil, garlic, and a pinch of salt and pepper. Allow the chicken to soak in these flavors for at least an hour, or overnight if possible, to ensure the flavors permeate deeply.
When ready to bake, preheat your oven to 375 degrees Fahrenheit (190 degrees Celsius). This temperature is ideal for cooking chicken thoroughly while retaining moisture. Before placing the chicken in the oven, consider searing it in a hot pan for a couple of minutes on each side. This not only adds an extra layer of flavor but also helps seal in the juices.
In the oven, place the chicken on a wire rack set within a baking tray. This setup allows for even heat circulation around the chicken, promoting uniform cooking and preventing sogginess. Bake the chicken until it reaches an internal temperature of 165 degrees Fahrenheit (74 degrees Celsius). Using a meat thermometer can help with precision.
Finally, let the chicken rest for a few minutes after baking. This allows the juices to redistribute through the meat, ensuring every bite is succulent and delicious. By following these techniques, you’ll serve up a mouthwatering dish every time.
Ideas for complementary side dishes and serving suggestions
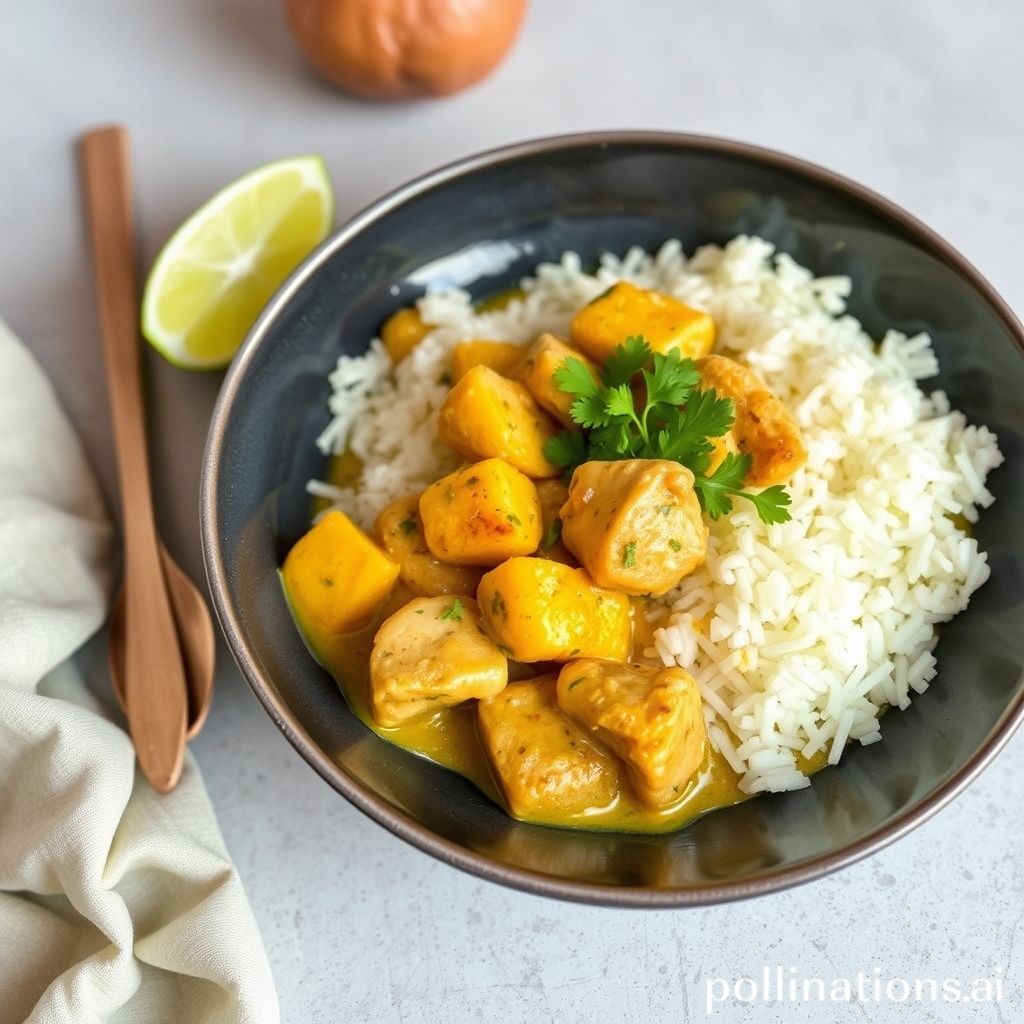
When serving honey mustard baked chicken, choosing the right side dishes can enhance the overall meal experience. A fresh, crisp salad with mixed greens, cherry tomatoes, and a light vinaigrette can provide a refreshing contrast to the rich flavors of the chicken. Consider adding a sprinkle of nuts or seeds for an extra crunch.
Mashed potatoes or a creamy risotto are comforting and can complement the tangy sweetness of the honey mustard, offering a balance of textures on your plate. Roasted vegetables like carrots, Brussels sprouts, or asparagus can add vibrant color and earthy flavors that work well with the chicken.
For a more gourmet touch, serve with couscous or quinoa, incorporating herbs and citrus zest for added flavor. Pair it with a glass of light white wine, such as Sauvignon Blanc, or a sparkling apple cider for a non-alcoholic option.
If you’re looking for a bread option, consider a warm, crusty baguette or soft dinner rolls that guests can use to soak up any extra honey mustard glaze left on their plates. These ideas provide a variety of flavors and textures, making your honey mustard baked chicken dinner a delicious and memorable meal.
Conclusion
Creating the perfect honey mustard baked chicken dish can be a gratifying culinary journey, easily recreating a restaurant-quality experience in your own kitchen. From choosing the ideal chicken cuts to crafting a delectable honey mustard sauce, each step adds to the delicious final product. Meticulous marinating and optimal baking techniques ensure that every bite is savory, succulent, and packed with flavor. Additionally, pairing your dish with complementary sides enhances both texture and aroma, making it a complete and inviting meal.
If you’re eager to elevate your chicken game and explore a myriad of other mouthwatering recipes, don’t miss out on The Chicken Bible: Say Goodbye to Boring Chicken with 500 Recipes for Easy Dinners, Braises, Wings, Stir-Fries, and So Much More. This comprehensive guide offers a treasure trove of ideas and flavors, guaranteeing that your chicken dishes are anything but ordinary. Purchase your copy today and transform every chicken meal into an unforgettable culinary masterpiece. Dive into this exciting culinary adventure and say goodbye to boring chicken once and for all!