Table of Contents
- Introduction
- Ingredients and preparation for Honey Mustard Baked Chicken
- The benefits of using honey and mustard in cooking
- Step-by-step guide to marinating and baking the chicken
- Tips for achieving the perfect balance of flavors
- Serving suggestions and pairing ideas with Honey Mustard Baked Chicken
- Variations and adaptations of the Honey Mustard Baked Chicken recipe
- Common mistakes to avoid when making Honey Mustard Baked Chicken
- Health benefits and nutritional information of Honey Mustard Baked Chicken
- Conclusion
- Frequently Asked Questions
Introduction

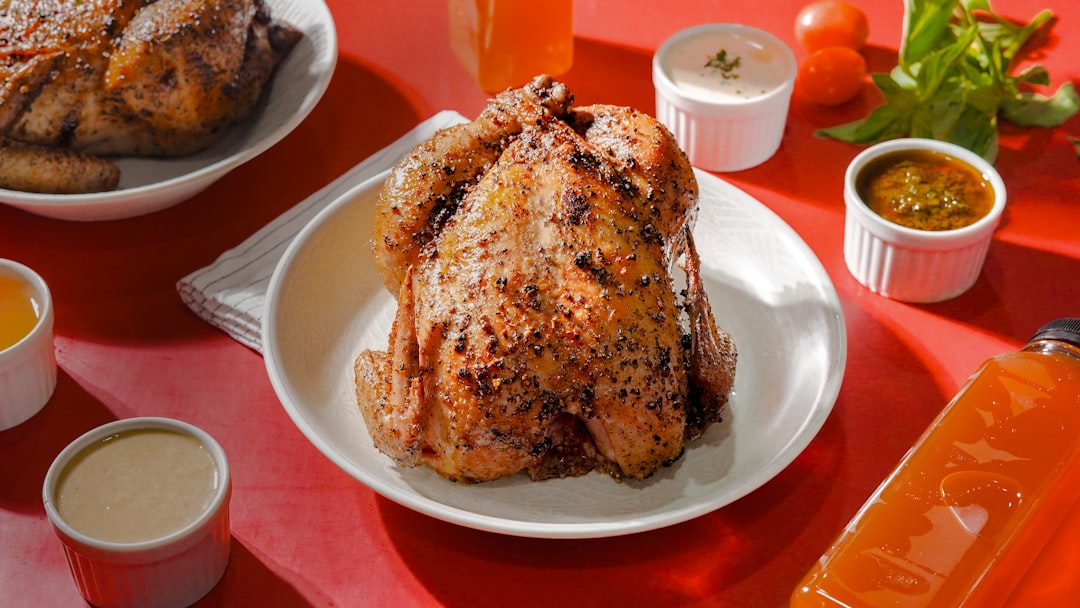
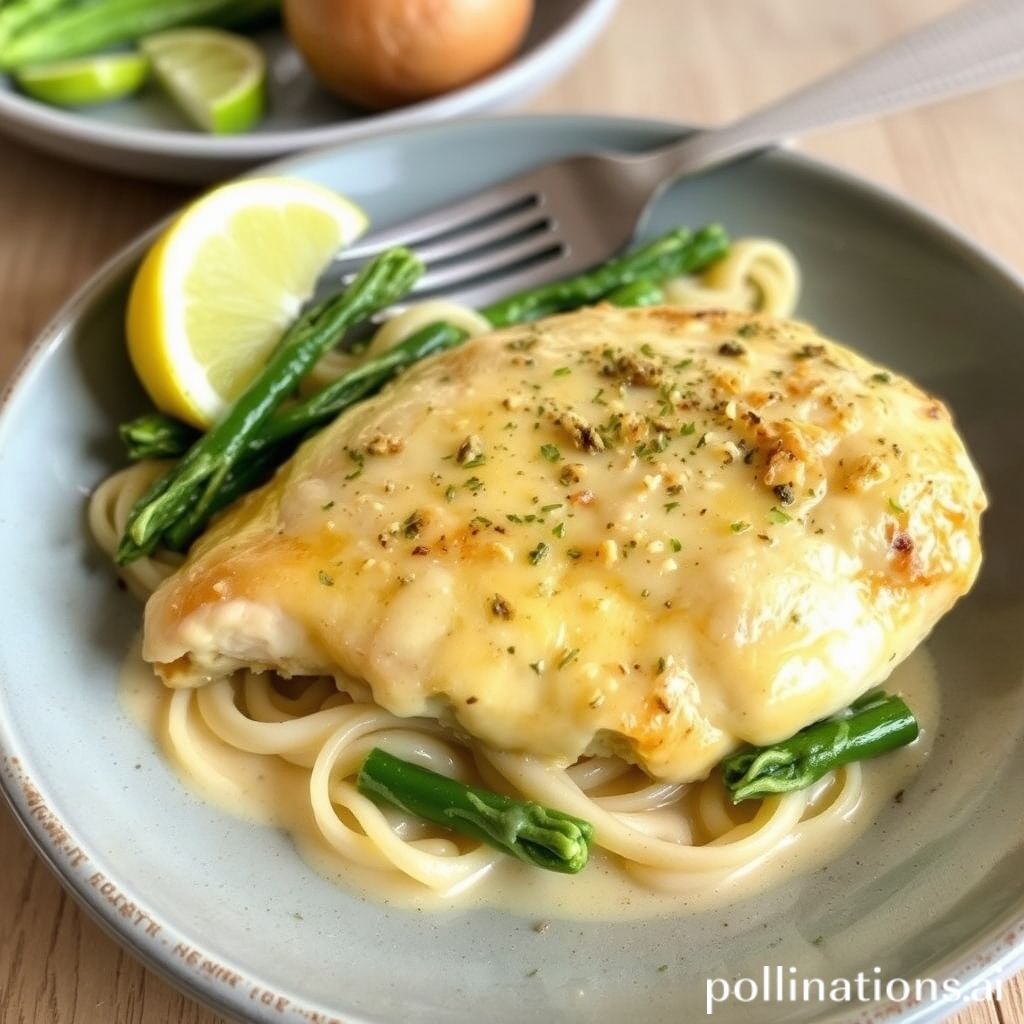
The harmonious blend of sweet and tangy comes to life in this delectable dish: Honey Mustard Baked Chicken—a quintessential choice for anyone seeking a dinner that’s both effortless and utterly delicious. Imagine succulent pieces of chicken, lovingly glazed with a golden concoction of honey, sharp mustard, and spices that beckon even the reluctant chef to don an apron.
Gathering your ingredients is the first step in unlocking flavor nirvana. You’ll need precisely measured amounts: 4 chicken breasts, 1/3 cup of honey, 1/3 cup of Dijon mustard, 2 tablespoons of olive oil, and a pinch of salt and pepper for that irresistible kick. These humble ingredients, when combined, transform into something extraordinary—a meal that feels both home-cooked and restaurant-quality.
The magic lies in the preparation, and we’re here to lead you through every meticulous step. Whether you’re a seasoned culinary artist or venturing into the kitchen for the first time, this guide will demystify the process, ensuring your Honey Mustard Baked Chicken turns out perfectly every time.
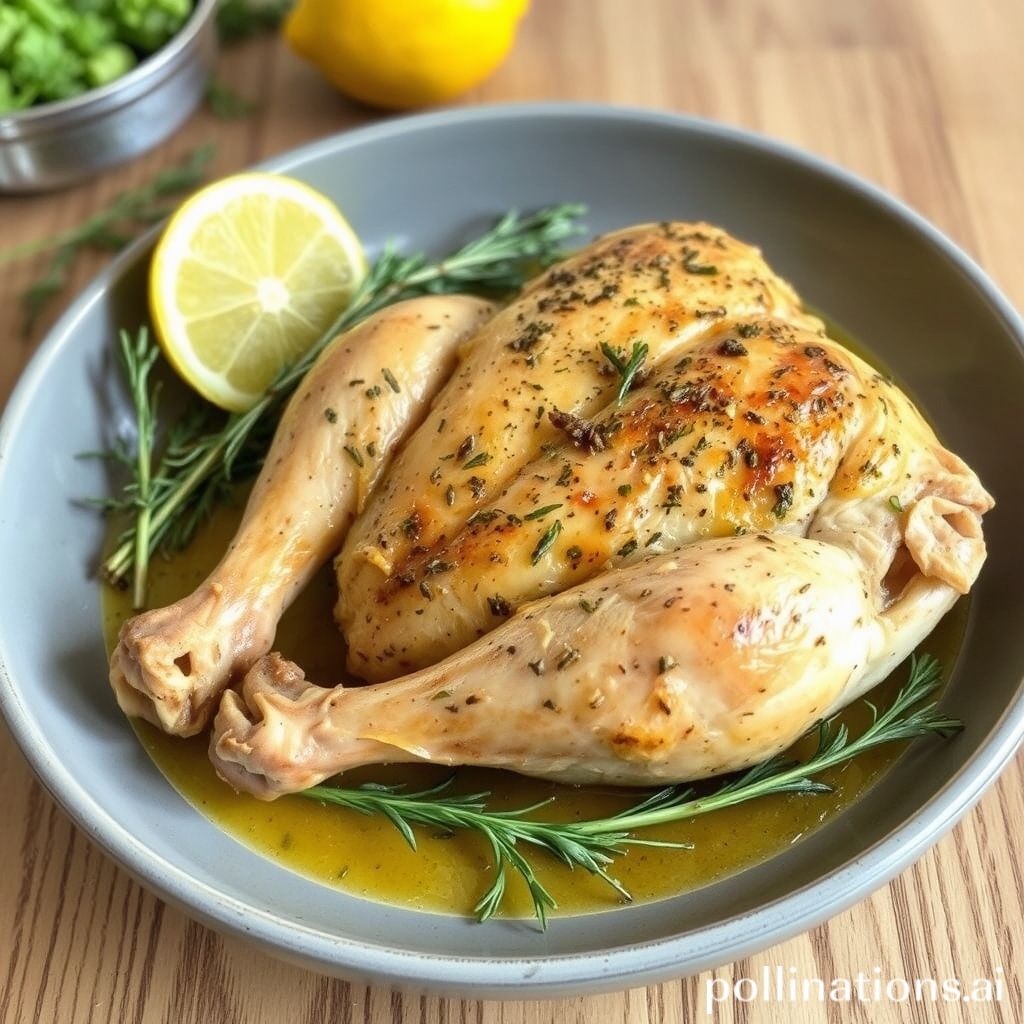
Ingredients and preparation for Honey Mustard Baked Chicken
When preparing Honey Mustard Baked Chicken, it is important to gather all necessary ingredients for a flavorful result. Begin with skinless chicken breasts or thighs, which serve as the protein-rich base. The marinade requires ingredients that are likely already in your pantry. You will need honey, which provides a natural sweetness, and Dijon mustard for its tangy and robust flavor. Combining these with a little olive oil helps to keep the chicken moist during baking. Add garlic powder, onion powder, and a pinch of salt and pepper to enhance the blend of flavors. For a hint of brightness, a touch of lemon juice can be included. Fresh rosemary or thyme sprigs are optional for garnish, for an aromatic touch.
To prepare, mix the honey, mustard, olive oil, garlic powder, onion powder, and lemon juice in a bowl to create the marinade. Coat the chicken thoroughly in this mixture and let it sit for at least 30 minutes, allowing the flavors to meld. Preheat the oven to 375°F (190°C), and place marinated chicken pieces in a baking dish. Bake for 25-30 minutes or until the chicken is fully cooked and the juices run clear. For an appetizing finish, brush additional marinade on top before serving.
The benefits of using honey and mustard in cooking
Using honey and mustard in cooking not only adds a unique flavor profile to dishes but also offers several benefits. The combination of sweet honey and tangy mustard creates a balanced taste that can enhance numerous recipes, from salads and marinades to glazes and dressings. Honey, a natural sweetener, is packed with antioxidants that can boost the immune system and promote overall health. It also adds moisture and tenderness to meats when used in cooking. Mustard, on the other hand, is low in calories and contains compounds like glucosinolates, which have been studied for their potential anti-cancer properties. Additionally, mustard is known for its ability to enhance the body’s metabolic rate, aiding in digestion. When combined, honey and mustard not only provide a delightful taste but also contribute nutritional benefits to your meals. This powerful duo can easily elevate the flavors of both simple and gourmet dishes, making it a versatile choice for any kitchen. Incorporating honey and mustard into your cooking can transform ordinary dishes into culinary delights with the added advantage of health benefits.
Step-by-step guide to marinating and baking the chicken
Marinating and baking chicken with a honey mustard glaze is a simple yet delicious way to enjoy a flavorful meal. To begin, gather your ingredients: chicken pieces, honey, Dijon mustard, olive oil, garlic, lemon juice, salt, and pepper.
First, prepare the marinade by combining 1/4 cup of honey, 1/4 cup of Dijon mustard, 2 tablespoons of olive oil, 3 minced garlic cloves, and the juice of one lemon in a bowl. Add salt and pepper to taste, ensuring the flavors are well-balanced.
Next, place the chicken pieces in a large, resealable bag or a shallow dish. Pour the marinade over the chicken, ensuring each piece is well coated. Seal the bag or cover the dish and refrigerate for at least 2 hours, or ideally overnight, to allow the flavors to permeate the meat.
When ready to bake, preheat your oven to 375°F (190°C). Arrange the marinated chicken pieces in a single layer in a baking dish, pouring any leftover marinade over the top. Bake for 25 to 30 minutes or until the chicken reaches an internal temperature of 165°F (74°C) and the glaze is caramelized. Serve hot, garnished with fresh herbs, and enjoy your tasty honey mustard baked chicken.
Tips for achieving the perfect balance of flavors
Achieving the perfect balance of flavors in honey mustard baked chicken involves a careful blend of sweet, tangy, and savory elements. Start by selecting a good quality honey, as its natural sweetness will complement the sharpness of the mustard. Pair this with a robust mustard, preferably Dijon, which offers a mild heat and tanginess that won’t overpower the dish.
Another key to balancing flavors is to season the chicken appropriately. Salt and pepper should be used liberally to enhance the overall taste, while garlic powder or fresh minced garlic can add depth. For a touch of acidity, consider adding a squeeze of lemon juice, which can help brighten the flavors and cut through the richness of the honey.
It’s also important to consider marinating your chicken. Allowing it to sit in the honey mustard mixture for at least an hour can help the flavors penetrate deeper into the meat. During baking, frequently basting the chicken ensures an even distribution of flavors, leading to a more balanced taste.
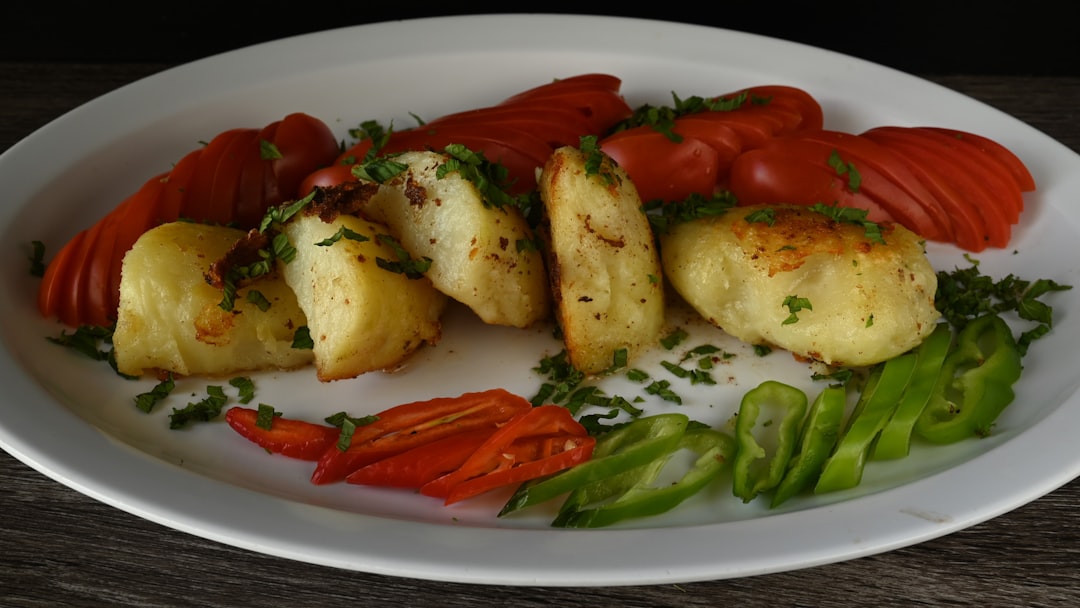
Finally, consider the accompaniments. Side dishes like roasted vegetables or a fresh salad can harmonize with the chicken’s flavors, providing a complete and satisfying meal.
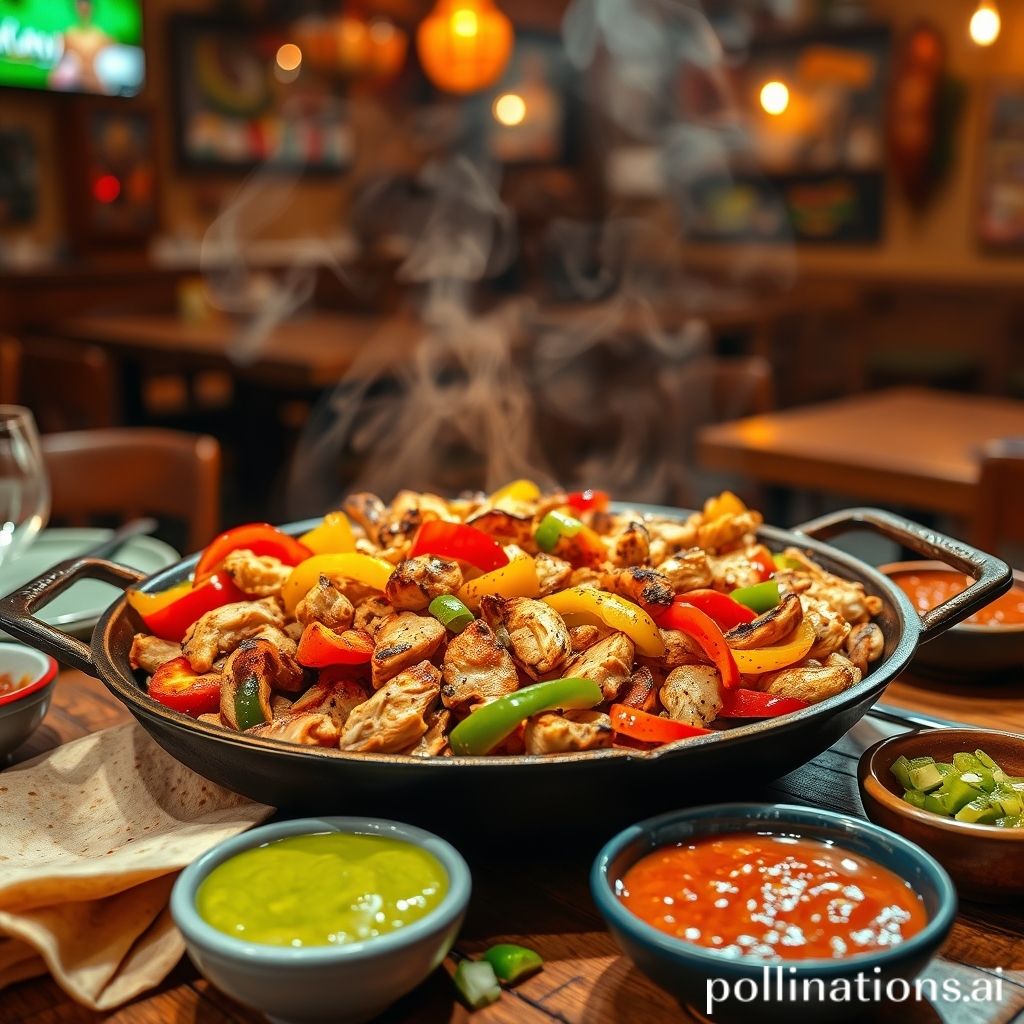
Serving suggestions and pairing ideas with Honey Mustard Baked Chicken
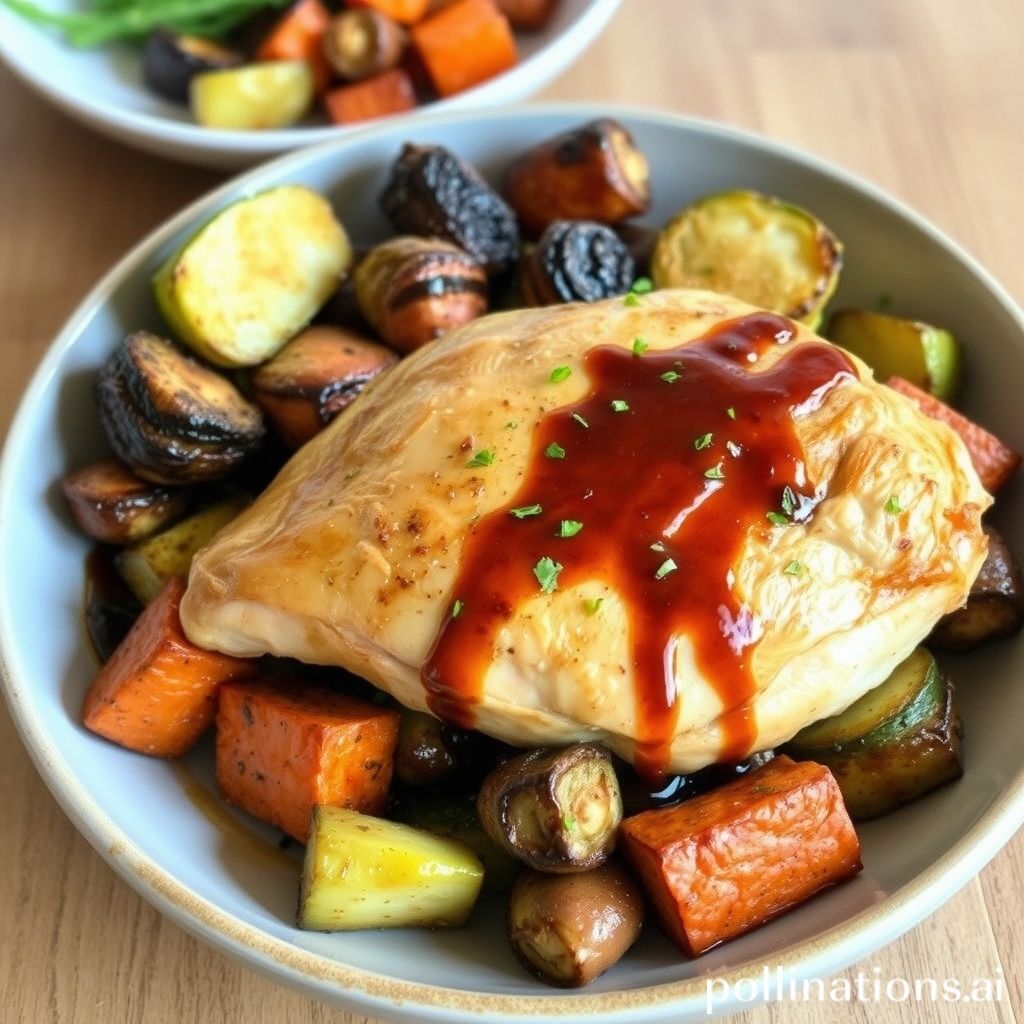
Honey Mustard Baked Chicken is a delightful and versatile dish that pairs well with various sides, enhancing its sweet and tangy flavors. To create a balanced meal, consider serving it with a simple green salad tossed in a light vinaigrette. The crisp freshness of the greens complements the richness of the chicken beautifully. If you prefer something heartier, try serving it alongside garlic mashed potatoes or a creamy risotto, both of which offer a smooth texture contrast.
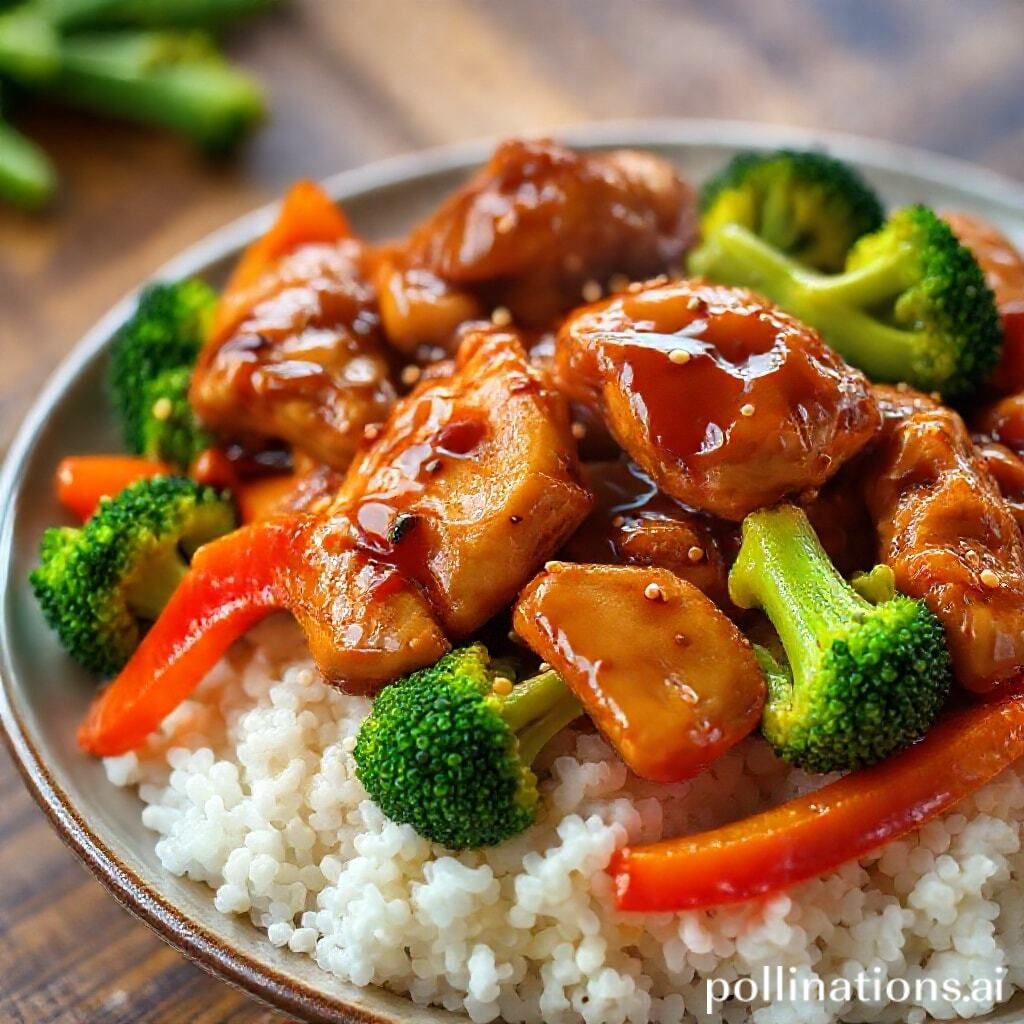
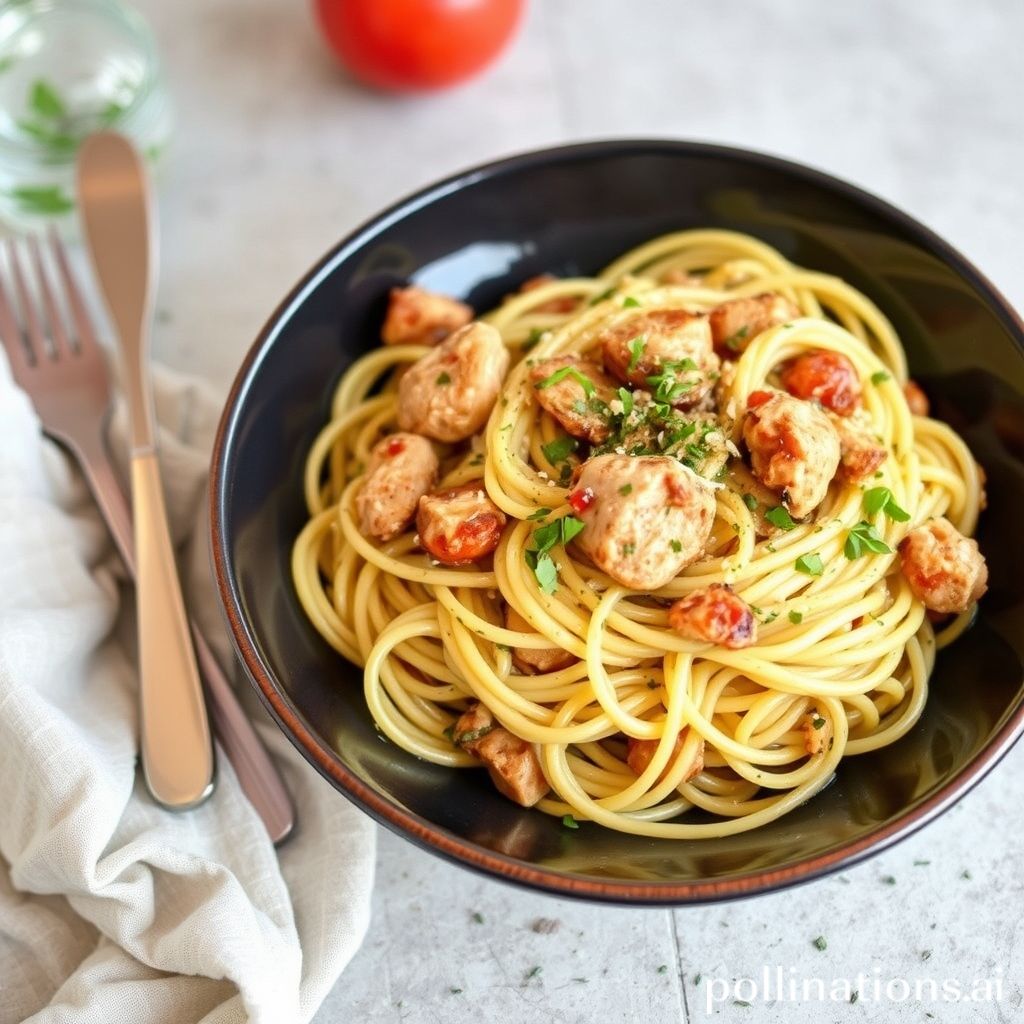
For a more colorful plate, roasted vegetables like carrots, bell peppers, and asparagus provide not only vibrant hues but also a depth of flavor that resonates well with the honey mustard profile. If you’re in the mood for grains, couscous or quinoa can serve as excellent bases that soak up the savory juices, creating a wholesome and satisfying experience.
When it comes to beverages, a crisp white wine such as Sauvignon Blanc or a light beer can enhance the meal without overpowering the honey mustard notes. Alternatively, iced tea or sparkling water with a slice of lemon can offer a refreshing non-alcoholic option. Whatever your preference, these pairings ensure a delightful dining experience with Honey Mustard Baked Chicken.
Variations and adaptations of the Honey Mustard Baked Chicken recipe
The Honey Mustard Baked Chicken recipe offers numerous variations and adaptations, allowing for creative culinary exploration while catering to different tastes and dietary needs. A popular variation includes adding a splash of soy sauce or Worcestershire sauce to the honey mustard mixture, enhancing the umami flavors and depth. For a spicy twist, consider incorporating a pinch of cayenne pepper or a dash of hot sauce into the marinade.
For those seeking a healthier alternative, substitute traditional honey with a low-calorie option like stevia or agave nectar. Additionally, you can use Greek yogurt instead of mayonnaise for a lighter version of the tangy mustard sauce. Vegans can enjoy a plant-based version by switching out chicken for tofu or tempeh, maintaining the recipe’s essence while adhering to dietary preferences.
Adding herbs like rosemary or thyme can introduce aromatic notes, complementing the dish’s sweet and savory profile. A crunchy texture can be achieved by topping the chicken with a mixture of breadcrumbs and grated Parmesan before baking. Whether customizing for health reasons or personal taste, the adaptability of the Honey Mustard Baked Chicken recipe ensures it remains a beloved favorite for many households.
Common mistakes to avoid when making Honey Mustard Baked Chicken
When preparing honey mustard baked chicken, a common mistake is using the wrong ratio of honey to mustard. Achieving the perfect balance is critical; otherwise, the sauce can become overwhelmingly sweet or tangy, overshadowing the dish’s inherent flavors.
Another mistake is not marinating the chicken for long enough. Allowing the chicken to marinate for at least a few hours, or overnight if possible, helps the flavors to penetrate deeply, ensuring a more robust taste.
Overbaking the chicken is also a frequent error. Chicken can quickly become dry if left in the oven too long. Monitoring the cooking time and using a meat thermometer to ensure the internal temperature reaches 165°F can prevent dryness.
Additionally, using low-quality ingredients can impact the final dish. Opting for fresh, high-quality honey and mustard can significantly enhance the flavor profile.
Lastly, neglecting to baste the chicken during baking can result in uneven flavor distribution. Regularly basting helps maintain moisture and ensures each piece is covered in the delicious honey mustard sauce, creating a more succulent and flavorful meal.
Health benefits and nutritional information of Honey Mustard Baked Chicken
Honey Mustard Baked Chicken is not only a delicious and flavorful dish but also offers several health benefits. This dish is high in protein, which is essential for muscle repair and growth. The chicken provides a lean source of protein, as it is typically lower in calories and saturated fat compared to red meats, making it a healthier choice for those looking to maintain or lose weight.
The honey mustard sauce, often made with natural ingredients like honey, mustard, and olive oil, adds a layer of nutritional benefits. Honey is known for its antioxidant properties and ability to boost the immune system. Mustard, particularly the seeds, contain minerals such as magnesium and selenium, which support heart health and have anti-inflammatory effects. Olive oil, a healthy fat, contributes to heart health and offers a source of vitamin E.
From a nutritional standpoint, Honey Mustard Baked Chicken provides essential vitamins and minerals, supporting overall well-being. Moreover, this dish is versatile; when paired with whole grains or a green salad, it creates a balanced meal that can fit into many healthy eating plans. Enjoying it as part of a balanced diet can promote good health while delighting the taste buds.
Conclusion
In conclusion, crafting the perfect Honey Mustard Baked Chicken is an art that combines simplicity with exquisite taste. This dish not only brings out the flavors of sweet honey and zesty mustard but also offers a nutritious meal option that fits seamlessly into a balanced diet. Whether you’re seeking to impress at a dinner party or simply elevate a weeknight meal, the versatility of this recipe stands unmatched. Don’t let your culinary skills stop here, though! Dive deeper into the world of poultry perfection by exploring ‘The Chicken Bible: Say Goodbye to Boring Chicken with 500 Recipes for Easy Dinners, Braises, Wings, Stir-Fries, and So Much More.’ This comprehensive guide is a treasure trove of delicious and innovative chicken recipes that promise to delight your taste buds and expand your cooking repertoire. To discover a new world of chicken culinary delights, click here and add this essential book to your collection today. Embrace the endless possibilities and say goodbye to boring chicken forever!