Table of Contents
- Introduction
- Health Benefits of Lemon in Food
- Selecting the Right Cut of Chicken
- Preparing Fresh Herbs for Cooking
- Perfecting the Lemon Pepper Marinade
- Tips for Cooking Juicy Chicken
- Conclusion
- Frequently Asked Questions
Introduction
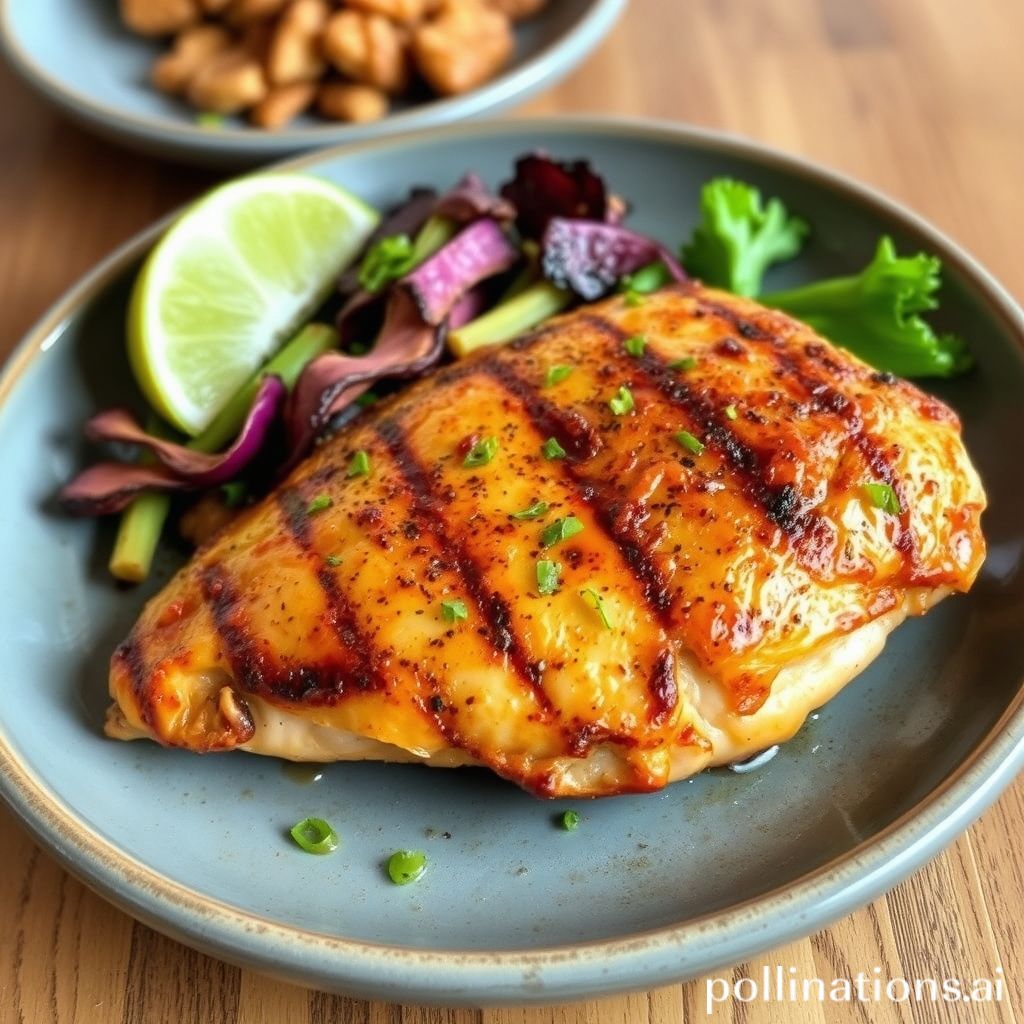
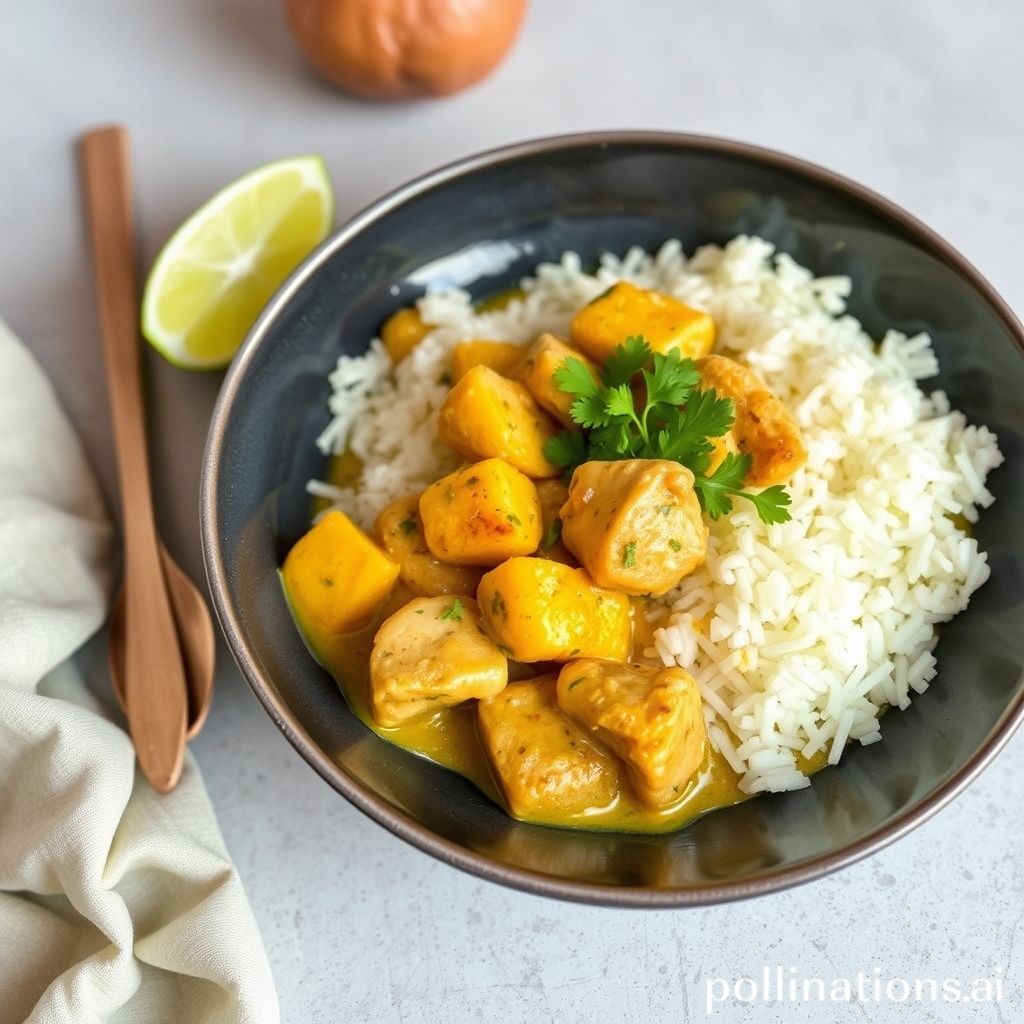
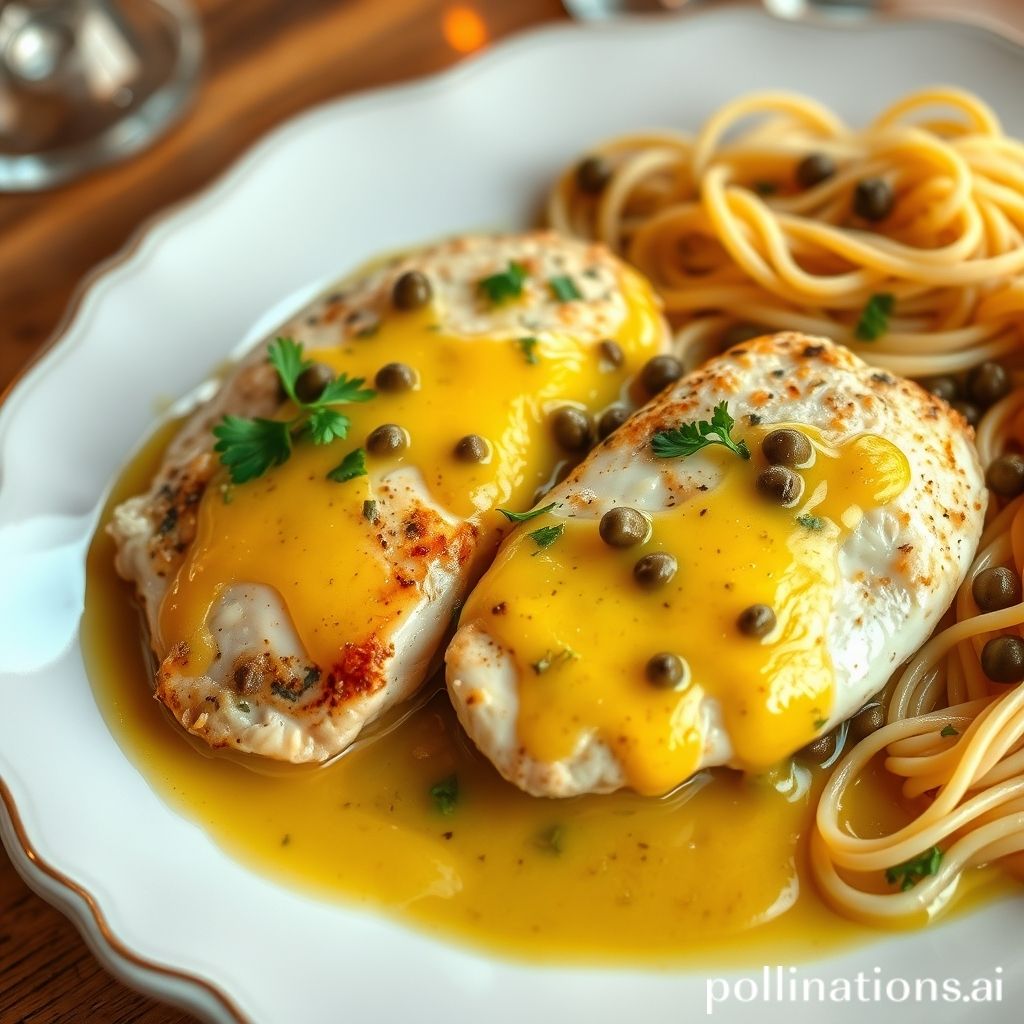
Imagine the perfect bite of chicken—tender, aromatic, and bursting with a delightful zest. Welcome to the world of Lemon Pepper Chicken, where simplicity meets sophistication in every mouthful.
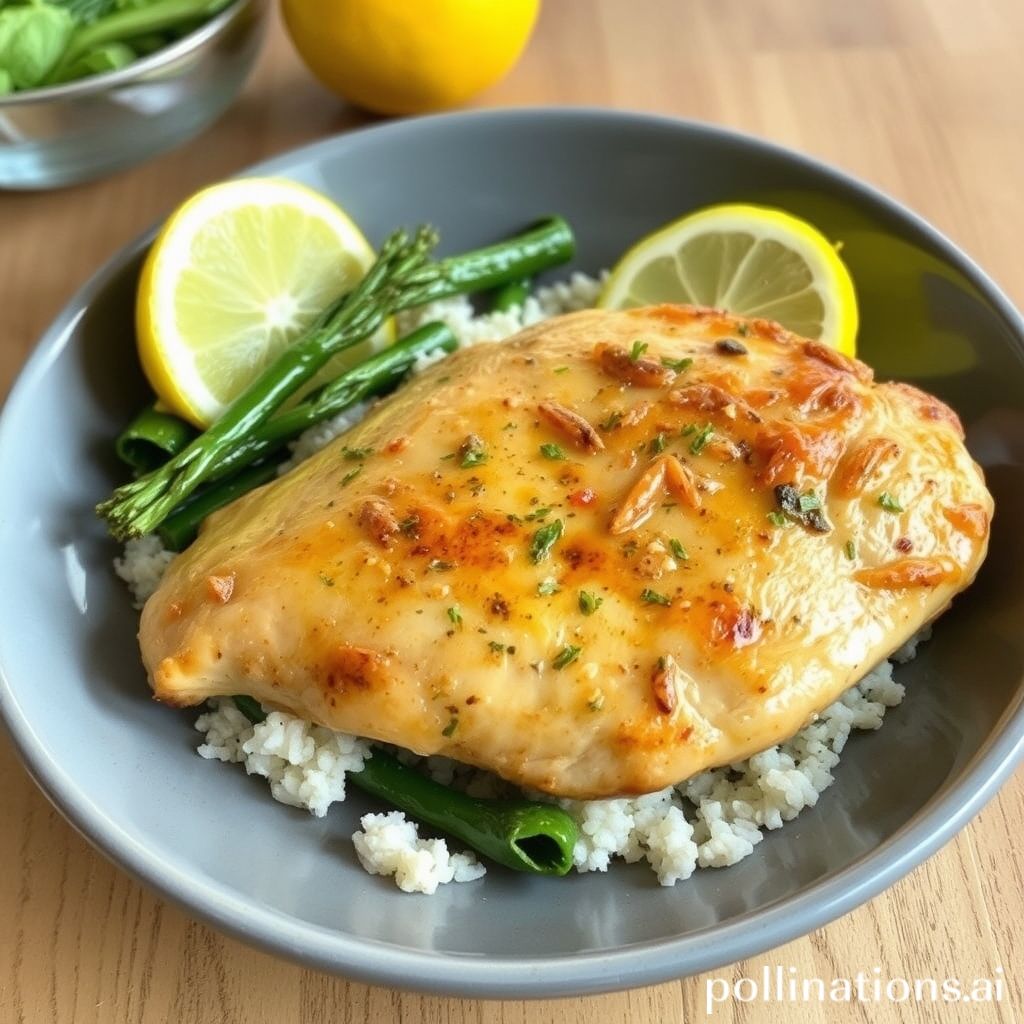
This tantalizing dish promises to elevate your cooking repertoire with its harmonious blend of flavors. Our journey to mastery begins with the key ingredients: 1 lb of chicken breast, 2 tablespoons of olive oil, 1 teaspoon of fresh lemon zest, 1 tablespoon of freshly ground black pepper, 1 teaspoon of salt, and 2 tablespoons of freshly squeezed lemon juice. These carefully selected components form the cornerstone of a culinary masterpiece.
Whether you’re a kitchen novice or a seasoned chef, our deep dive into the art of Lemon Pepper Chicken will unlock tips and techniques to transform these simple ingredients into a dish that commands attention at any dining table.
So roll up your sleeves and ready your taste buds as we embark on a savory adventure that promises to demystify the secrets of crafting the perfectly balanced lemon pepper experience.
Health Benefits of Lemon in Food
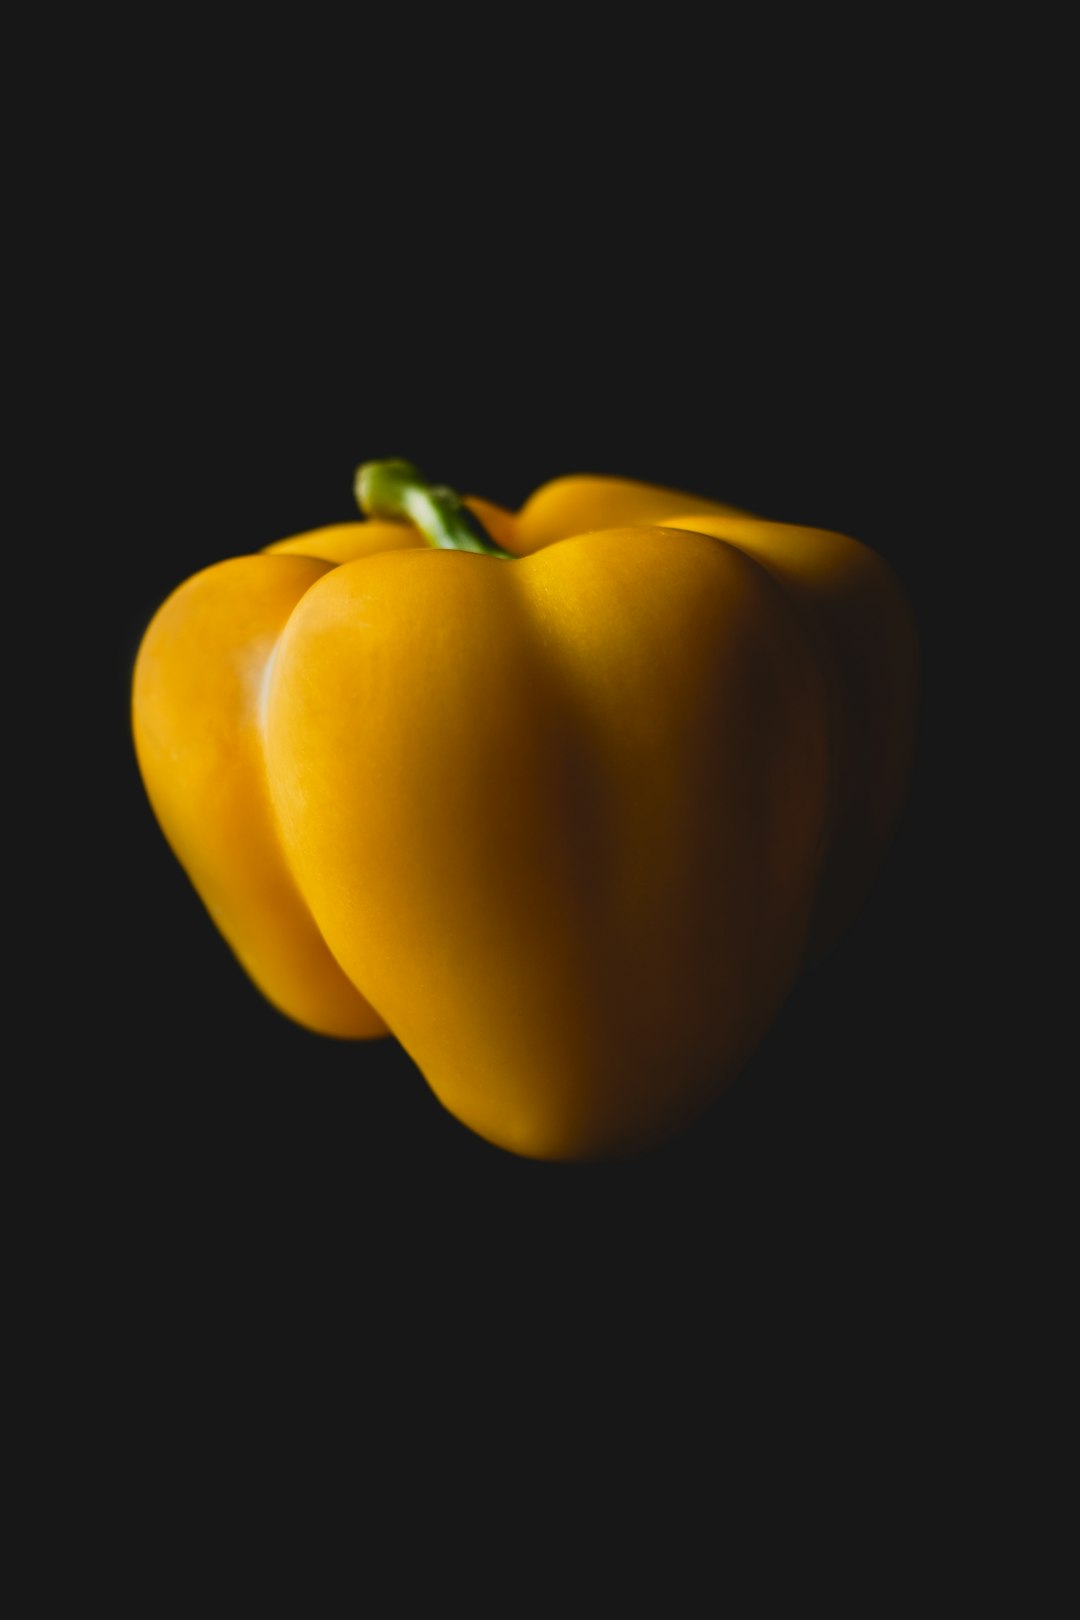
Lemons are more than just a flavorful addition to your foods; they offer a variety of health benefits that make them a valuable ingredient. Rich in vitamin C, lemons play a significant role in boosting the immune system, which is crucial for warding off colds and flu. Consuming lemon as a part of your diet helps in enhancing heart health by lowering blood cholesterol levels, owing to the presence of plant compounds like hesperidin and diosmin.
Lemons are also known for their ability to aid in digestion. The acidic nature of lemon juice can stimulate digestive enzymes, enhancing overall digestion and preventing constipation. Furthermore, lemons contain citric acid, which may help in preventing the formation of kidney stones by increasing urine output and reducing the risk of stone formation.
Incorporating lemons into your meals is a simple and natural way to support your health, while also adding a refreshing zest to your dishes. From salad dressings to marinades for chicken, the versatility of lemon in food makes it a must-have in your culinary arsenal.
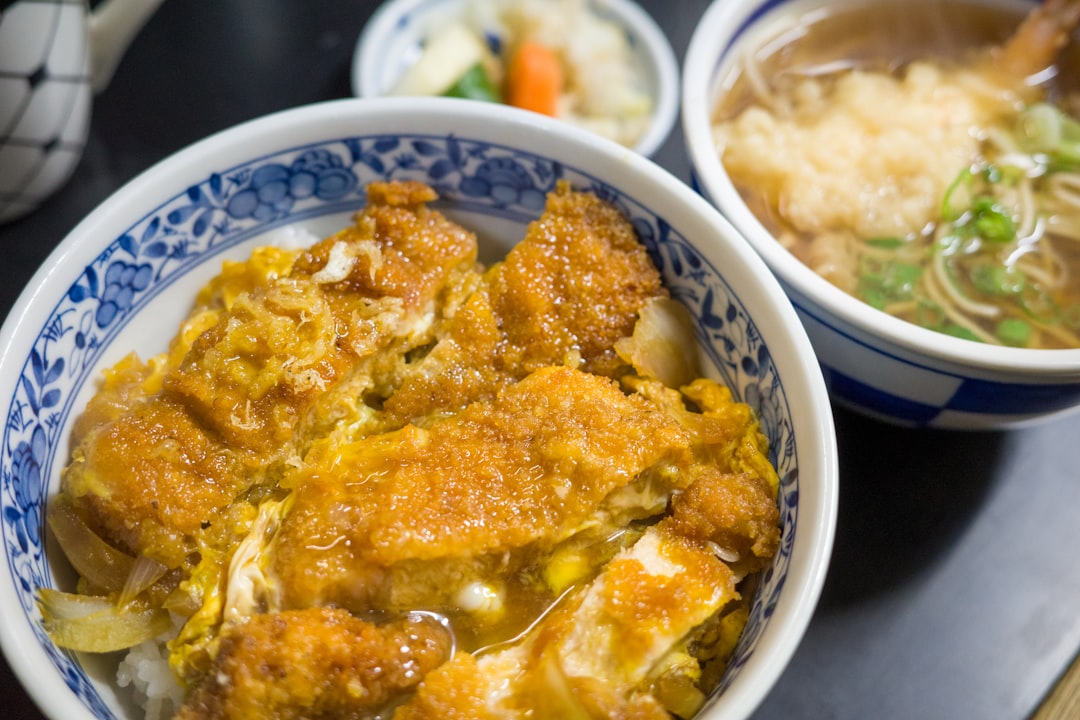
Selecting the Right Cut of Chicken
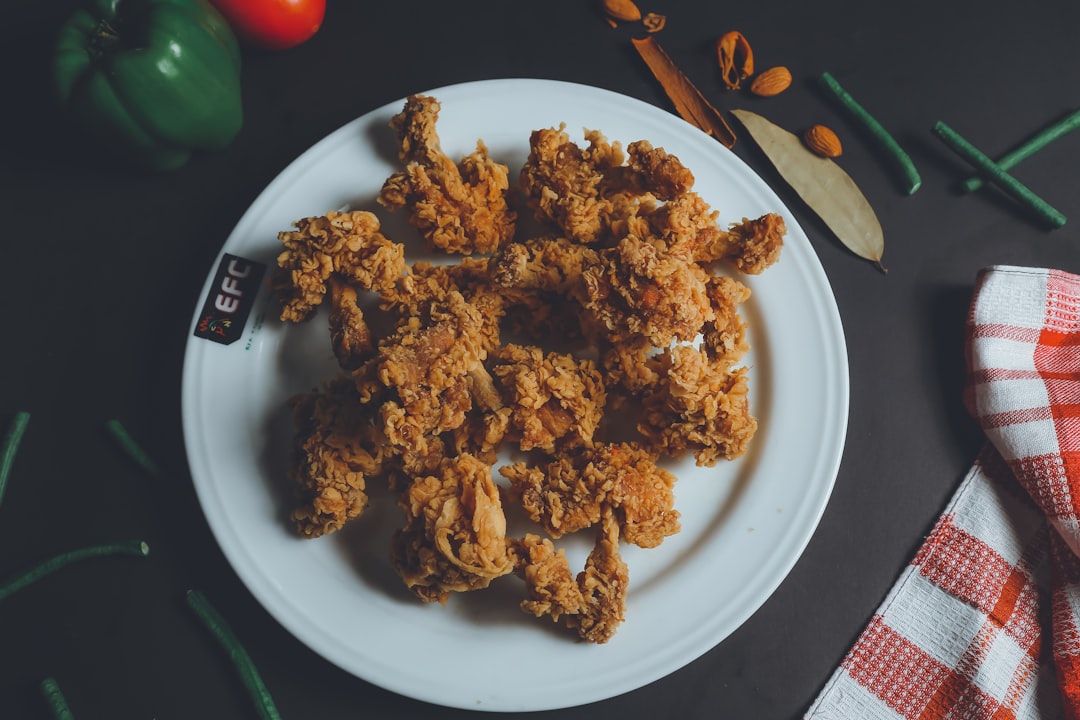
When preparing lemon pepper chicken, selecting the right cut of chicken is crucial to achieving the best flavor and texture. The choice largely depends on personal preference and the desired outcome of the dish. For a juicy, flavorful result, bone-in and skin-on cuts like thighs or drumsticks are ideal. These cuts tend to have more fat, which helps keep the meat moist during cooking and lends a richer taste. If you’re aiming for a lighter, quicker-cooking option, boneless, skinless chicken breasts are a popular choice. They absorb flavors well and pair wonderfully with the tangy zest of lemon and the boldness of pepper. However, they can dry out if overcooked, so attention to cooking time is essential. For those who enjoy variety, a mix of cuts could be a delightful way to offer different flavors and textures in a single dish. Regardless of the cut you choose, ensuring the chicken is fresh and properly trimmed will enhance the overall quality of your lemon pepper chicken recipe, delighting taste buds and complementing the vibrant lemon pepper seasoning.
Preparing Fresh Herbs for Cooking
Fresh herbs can elevate your dishes, adding vibrant flavors and aromas. To prepare fresh herbs for cooking, start by selecting the freshest herbs available. Look for bright colors and avoid wilted or discolored leaves. Begin by rinsing the herbs under cold water to remove any dirt or debris, then gently pat them dry with a paper towel or use a salad spinner to avoid bruising.
For leafy herbs like parsley, cilantro, and basil, remove the leaves from the stems as they can be bitter. You can do this by pinching the leaves off with your fingers or using a knife. For herbs like rosemary and thyme, the leaves can be stripped by running your fingers firmly down the stems.
Once the leaves are removed, you can chop them according to your dish’s needs. Use a sharp knife to rock back and forth through the herbs, ensuring a clean chop and maximizing flavor release without bruising. Alternatively, for a rustic look, you can tear larger herbs like basil or mint.
Prepared herbs can be stored by wrapping them in a damp paper towel and placing them in a plastic bag in the refrigerator, ensuring they remain fresh until needed for your recipes.
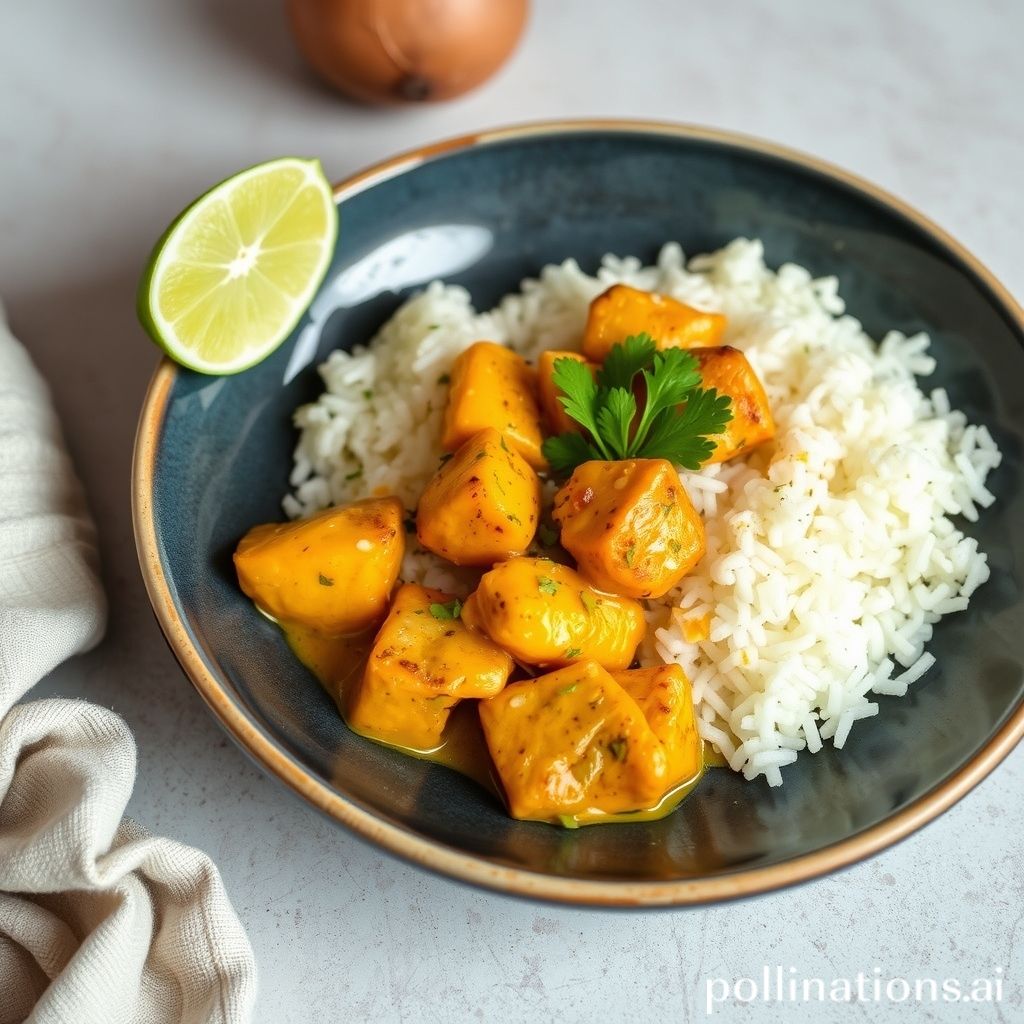
Perfecting the Lemon Pepper Marinade
Creating the perfect lemon pepper marinade is an art that balances acidity and spice to bring out the best in chicken. The foundation of any good marinade lies in the choice of ingredients and the proportions used. For a classic lemon pepper marinade, start with fresh lemon juice, which provides tanginess and helps tenderize the chicken. Combine this with freshly ground black pepper, noted for its subtle heat and aromatic qualities.
To enhance the flavor, garlic is often added, either minced or as a garlic powder. Olive oil is another essential component; it helps to coat the chicken and absorb the marinade better. A hint of sweetness, perhaps from honey or sugar, can counterbalance the acidity, while salt will enhance the overall taste.
Allow the chicken to marinate for at least 30 minutes, but ideally a couple of hours, in the refrigerator. This duration enables the flavors to penetrate deeply, resulting in a juicier, more flavorful dish. The key is to experiment with the ratios until you find a blend that suits your palate while keeping the harmony between the citrusy lemon and the spicy black pepper.
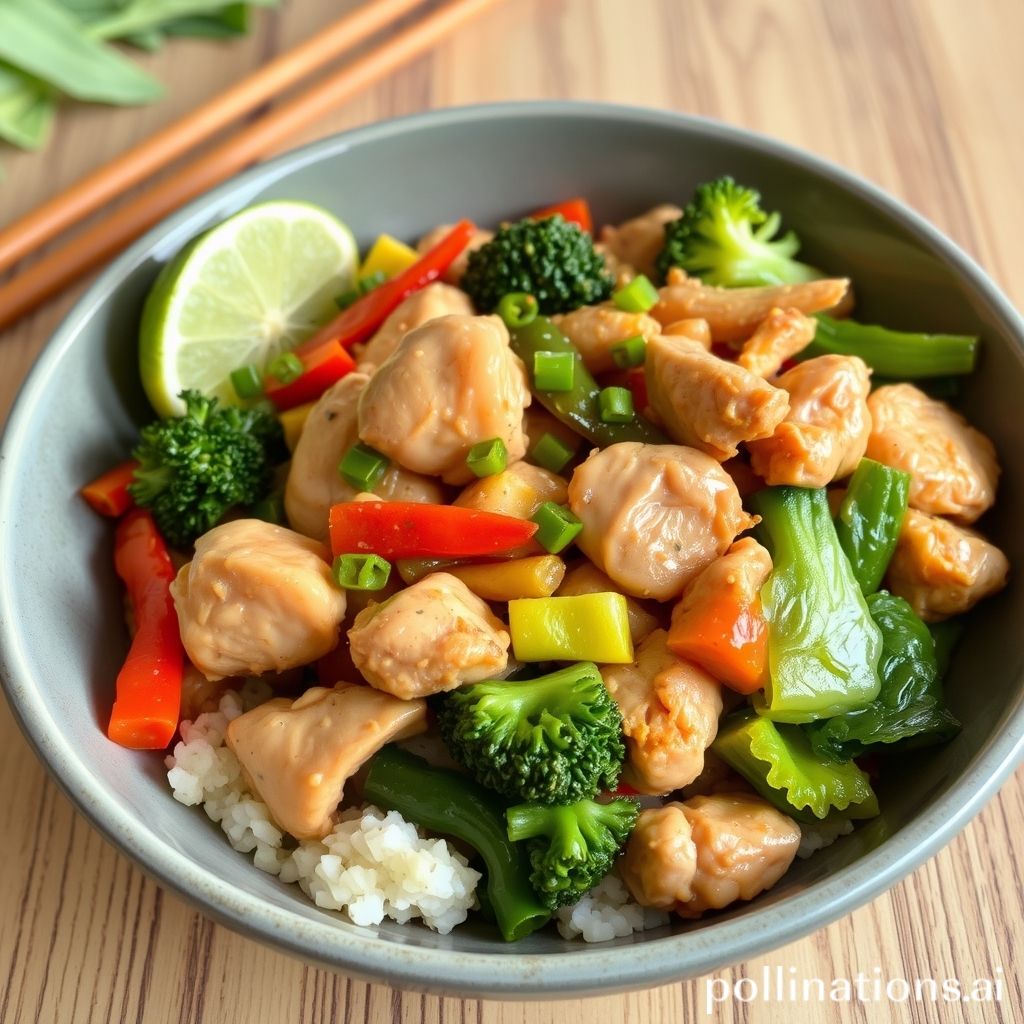
Tips for Cooking Juicy Chicken
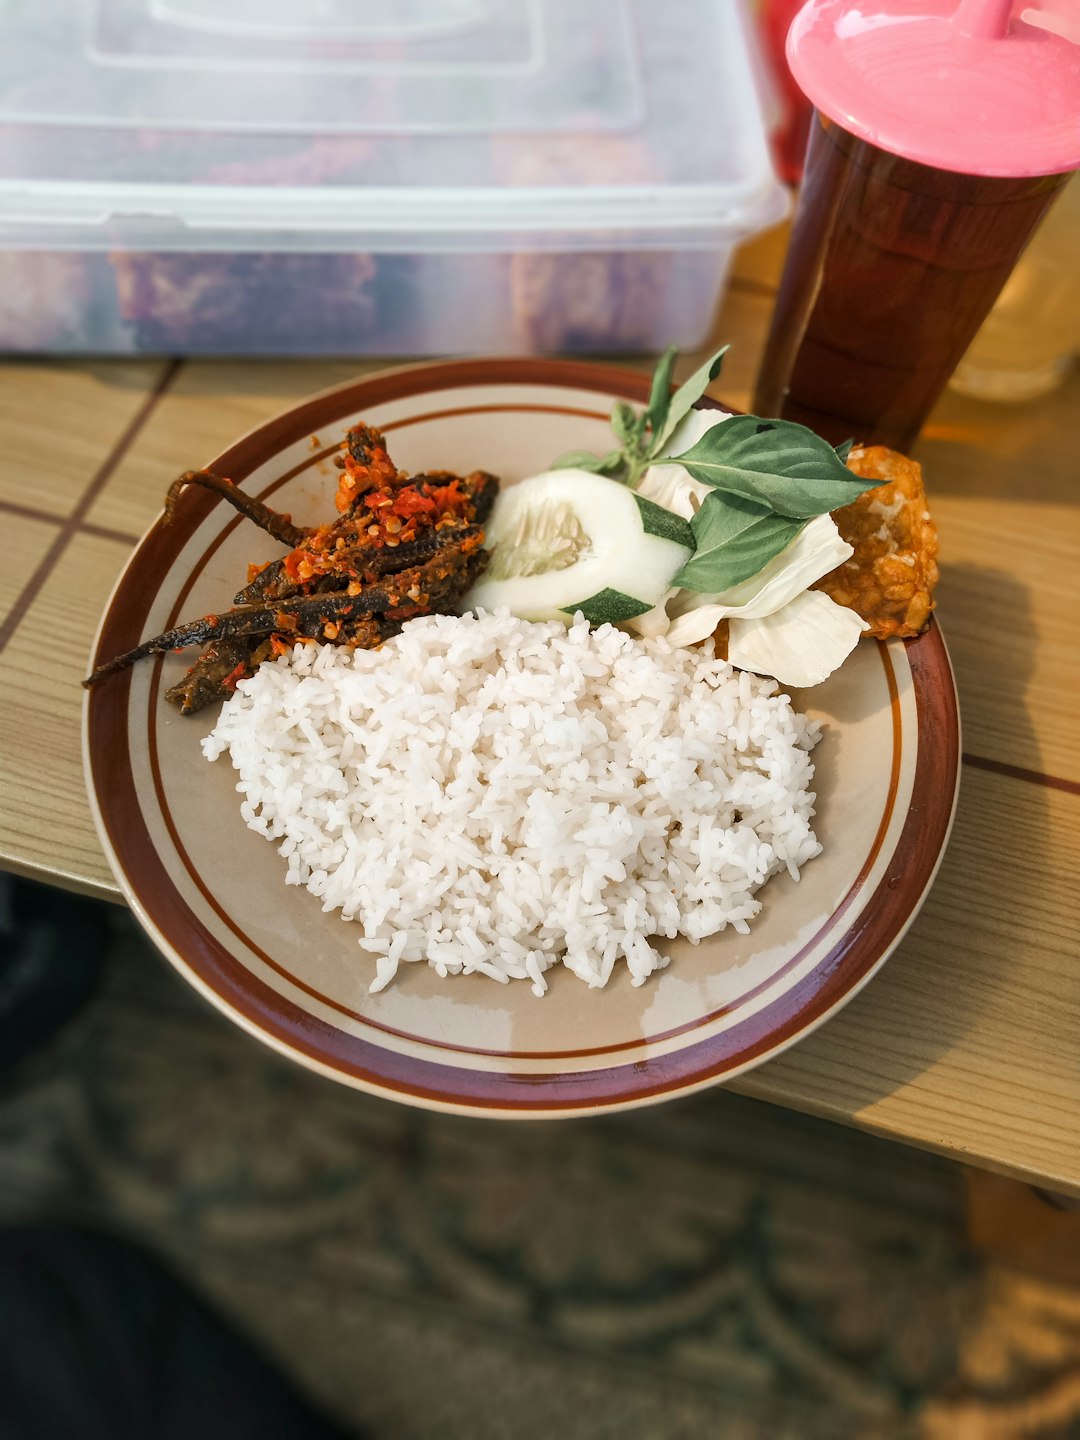
Cooking juicy chicken can sometimes be a challenge, but with a few tips and tricks, you can enhance the flavor and moisture of your dishes. One of the most effective methods is brining. By soaking the chicken in a saltwater solution for a couple of hours, or overnight, the meat retains moisture, resulting in a juicier texture. Pat the chicken dry before cooking to ensure a crispy exterior.
Another important tip is to not overcook the chicken. Use a meat thermometer to ensure the internal temperature reaches 165°F (73.9°C), which is safe for consumption yet keeps the meat succulent. Resting the chicken after cooking for about 5-10 minutes allows the juices to redistribute, preventing them from spilling out when cut.
Choosing the right cooking method also makes a big difference. Baking at a high temperature or grilling adds flavor and helps in keeping the chicken moist. If frying, marinate the chicken in buttermilk beforehand for added tenderness. Additionally, basting with butter or a marinade can add extra moisture and flavor while cooking.
Conclusion
In conclusion, mastering the art of lemon pepper chicken is all about balance and technique. From carefully selecting the freshest ingredients to employing tips for keeping your chicken juicy, every step contributes to unveiling the true potential of this zesty delight. Lemons not only add a burst of flavor but also offer health benefits, making them an integral part of this dish. Whether you choose bone-in or boneless cuts, understanding your preferences will guide you to culinary success. Accentuate these flavors further with fresh herbs and a well-crafted marinade, and you’re set to impress at any meal.
With a newfound appreciation for this classic dish, it’s time to expand your culinary horizons. Dive deeper into the world of chicken recipes with ‘The Chicken Bible: Say Goodbye to Boring Chicken with 500 Recipes for Easy Dinners, Braises, Wings, Stir-Fries, and So Much More.’ This comprehensive guide offers endless possibilities for delightful meals. To embark on this flavorful journey, click here to purchase your copy and transform your kitchen adventures.