Table of Contents
- Introduction
- Key Ingredients for Sticky Sesame Chicken
- Step-by-Step Preparation of Sticky Sesame Chicken
- Tips for Achieving the Perfect Sticky Sauce
- Pairing Sticky Sesame Chicken with Complementary Sides
- Variations and Substitutions for Sticky Sesame Chicken
- Nutritional Benefits of Sesame and Chicken
- Popular Cooking Methods: Baking vs. Stir-Frying
- Frequently Asked Questions About Sticky Sesame Chicken
- Conclusion
- Frequently Asked Questions
Introduction

Gather around, culinary enthusiasts, and prepare to embark on a flavor-packed journey that will tantalize your taste buds and elevate your home-cooking game! “Savory Delight: Mastering the Perfect Sticky Sesame Chicken at Home” will guide you through the art of crafting this lip-smacking, crowd-pleasing dish that seamlessly marries sweet, savory, and umami flavors into one irresistible masterpiece.
Imagine tender chicken pieces delicately coated in a sticky, glossy sesame sauce, with a hint of heat and a sprinkle of nutty sesame seeds. This dish demands center stage at any dinner table, promising the perfect balance of textures and a symphony of flavors with every bite.
So, what are you waiting for? Dust off your apron, sharpen your knives, and gather fresh ingredients as we dive into the delightful world of Sticky Sesame Chicken. With step-by-step guidance, this article will transform you into a culinary maestro, ensuring your dish is not just a meal but a memory.
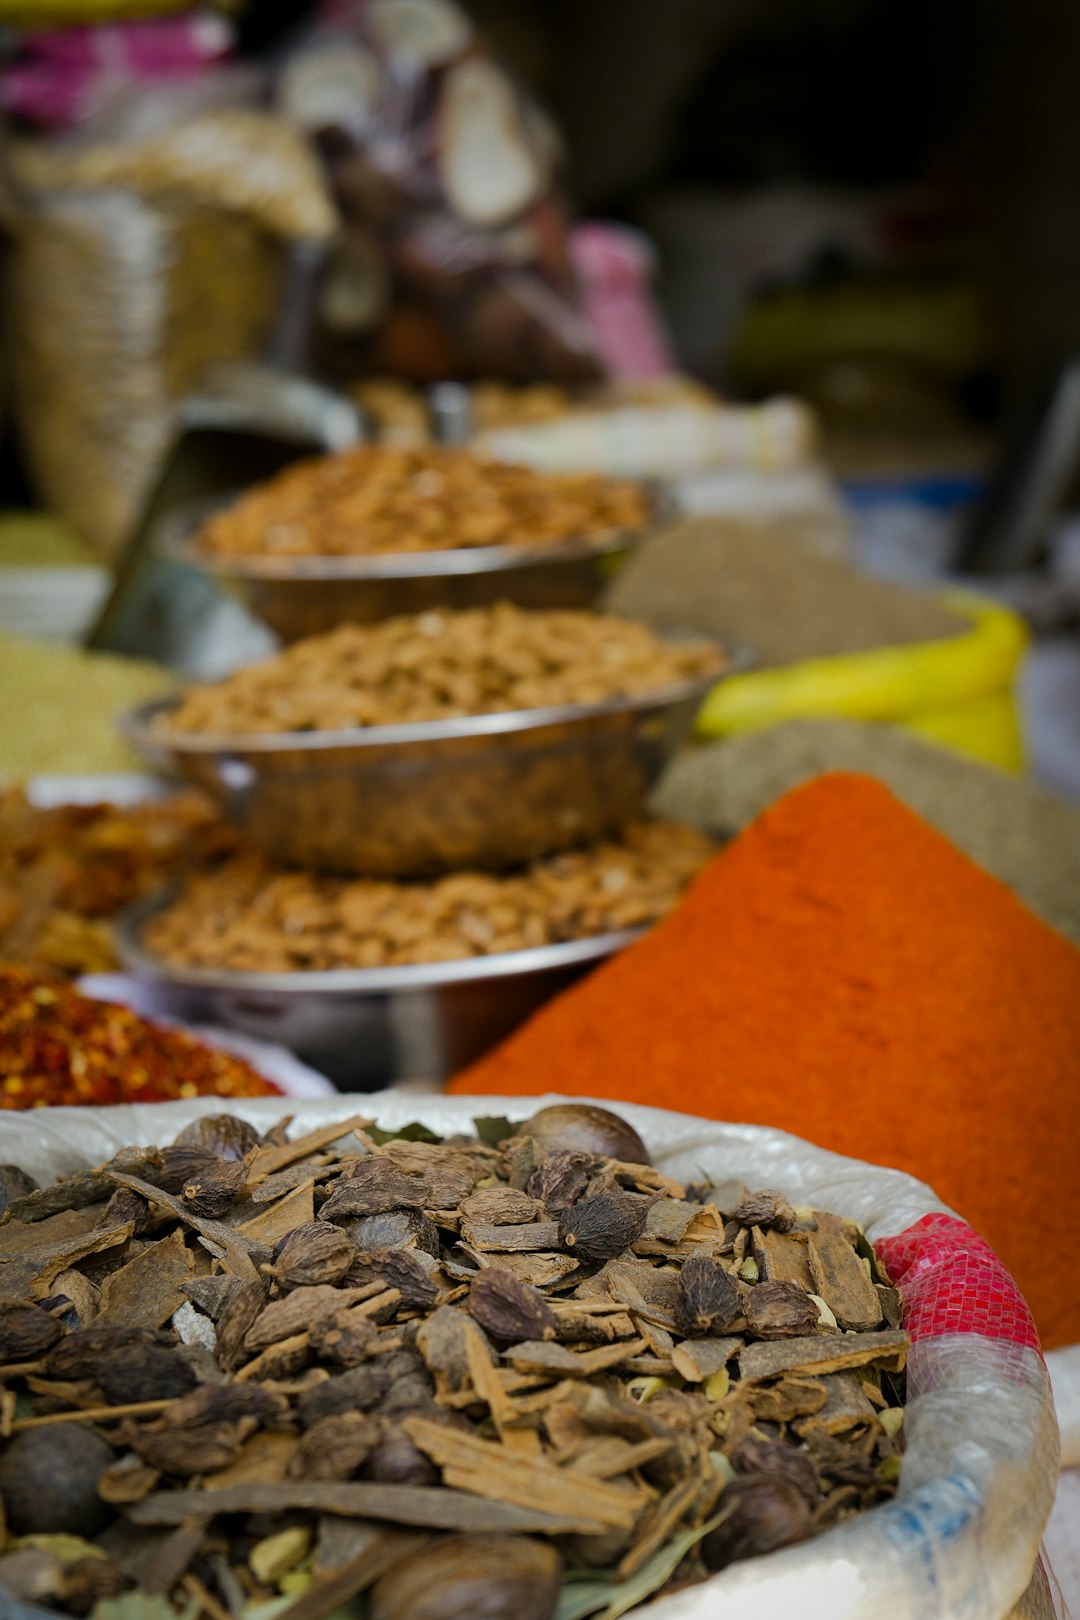
Key Ingredients for Sticky Sesame Chicken
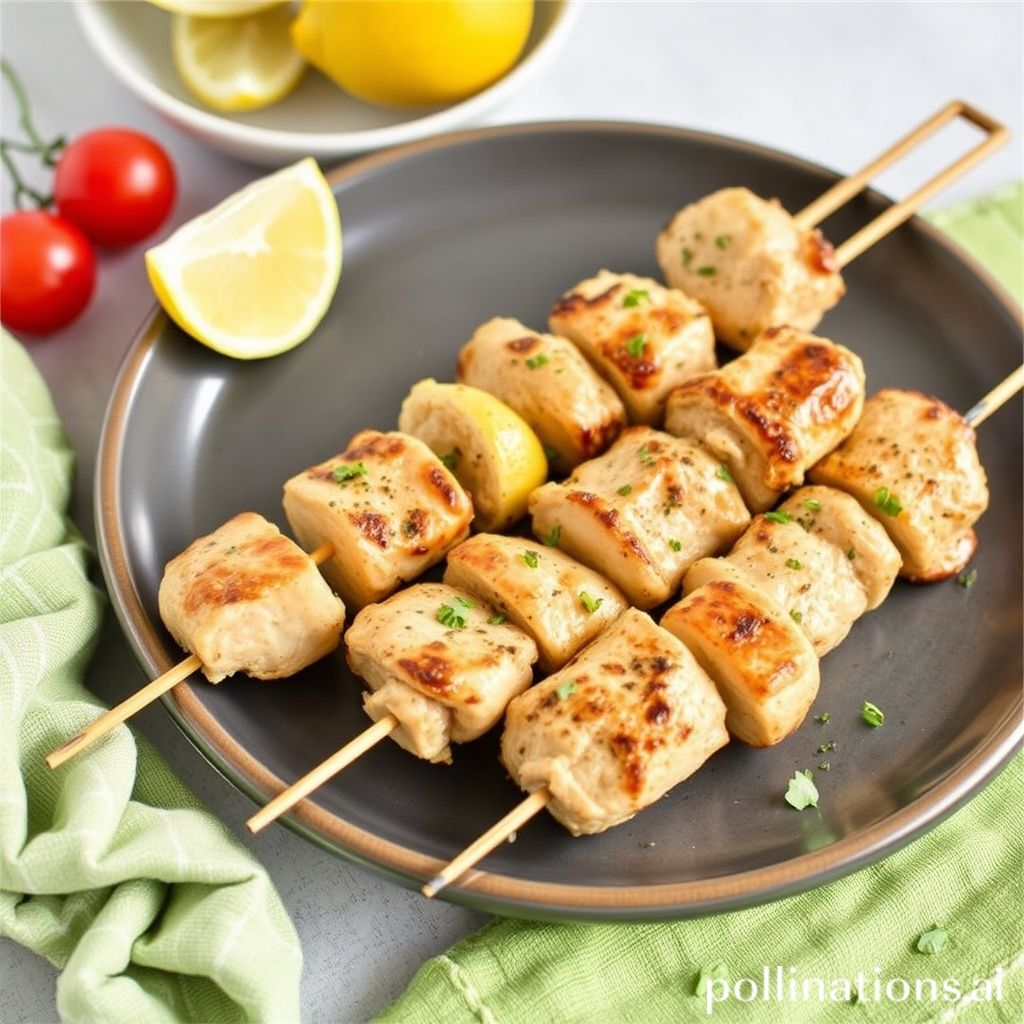
Sticky Sesame Chicken is a delicious dish that balances sweetness and savory flavors. To create this flavorful meal, there are several key ingredients to consider. First, the chicken itself. Boneless, skinless chicken thighs or breasts are usually preferred for their tender texture. Cut the chicken into bite-sized pieces to ensure even cooking.
Next, the sauce is crucial. Soy sauce provides the salty umami base, while honey or brown sugar adds the sweetness which makes the dish sticky and caramelized. A touch of rice vinegar or apple cider vinegar gives the sauce tanginess, balancing out the sweetness. Adding fresh minced garlic and ginger will bring a robust depth to the flavor profile.
For added texture and flavor, sesame oil is a must, offering a nutty aroma that complements the rich chicken. Of course, sprinkle toasted sesame seeds over the top before serving to give the dish its name and a satisfying crunch.
Lastly, garnish with thinly sliced green onions for a pop of color and freshness. These ingredients come together to create a harmonious blend that makes Sticky Sesame Chicken an irresistible choice for any meal.
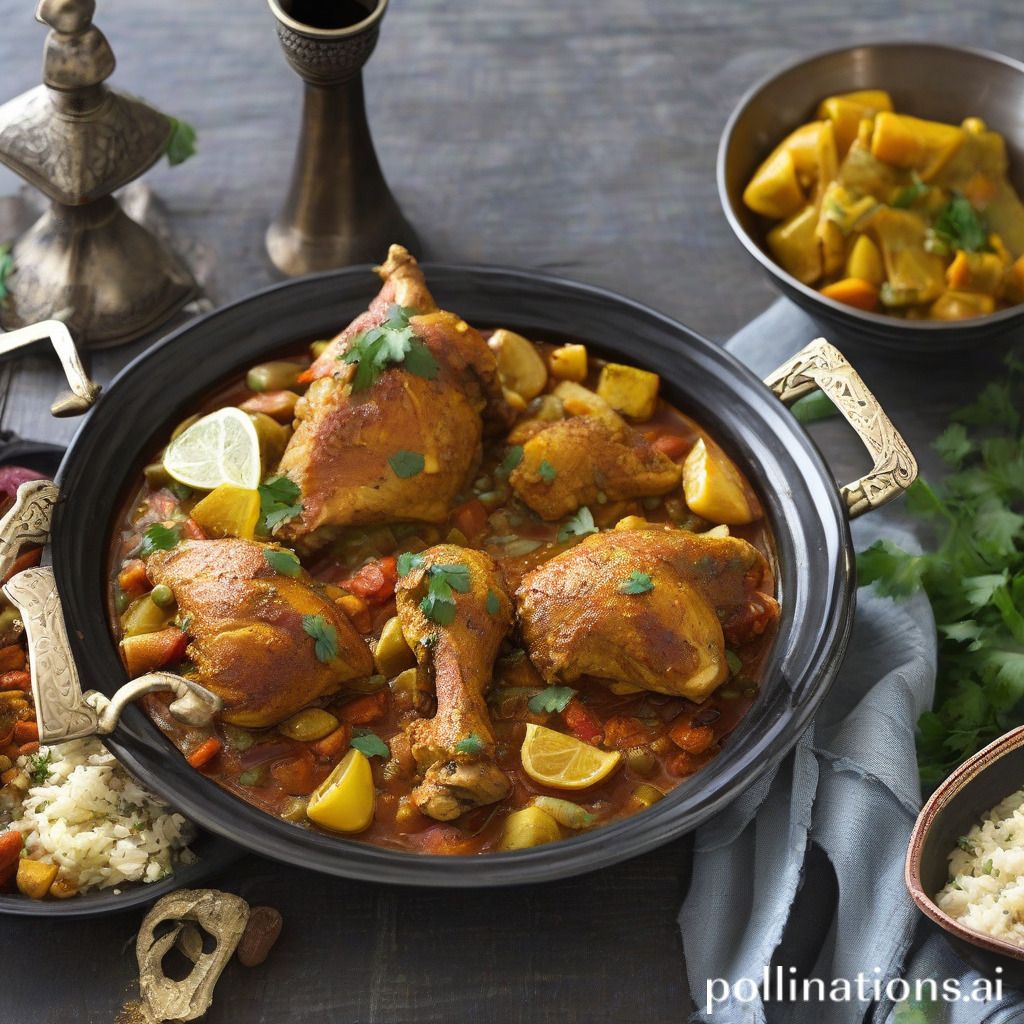
Step-by-Step Preparation of Sticky Sesame Chicken
Preparing Sticky Sesame Chicken is a delightful culinary journey that combines sweet and savory flavors with a hint of nuttiness. To begin, gather all necessary ingredients: boneless, skinless chicken thighs, soy sauce, honey, garlic, ginger, sesame oil, and sesame seeds. Start by cutting the chicken into bite-sized pieces. In a mixing bowl, combine soy sauce, honey, minced garlic, grated ginger, and sesame oil to create a flavorful marinade. Add the chicken pieces to the bowl, ensuring they are fully coated. Allow them to marinate for at least 30 minutes to absorb the rich flavors.
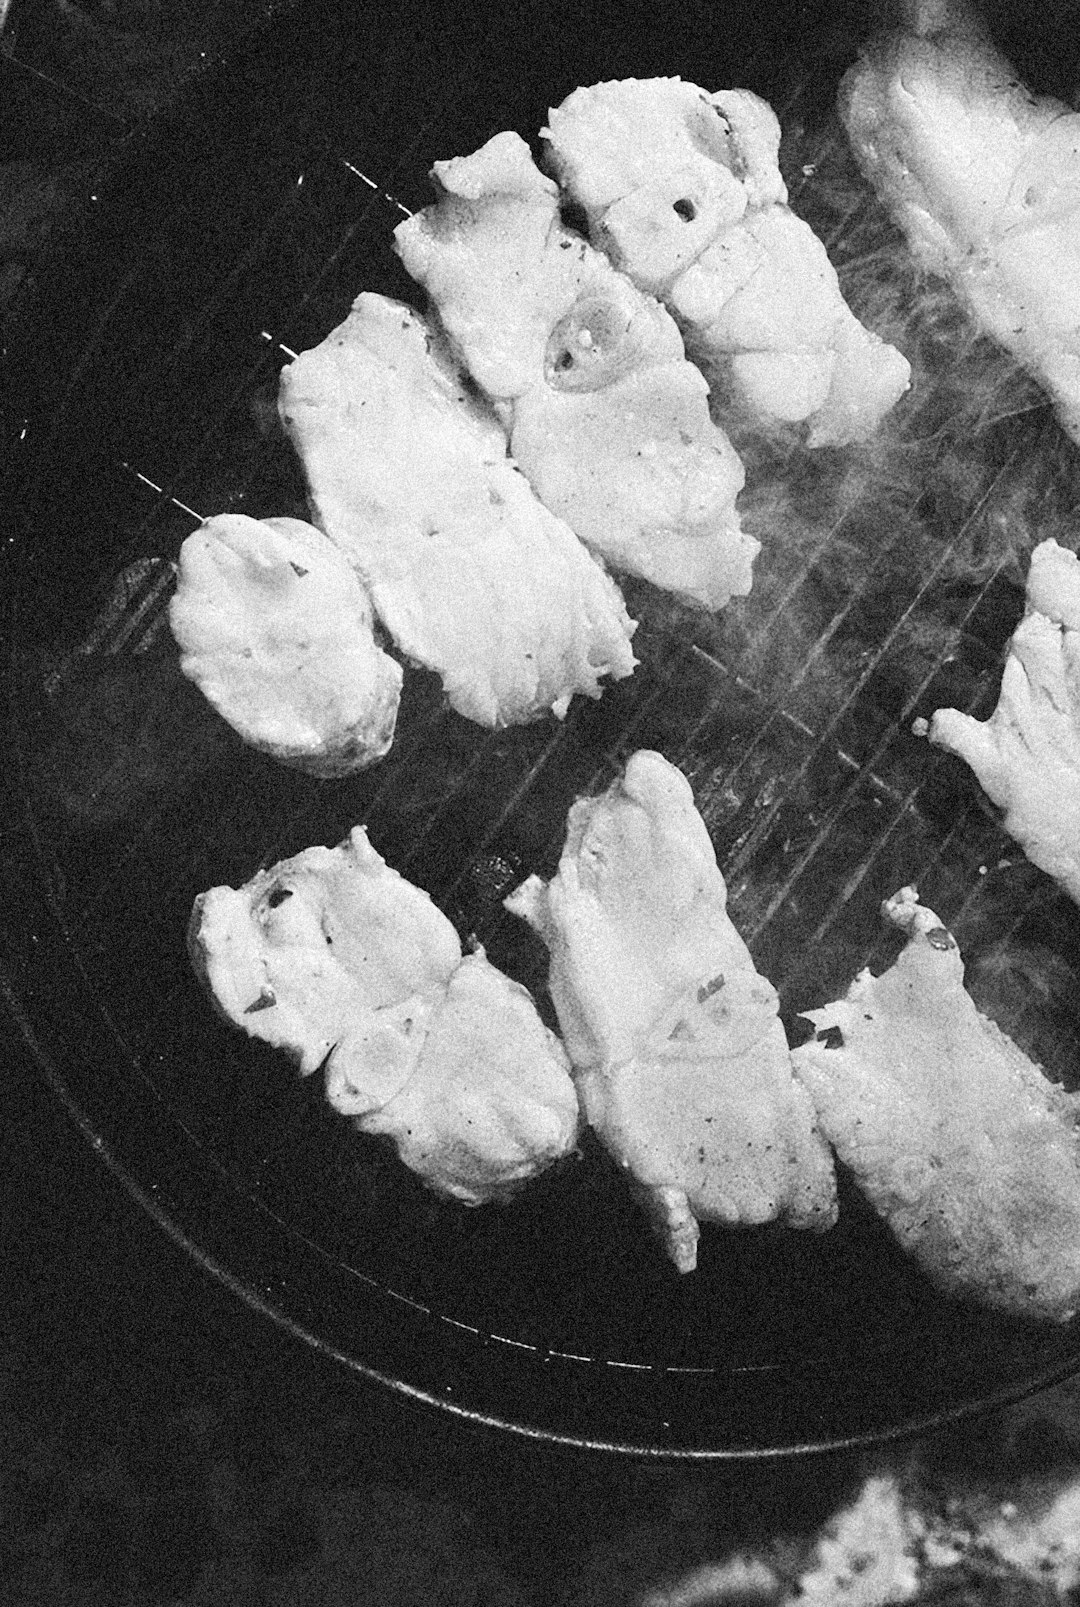
Heat a large skillet over medium heat and add a dash of oil. Once hot, introduce the marinated chicken, cooking until they are golden brown and cooked through. As the chicken cooks, occasionally stir to promote even browning. Once done, sprinkle sesame seeds over the chicken, stirring to ensure they adhere to each piece, enhancing the nutty flavor profile. Allow the sticky sauce to thicken slightly, enveloping the chicken in a glossy coat.
Serve the Sticky Sesame Chicken with steamed rice or stir-fried vegetables for a complete, satisfying meal that excites both taste buds and senses.
Tips for Achieving the Perfect Sticky Sauce
Creating the perfect sticky sauce for your sesame chicken can elevate your dish to new heights. A well-balanced sauce enhances the flavors of the chicken and provides that signature glossy finish that makes the dish visually appealing. Here are some essential tips to achieve just that:
Firstly, choose the right type of sugar. Brown sugar or honey are great options for creating a rich, sticky texture without overpowering the savory elements. The caramelization of these sugar variants provides depth to the sauce.
Next, focus on the soy sauce. Using both light and dark soy sauce together can bring about a complexity of flavors. Light soy sauce adds saltiness while dark soy sauce contributes a deep color and fuller taste.
Another key step is to incorporate a thickening agent such as cornstarch. Mix it with a small amount of water to create a slurry before adding it to your sauce. This will ensure your sauce coats the chicken evenly without clumping.
Finally, reduce the sauce slowly over medium heat. This allows the sugar to dissolve and thicken gradually, achieving that perfect sticky consistency. Stir frequently to avoid burning and to meld the flavors seamlessly.
Pairing Sticky Sesame Chicken with Complementary Sides
Sticky Sesame Chicken, with its savory-sweet glaze and crispy exterior, pairs beautifully with a variety of complementary sides. To balance the rich flavors, consider adding a bowl of fluffy jasmine rice. Its subtle fragrance and soft texture absorb the sticky sauce, creating a harmonious blend of flavors.
Alternatively, enhance your meal with a dose of greens by serving a fresh, crunchy Asian-style slaw. A mix of shredded cabbage, carrots, and scallions tossed in a light sesame vinaigrette adds a refreshing contrast and a burst of color to your plate.
For those looking to add a bit more texture, consider serving sticky sesame chicken with garlic stir-fried broccoli or steamed sugar snap peas. These veggies not only introduce a nutritious element to the meal but also complement the chicken’s sticky glaze with their earthy tones.
Lastly, a classic choice like edamame offers a protein-packed, buttery alternative that’s perfect for snacking alongside the main dish. By thoughtfully choosing your sides, you can elevate the enjoyment of sticky sesame chicken, creating a balanced and delicious dining experience.
Variations and Substitutions for Sticky Sesame Chicken
Sticky Sesame Chicken is a versatile dish that can be adapted to suit various tastes and dietary preferences. For a healthier alternative, consider using boneless, skinless chicken breast instead of thighs, which are traditionally used for their juiciness. To keep it lean, you can also bake or grill the chicken instead of frying it. If you’re looking to add more vegetables, incorporate bell peppers, broccoli, or snow peas for additional flavor and nutrition.
For those who prefer a spicier kick, sprinkle some red pepper flakes or add sriracha to the sauce. If you’re avoiding soy, coconut aminos can be used as a substitute for soy sauce, while honey or agave syrup can replace sugar for a different kind of sweetness. For a gluten-free option, ensure you are using tamari sauce instead of regular soy sauce, as it’s naturally gluten-free.
Vegetarians can enjoy the flavors of Sticky Sesame Chicken by swapping chicken for tofu or tempeh, which both absorb the sauce nicely while providing a satisfying texture. Lastly, topping the dish with fresh herbs like cilantro or sliced green onions can add a refreshing contrast to the rich, sticky sauce, making each bite delightful.
Nutritional Benefits of Sesame and Chicken
When crafting a dish like Sticky Sesame Chicken, both sesame seeds and chicken provide substantial nutritional benefits. Sesame seeds are small but mighty, offering a rich source of essential nutrients. They are packed with healthy fats, including polyunsaturated and monounsaturated fats, which are beneficial for heart health. Additionally, they are a good source of protein and essential minerals like calcium, magnesium, and iron. These nutrients contribute to bone health, boost the immune system, and improve circulation.
Chicken, on the other hand, is a lean protein that is low in fat, making it a great choice for those aiming for a balanced diet. It provides all nine essential amino acids necessary for muscle growth and repair. Moreover, chicken is a significant source of vitamin B6 and niacin, which support metabolism and nervous system health. When combined in a dish like Sticky Sesame Chicken, these ingredients not only create a flavorful and satisfying meal but also offer a balanced array of nutrients that cater to various dietary needs.
Popular Cooking Methods: Baking vs. Stir-Frying
When it comes to cooking methods for making dishes like sticky sesame chicken, two popular techniques stand out: baking and stir-frying. Each method brings its own advantages and flavor profiles, catering to different tastes and dietary preferences.
Baking is a dry heat method that allows the chicken to cook evenly at a consistent temperature. It often involves marinating the chicken and then placing it in the oven. This method is considered healthier as it requires less oil, and the chicken becomes tender while soaking in the flavors. Baking can result in a less crispy texture compared to stir-frying but is ideal for those seeking a simple and less hands-on approach.
Stir-frying, on the other hand, is a quick and efficient technique that cooks the chicken over high heat in a small amount of oil. This method is popular for its ability to seal in the flavors while giving the chicken a desirable crispy exterior. Stir-frying requires more active participation, constantly stirring the ingredients to ensure even cooking. It is perfect for those who prefer a crunchier texture and a more interactive cooking experience.
Both methods have their unique charm, making them versatile options depending on personal preference and time constraints.
Frequently Asked Questions About Sticky Sesame Chicken
Sticky Sesame Chicken is a beloved dish known for its rich, savory flavor, perfect for satisfying any takeout craving at home. The recipe typically involves coating chicken pieces in a sticky, sweet sauce made from honey, soy sauce, and sesame oil. These ingredients blend to create a harmonious balance of flavors that pairs wonderfully with steamed rice or vegetables.
One common question about Sticky Sesame Chicken is whether it is spicy. Generally, the dish is not inherently spicy, as it focuses on sweetness and umami, making it kid-friendly and ideal for those who prefer milder flavors. However, you can add heat by incorporating red pepper flakes or sriracha into the sauce to suit your spice level preference.
Another question often asked is about the type of chicken preferred for this dish. Boneless, skinless chicken thighs are recommended for their juiciness and flavor, but chicken breast can also be used for a leaner alternative. Whichever part you choose, cutting the chicken into bite-sized pieces ensures that it cooks evenly and absorbs the sauce more effectively, giving you that perfect sticky texture with every bite.
Conclusion
As our culinary journey through mastering the perfect Sticky Sesame Chicken at home comes to an end, let the aroma of this delectable dish serve as a reminder of the joys and creativity found in home cooking. Armed with this guide, you now have the confidence to experiment with variations, master the art of the sticky sauce, and enjoy this classic dish with complementary sides. Whether you prefer baking or stir-frying, Sticky Sesame Chicken offers a delightful experience that’s both satisfying and adaptable to various tastes and dietary preferences.
But why stop here? Elevate your cooking repertoire with even more chicken dishes by exploring ‘The Chicken Bible: Say Goodbye to Boring Chicken with 500 Recipes for Easy Dinners, Braises, Wings, Stir-Fries, and So Much More.’ With 500 mouth-watering recipes, this book promises to transform your perception of chicken from mundane to extraordinary. Visit this Amazon link to purchase and embark on a culinary adventure that will keep your taste buds thrilled and your dinner table exciting. Don’t miss the opportunity to become the master of chicken dishes and inspire joyous meals for yourself and your loved ones.