Table of Contents
- Introduction
- History and Origin of Chicken Fajitas
- Essential Ingredients for Chicken Fajitas
- Step-by-Step Guide to Preparing Chicken Fajitas
- Tips for Perfectly Grilled Chicken
- Serving Suggestions and Accompaniments for Chicken Fajitas
- Conclusion
- Frequently Asked Questions
Introduction
Ingredients
- 1 lb boneless, skinless chicken breasts, sliced into thin strips
- 1 red bell pepper, thinly sliced
- 1 green bell pepper, thinly sliced
- 1 onion, thinly sliced
- 2 tablespoons olive oil
- 2 teaspoons chili powder
- 1 teaspoon ground cumin
- 1 teaspoon garlic powder
- Salt and pepper to taste
- 8 flour tortillas
- Optional toppings: sour cream, guacamole, shredded cheese

Imagine the sizzle of chicken meeting a heated skillet, quickly joined by vibrant peppers and onions that dance and leap in the pan, releasing an enticing aroma that pulls you toward the kitchen. Welcome to the world of chicken fajitas, where flavors are bold, colors are vivid, and the experience is nothing short of irresistible. A quick sear, a sprinkle of spices, and suddenly, your kitchen transforms into a bustling taqueria.
Expand your culinary repertoire and master this beloved Tex-Mex classic that tempts taste buds around the world. Whether you’re cooking for a hungry family or impressing dinner guests, chicken fajitas are a dish that invites creativity and encourages exploration into the depths of flavor and texture. So, tie on your apron, heat up the skillet, and get ready for a culinary adventure that delights with every bite!
History and Origin of Chicken Fajitas
The history and origin of chicken fajitas are intriguingly tied to both Mexican and Texan culinary traditions. The term ‘fajita’ originates from the Spanish word ‘faja,’ meaning belt or strip, which aptly describes the strips of meat used in this dish. Initially, fajitas featured skirt steak as the primary ingredient, a cut of beef traditionally discarded or used by Mexican cowboys, known as ‘vaqueros,’ who first popularized the dish in the early to mid-20th century. As they worked on Texas ranches, fajitas began to evolve from a utilitarian meal into something more flavorful and beloved.
It wasn’t until the latter part of the 20th century that chicken fajitas gained popularity. This adaptation was driven by dietary preferences and the leaner attributes of chicken, making it a healthier twist on the original beef fajitas. Restaurants across Texas, particularly in cities like San Antonio and Austin, started adding chicken fajitas to their menus, further disseminating its appeal. From there, the dish became a staple in Tex-Mex cuisine, enjoying widespread popularity in the United States and beyond. Today, chicken fajitas symbolize a delicious melding of cultures, representing a beloved culinary tradition that continues to evolve with time.
Essential Ingredients for Chicken Fajitas
Chicken fajitas are a vibrant and flavorful dish that combines a variety of ingredients to create a delicious meal. The essential ingredients to make authentic chicken fajitas include fresh, boneless chicken breasts or thighs, which serve as the main protein source. Marinade is key to infusing flavor into the chicken, typically consisting of a combination of lime juice, olive oil, garlic, cumin, chili powder, and a pinch of salt and pepper.
Bell peppers and onions are crucial vegetables for fajitas, providing both color and crunch. A mix of red, green, and yellow bell peppers is often used, along with sliced onions to complement the chicken. These vegetables should be sautéed until tender yet slightly crisp to create the ideal texture.
To complete the dish, warm flour or corn tortillas are used to wrap the filling. They serve as the perfect vehicle to hold the seasoned chicken and vegetables. Optional garnishes such as fresh cilantro, sliced avocados, sour cream, and shredded cheese can be added to enhance the flavors and satisfy personal taste preferences.
These ingredients come together to create a classic chicken fajitas dish that is rich in flavor and perfect for any occasion.
Step-by-Step Guide to Preparing Chicken Fajitas
Preparing chicken fajitas is a delightful culinary adventure that blends vibrant flavors with ease. Start by gathering your ingredients: chicken breasts, bell peppers, onions, tortillas, and your choice of spices.
First, slice the chicken breasts into thin strips and season them with a mix of chili powder, cumin, garlic powder, salt, and pepper. This spice blend gives the chicken its distinctive fajita flavor.
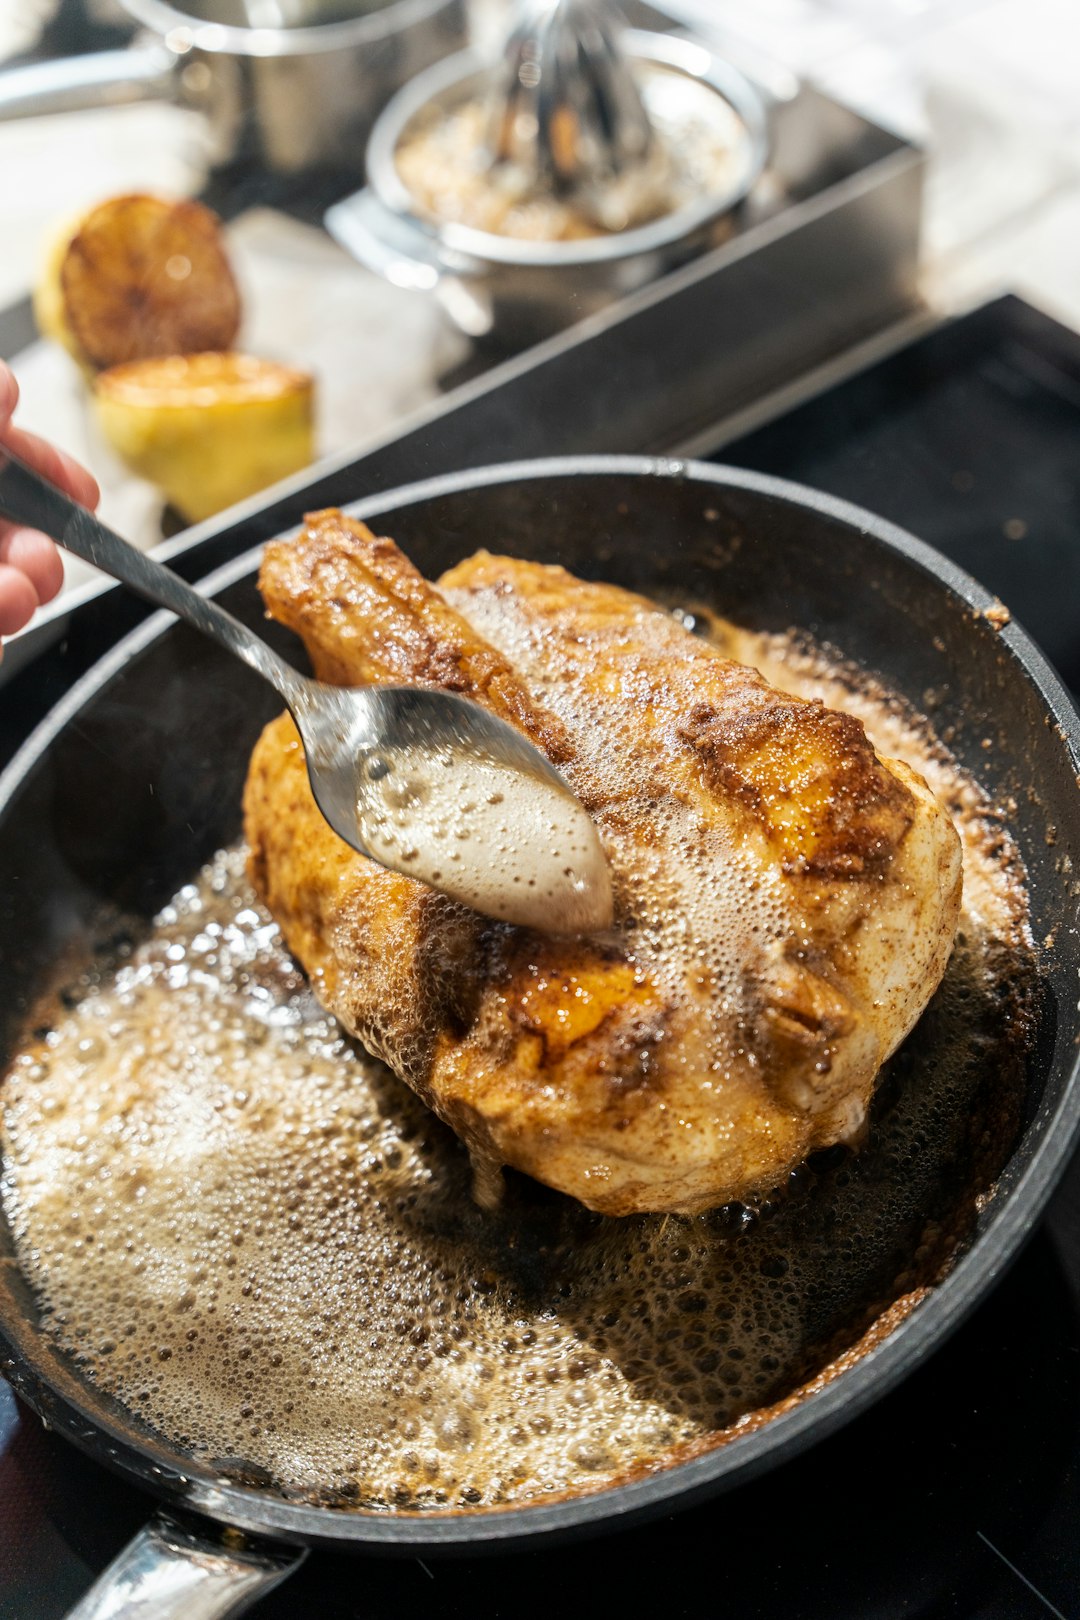
Next, heat a tablespoon of oil in a large skillet over medium-high heat. Add the chicken strips and cook them until they are golden brown and cooked through, which usually takes about 5-7 minutes. Remove the chicken from the skillet and set it aside.
In the same skillet, add a little more oil if necessary, then toss in the sliced bell peppers and onions. Sauté these vegetables until they are tender and slightly charred, bringing out their sweet flavors.
Once the vegetables are cooked, return the chicken to the skillet and mix everything together. Heat the mixture thoroughly.
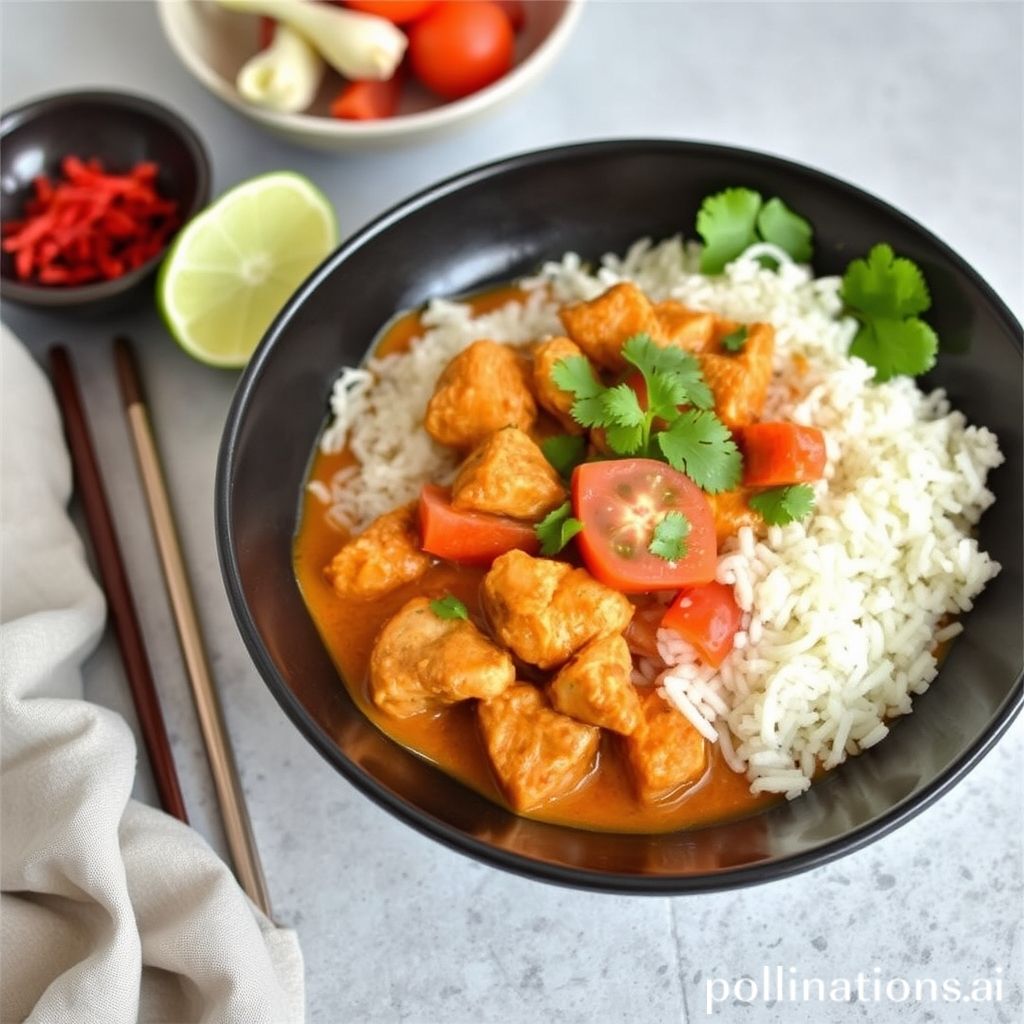
Finally, serve the chicken and vegetables in warm tortillas, garnishing with your favorite toppings such as sour cream, guacamole, or salsa. Enjoy your homemade chicken fajitas, packed with flavor and perfect for any meal.
Tips for Perfectly Grilled Chicken
Grilling chicken to perfection is an art that can elevate any meal, especially when preparing delicious chicken fajitas. The key to achieving perfectly grilled chicken lies in a few simple yet effective tips. First and foremost, always start with high-quality chicken breasts or thighs, as they offer more flavor and juiciness.
Begin by marinating the chicken for at least 30 minutes. A good marinade typically includes ingredients like olive oil, lime juice, garlic, and spices such as cumin or chili powder. This not only adds flavor but also tenderizes the meat, ensuring it remains juicy.
Preheat the grill to medium-high heat before placing the chicken on it. This ensures the outside gets a nice, even char while the inside cooks through without drying out. Keep the grill lid closed as much as possible to maintain a consistent temperature.
Using a meat thermometer, check for an internal temperature of 165°F to ensure the chicken is fully cooked. Let the chicken rest for a few minutes after grilling to allow the juices to redistribute, ensuring each bite is as flavorful as the last. By following these tips, you’ll be well on your way to serving up juicy, flavorful chicken that perfectly complements your fajitas.
Serving Suggestions and Accompaniments for Chicken Fajitas
Chicken fajitas are a versatile dish, perfect for serving with a variety of accompaniments that enhance their rich flavors. A popular way to serve chicken fajitas is on soft flour or corn tortillas, often warmed to perfection for that soft, pliable texture. For those looking to reduce carbs, serving fajitas on a bed of crisp lettuce is a refreshing alternative.
Classic toppings include sliced avocado or a dollop of guacamole, adding creaminess and richness to the dish. Fresh salsa or pico de gallo introduces a zesty, tangy contrast, while sour cream provides a cooling effect against any spicy seasonings.
For added texture and taste, sprinkle some grated cheddar or Monterey Jack cheese. Pair your fajitas with a side of black beans or Mexican rice for a complete meal experience. Grilled or roasted vegetables, such as bell peppers and onions, also complement the dish well.
For a unique twist, try accompanying your chicken fajitas with a light corn salad or a citrusy slaw. These refreshing sides offer a burst of flavor, balancing the hearty protein of the main dish. These serving suggestions ensure your chicken fajitas remain a deliciously satisfying choice for any meal.
Conclusion
In conclusion, mastering the art of chicken fajitas combines the rich history of Tex-Mex cuisine with a symphony of flavors and textures from fresh ingredients. By understanding the origins of this beloved dish, selecting the essential components, and executing the preparation techniques provided, you are well on your way to culinary success. Whether enjoyed as a quick weeknight meal or a festive gathering centerpiece, chicken fajitas offer a versatile dining experience that can be tailored to individual tastes and dietary preferences.
Now, take your chicken cooking endeavors to new heights with The Chicken Bible: Say Goodbye to Boring Chicken with 500 Recipes for Easy Dinners, Braises, Wings, Stir-Fries, and So Much More. This comprehensive guide ensures you’ll never run out of delicious options, transforming your meals into a flavor-packed adventure. Don’t miss the opportunity to expand your culinary repertoire and impress your family and friends with this essential cookbook. Purchase your copy today and unlock the endless possibilities of chicken-based delights by visiting The Chicken Bible on Amazon.