Table of Contents
- Introduction
- Ingredients needed for Garlic Butter Chicken and Rice
- Preparing the chicken: Seasoning and searing for flavor
- Cooking the rice: Achieving the perfect texture
- Combining flavors: Creating the garlic butter sauce
- Cooking techniques: Tips for ensuring juicy chicken and fluffy rice
- Serving suggestions: Pairing options for a complete meal
- Nutritional benefits: Highlighting the health aspects of the dish
- Troubleshooting common issues: Avoiding overcooked rice or chicken
- Conclusion
- Frequently Asked Questions
Introduction
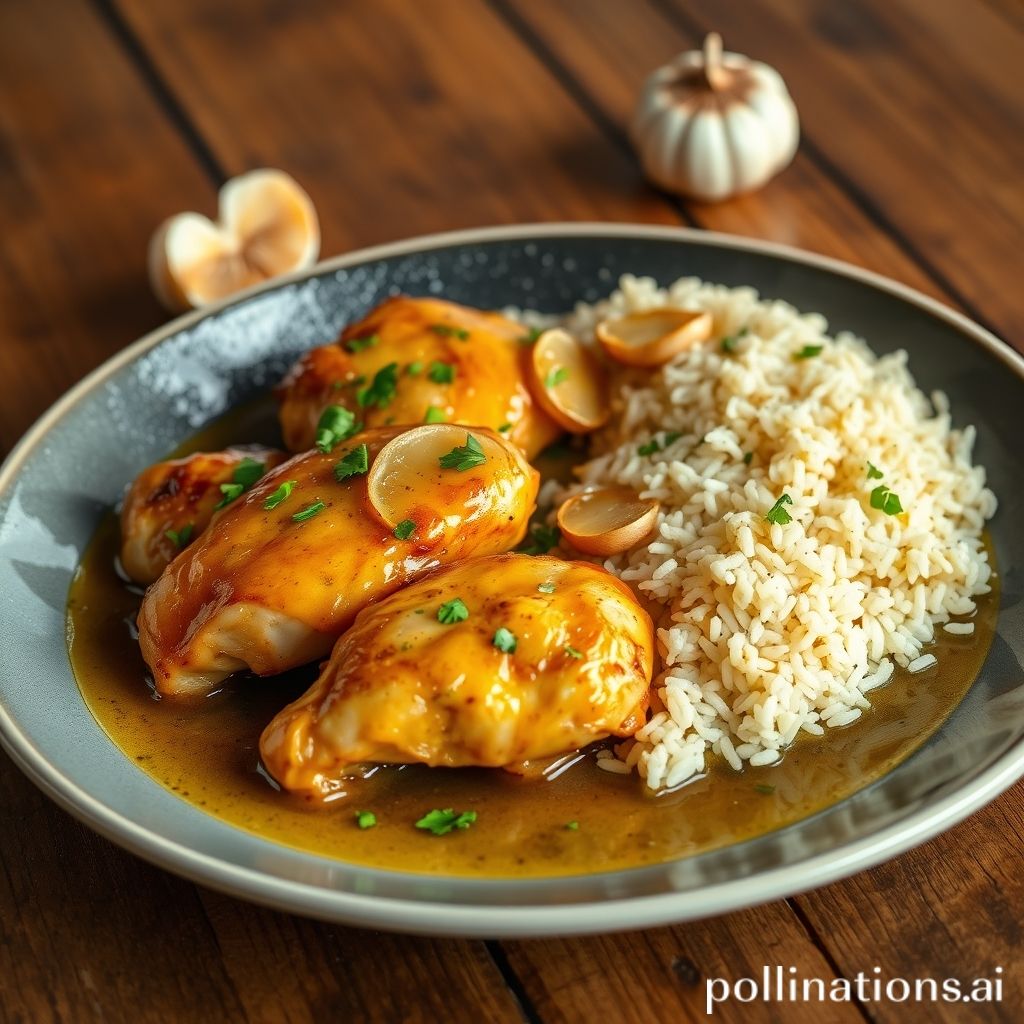
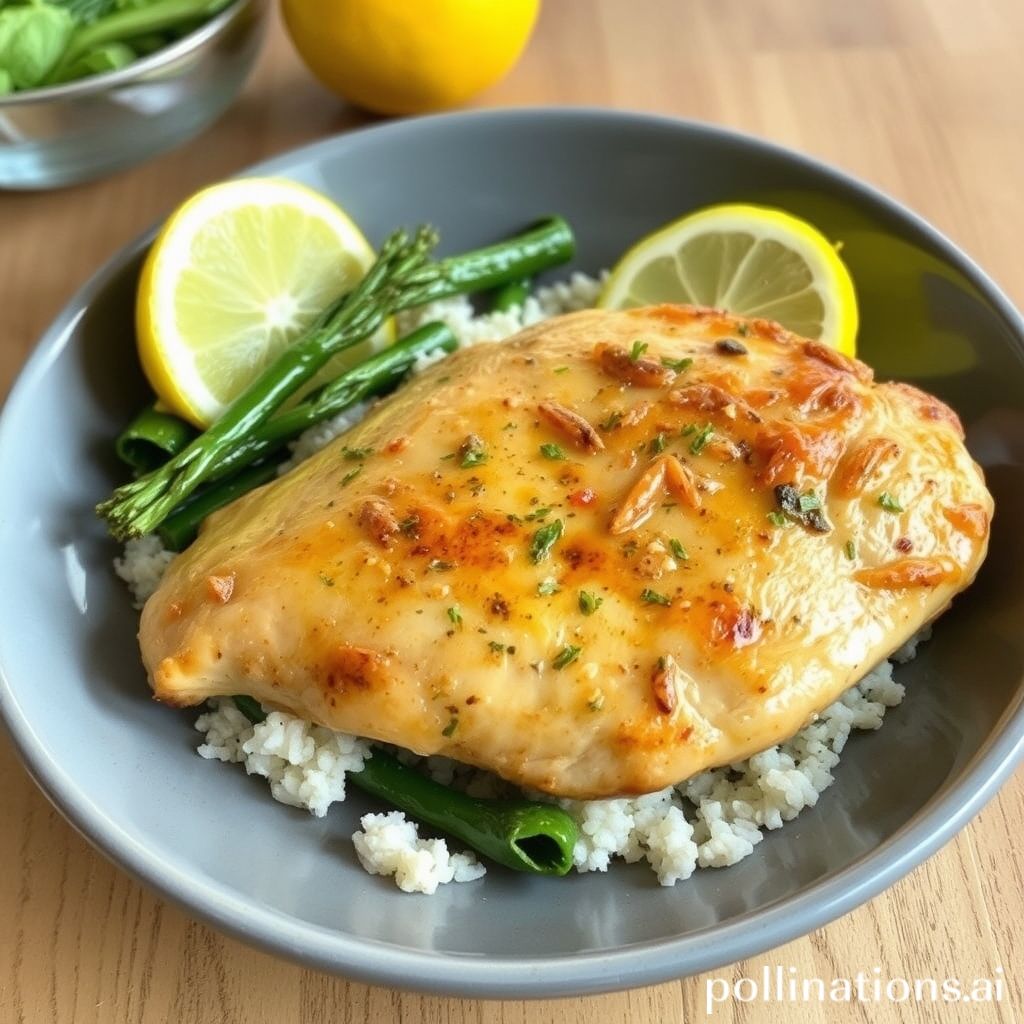
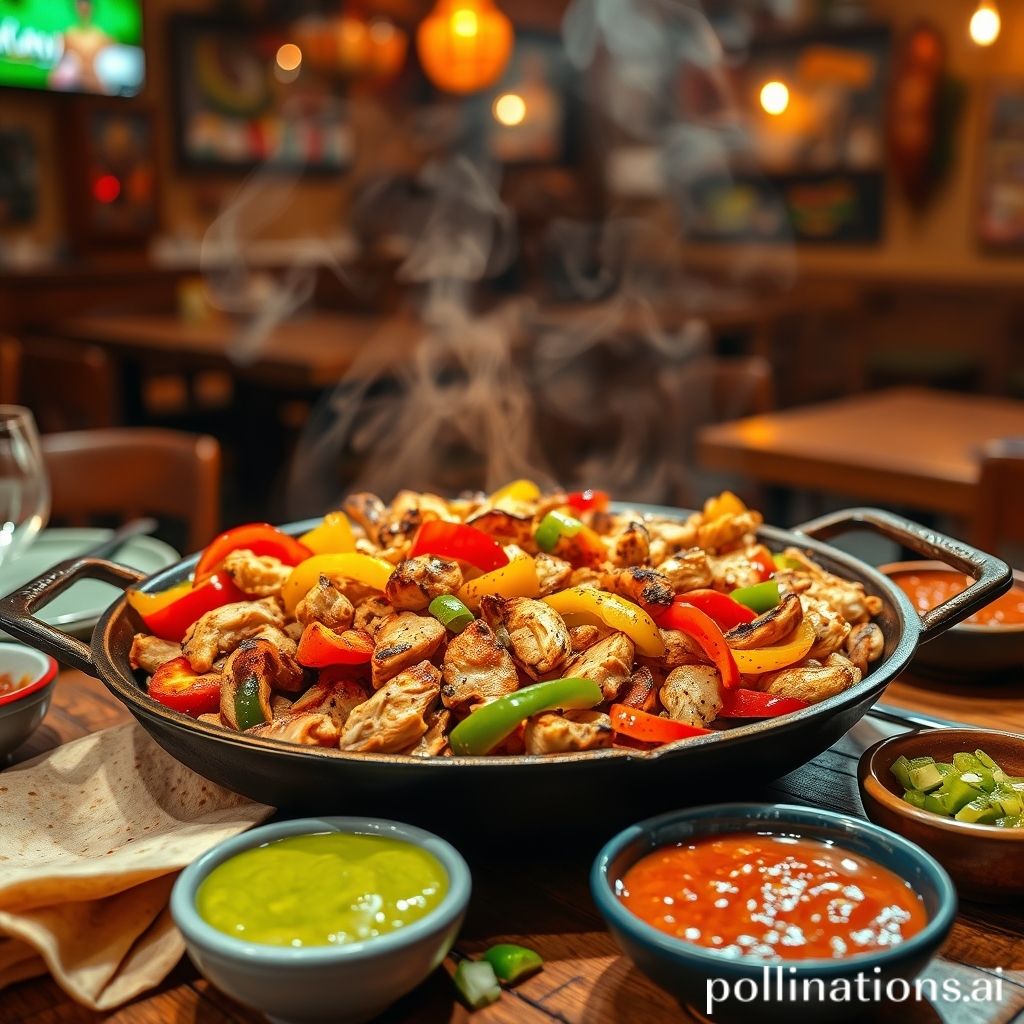
Get ready to ignite your taste buds with a fusion of flavors that’s as comforting as it is tantalizing. Our irresistible Garlic Butter Chicken and Rice promises a culinary experience that marries simplicity with sophistication. Imagine tender, juicy chicken pieces melded with fragrant garlic and buttery richness, all cuddled up with perfectly seasoned rice.
Ingredients needed for Garlic Butter Chicken and Rice
To create a delicious Garlic Butter Chicken and Rice dish, you will require a variety of ingredients that blend harmoniously to offer a delightful flavor profile. Start with 1 pound of boneless, skinless chicken breasts, which serve as the protein foundation for your meal. Next, gather 2 tablespoons of unsalted butter and 1 tablespoon of olive oil, as these create a rich and sumptuous sauce. Essential to the dish is 4 cloves of garlic, minced, which infuse the sauce with their aromatic essence.
For the rice component, you will need 1 cup of uncooked long-grain white rice, which becomes fluffy and absorbs the savory flavors beautifully. To enhance the seasoning, prepare 2 cups of chicken broth, serving as both a cooking liquid and a flavor enhancer, and add 1 teaspoon of salt to taste. For a hint of zest, include 1 teaspoon of lemon juice and, for freshness, a handful of chopped fresh parsley as a finishing touch. Ground black pepper can be added according to personal preference.
These ingredients come together to create a comforting dish that highlights the simple yet delightful flavors of garlic and butter, making it a household favorite.
Preparing the chicken: Seasoning and searing for flavor
To achieve a flavorful Garlic Butter Chicken and Rice dish, it is crucial to properly season and sear the chicken. Start by selecting fresh chicken breasts or thighs as they are ideal for this recipe, offering a tender and juicy texture. Begin by patting the chicken dry with paper towels to remove any excess moisture. This step ensures that the seasoning adheres well and the chicken sears perfectly.
Season the chicken generously with salt, pepper, and your choice of herbs and spices. Common choices include garlic powder, paprika, and dried thyme, which not only enhance the flavor but also complement the garlic butter sauce to be added later. Rub the seasoning evenly over the chicken, ensuring each piece is well-coated, allowing the flavors to penetrate the meat.
Next, heat a skillet over medium-high heat and add a tablespoon of olive oil or butter. Once heated, place the chicken in the skillet, ensuring not to overcrowd the pan, which could prevent proper searing. Sear the chicken for about 4-5 minutes on each side until a golden brown crust forms. This step locks in the juices and creates a flavorful base for your dish. Perfectly seasoned and seared chicken sets the foundation for a delectable Garlic Butter Chicken and Rice meal.
Cooking the rice: Achieving the perfect texture
Cooking the perfect rice for your garlic butter chicken and rice dish is essential to achieving a delightful texture that complements the flavors. Start by selecting the right variety of rice, such as jasmine or basmati, which are known for their fragrant aroma and fluffy nature. Rinse the rice thoroughly under cold water to remove excess starch, which could cause a gummy texture when cooked.
Next, in a saucepan, combine the rinsed rice with the appropriate amount of water—typically a ratio of 1:1.5, rice to water. Adding a pinch of salt can enhance the flavor. Bring the mixture to a boil over medium heat, then reduce the heat to low, covering the saucepan with a tightly fitting lid. Allow the rice to simmer gently for about 15-18 minutes without lifting the lid, as this traps steam necessary for even cooking.
Once the time is up, remove the saucepan from the heat and let it sit, covered, for an additional 5 minutes. This resting period helps achieve the ideal texture by allowing the moisture to redistribute. Finally, use a fork to gently fluff the rice, ensuring each grain is separate and perfectly tender, ready to complement the luscious garlic butter chicken.
Combining flavors: Creating the garlic butter sauce
Creating the perfect garlic butter sauce is essential for elevating your chicken and rice dish from ordinary to extraordinary. The rich, aromatic blend of garlic and butter forms the cornerstone of this culinary delight, enhancing both flavor and aroma. Begin by slowly melting butter over medium heat to ensure it doesn’t burn. The key is to use unsalted butter so you can control the seasoning later. When the butter is melted and gently sizzling, add finely minced fresh garlic. Fresh garlic releases the vibrant and pungent flavor needed to make the sauce truly shine. Cook the garlic until it turns golden brown, which typically takes about 1-2 minutes.
Adjust the flavor profile by adding a pinch of salt and a hint of freshly cracked black pepper. For a more complex taste, consider including a splash of lemon juice or a sprinkle of fresh herbs like parsley or thyme. These additions can add brightness and balance to the richness of the butter and the garlic’s intensity. Stir the mixture continuously to prevent the garlic from sticking or burning, as this can impart a bitter taste. Once the sauce reaches your desired flavor intensity, it’s ready to be combined with the cooked chicken and rice, infusing them with warmth and depth.
Cooking techniques: Tips for ensuring juicy chicken and fluffy rice
Achieving perfectly juicy chicken and fluffy rice is an art that requires attention to detail and a few key techniques. To start, selecting the right cut of chicken is crucial. Opt for bone-in, skin-on pieces as they tend to retain moisture better than their boneless, skinless counterparts. Season the chicken generously with salt, pepper, and any preferred spices to enhance flavor. To lock in juices, sear the chicken in a hot pan with a bit of oil until the skin is golden brown. This technique creates a flavorful crust while keeping the inside moist.
When it comes to rice, rinsing is an essential step. Wash the rice under cold water until it runs clear to remove excess starch that can make it sticky. Choose the right proportion of water to rice, commonly one and a half parts water to one part rice. Cook the rice on low heat and avoid lifting the lid too often, as this can release steam crucial for cooking. Once done, let the rice sit covered for a few minutes before fluffing it with a fork. This resting time allows the grains to settle and ensures a light and fluffy texture. Mastering these techniques can elevate your garlic butter chicken and rice dish to new culinary heights.
Serving suggestions: Pairing options for a complete meal
When it comes to serving Garlic Butter Chicken and Rice, the right pairings can elevate your meal to a new level of deliciousness. Consider starting with a light salad to balance the rich flavors of the dish. A simple green salad with a tangy vinaigrette or a classic Caesar salad are excellent choices that add freshness and vibrancy.
For a touch of elegance, consider adding some roasted or steamed vegetables like asparagus, broccoli, or green beans. These options not only add color to your plate but also complement the savory taste of garlic butter.
If you’re looking for something heartier, adding warm, crusty bread is a fantastic option. You can use this to soak up the mouthwatering garlic butter sauce, ensuring nothing goes to waste.
For beverages, a crisp white wine such as Sauvignon Blanc or Chardonnay pairs beautifully, enhancing the meal’s flavors without overpowering them. Alternatively, serve a refreshing iced tea or sparkling water with a hint of lemon or lime for a non-alcoholic choice.
Round off your meal with a light dessert like a fruit sorbet or a simple lemon tart, providing a refreshing contrast to the richness of the main course.
Nutritional benefits: Highlighting the health aspects of the dish
Garlic Butter Chicken and Rice is not only a flavorful dish but also one that packs numerous nutritional benefits. Chicken, the centerpiece of the meal, is an excellent source of lean protein, necessary for muscle repair and growth. It is also rich in essential vitamins and minerals such as vitamin B6 and phosphorus, which play crucial roles in maintaining energy levels and bone health.
The garlic in the dish is well-known for its antibacterial and antiviral properties, helping to boost the immune system. Moreover, garlic contains antioxidants that support cardiovascular health by reducing cholesterol levels and improving circulation. The butter used in the recipe, though often considered indulgent, provides healthy fats that are essential for brain function and the absorption of fat-soluble vitamins.
The rice included in the dish offers a good source of carbohydrates for sustained energy. If brown rice is used, it also adds dietary fiber that aids in digestion and helps to maintain steady blood sugar levels. Together, these ingredients create a balanced meal that supports overall health while tantalizing the taste buds.
Troubleshooting common issues: Avoiding overcooked rice or chicken
One common issue when preparing garlic butter chicken and rice is overcooking, which can lead to dry chicken and mushy rice. To avoid this, it’s important to maintain the right heat levels and cooking times. Ensuring your pan or pot is at the proper temperature before adding ingredients is crucial. When cooking the chicken, sear each side quickly over medium-high heat to lock in moisture, then lower the heat and cover to cook through without drying out.
For the rice, using the right amount of liquid is key. Too much water can cause the rice to become mushy. A general rule of thumb is to use a 2:1 ratio of liquid to rice. Once you combine the rice with the chicken and broth, let it come to a gentle simmer, cover, and cook on low heat. Avoid lifting the lid frequently, as escaping steam can disrupt cooking. Ensuring these elements are carefully managed can lead to a perfectly cooked garlic butter chicken and rice dish, where each component retains its desired texture and flavor.
Conclusion
In conclusion, this Garlic Butter Chicken and Rice recipe is a delightful fusion of rich flavors and comforting textures, ideal for anyone seeking a satisfying and balanced meal. Mastering this dish means understanding the nuances of seasoning, searing, and sauce creation, which together transform simple ingredients into a culinary masterpiece. With juicy chicken, perfectly cooked rice, and a lip-smacking garlic butter sauce, this recipe is bound to please both family and guests. It’s not just about taste; the nutritional benefits of lean protein and health-supportive ingredients like garlic make it a wholesome choice.
Now, if you’re inspired to expand your culinary horizons and explore even more delicious ways to elevate chicken dishes, consider enhancing your cooking repertoire with The Chicken Bible: Say Goodbye to Boring Chicken with 500 Recipes for Easy Dinners, Braises, Wings, Stir-Fries, and So Much More. This comprehensive guide will not only help you master this recipe but also introduce you to a myriad of creative chicken dishes. Don’t miss this opportunity to say goodbye to mundane meals and unlock endless flavor possibilities. Purchase your copy today by clicking here and begin your culinary journey!


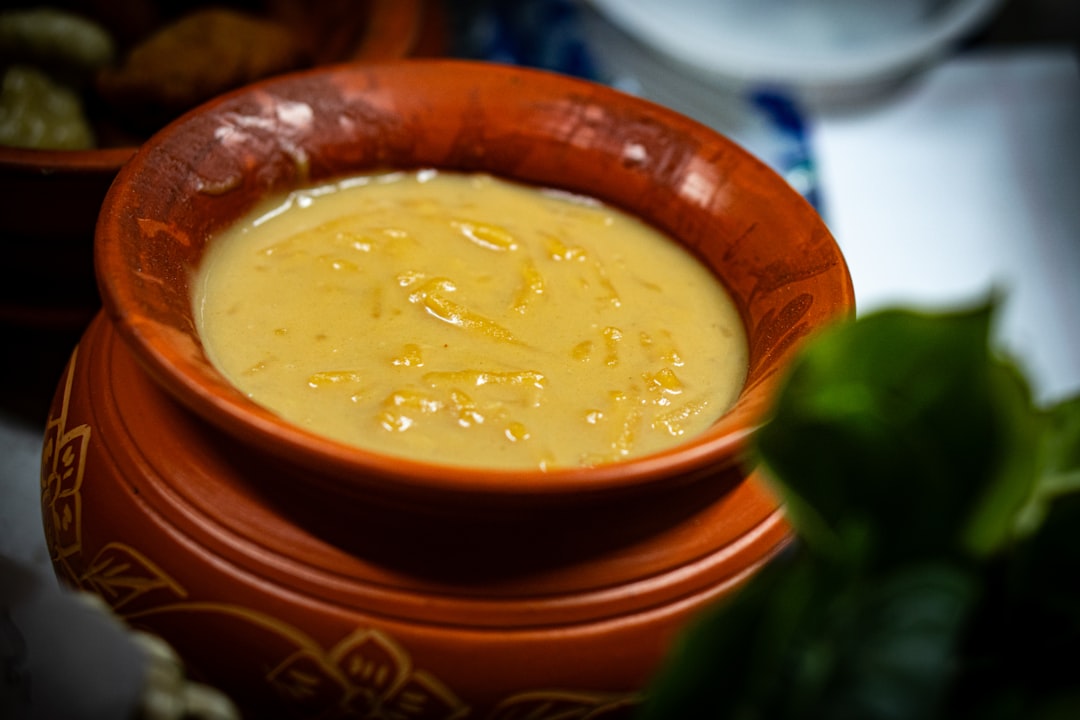


 Immerse your taste buds on a spectacular culinary voyage with the vibrant flavors and comforting warmth of Mexican Chicken Tortilla Soup. A beloved staple in Mexican cuisine, this dish combines the perfect blend of tender chicken, aromatic spices, and zesty lime into a symphony of deliciousness waiting to be explored.