Table of Contents
- Introduction
- Ingredients for Honey Mustard Baked Chicken
- Step-by-step preparation of Honey Mustard Baked Chicken
- Tips for perfecting the Honey Mustard sauce
- Pairing suggestions with Honey Mustard Baked Chicken
- Health benefits and nutritional information
- Variations on the Honey Mustard Baked Chicken recipe
- Common mistakes to avoid when baking chicken
- Frequently asked questions about Honey Mustard Baked Chicken
- Conclusion
- Frequently Asked Questions
Introduction
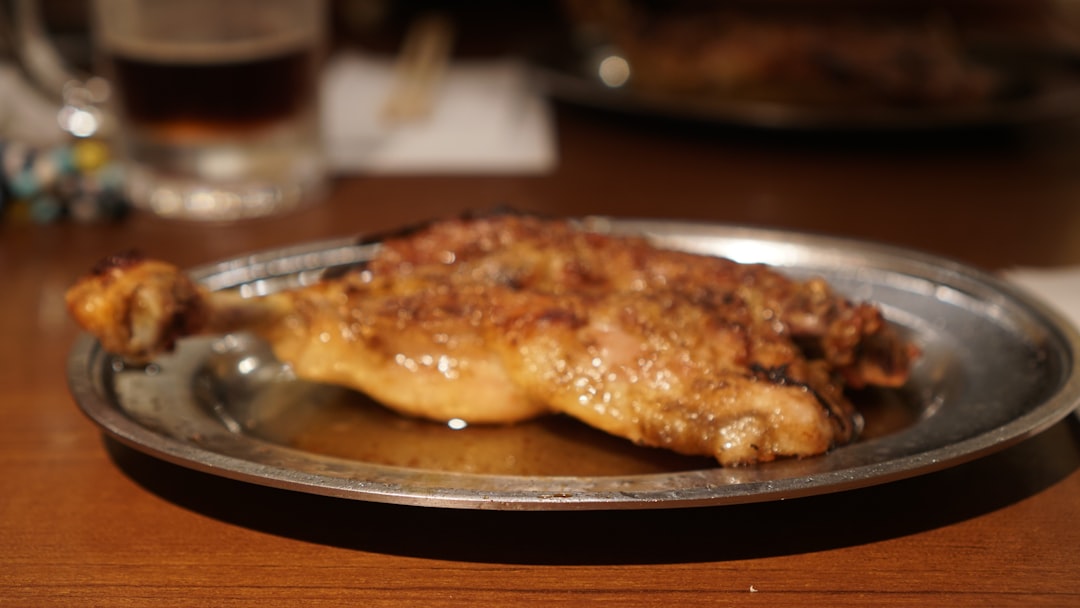
Savor the Flavor: Discover the Ultimate Honey Mustard Baked Chicken Recipe

Prepare your taste buds for a culinary journey with our undeniably delicious honey mustard baked chicken. This recipe is quick to prepare and offers a delightful balance of sweet and tangy flavors that will captivate your senses. Here’s what you’ll need:
- 4 boneless, skinless chicken breasts
- 1/2 cup honey
- 1/2 cup Dijon mustard
- 1 tablespoon olive oil
- 2 tablespoons lemon juice
- Salt and pepper to taste
- 1 teaspoon garlic powder
- Fresh parsley for garnish
With just a few simple ingredients, you can transform ordinary chicken into an extraordinary dish that is sure to please. The wonderful aroma of honey and mustard warming in the oven will draw everyone to the kitchen, eager to experience the fantastic flavors ahead. So, preheat your oven, gather your ingredients, and get ready to enjoy a mouth-watering, oven-baked masterpiece!
Ingredients for Honey Mustard Baked Chicken
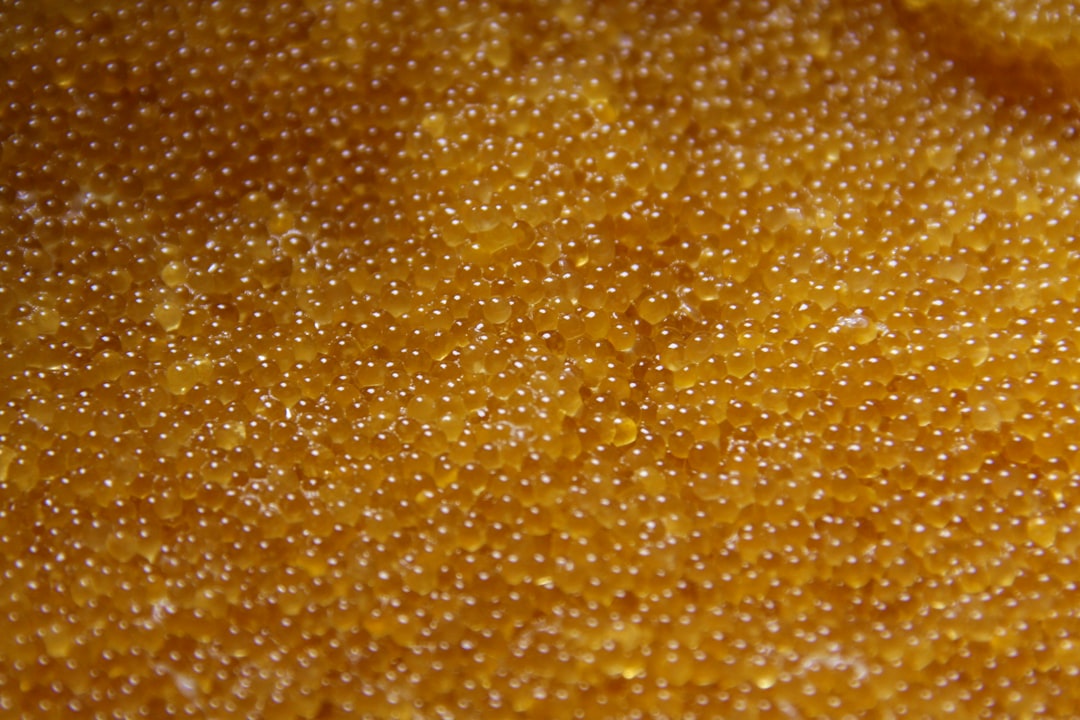
Creating a delicious Honey Mustard Baked Chicken involves a careful selection of ingredients that combine to create a savory and tangy flavor profile. The centerpiece of this dish is, of course, the chicken. You can use bone-in chicken thighs or breasts, depending on your preference, as both provide succulent meat that absorbs the flavors well. The honey mustard glaze is what gives this dish its distinctive taste. You will need a good quality honey, preferably one that is locally sourced or organic, to ensure a rich sweetness. For the mustard, Dijon is often recommended for its smooth texture and balanced acidity, although grainy mustard can add a delightful texture too.
Alongside these primary ingredients, olive oil is used not only to facilitate even cooking but also to add its distinct flavor. Garlic is another essential component, either minced or as a powder, providing depth and a robust aroma. Don’t forget to season with salt and freshly cracked black pepper, enhancing the overall taste. Optional ingredients such as paprika or rosemary can also be included for additional flavors that complement the honey mustard base nicely.
Step-by-step preparation of Honey Mustard Baked Chicken
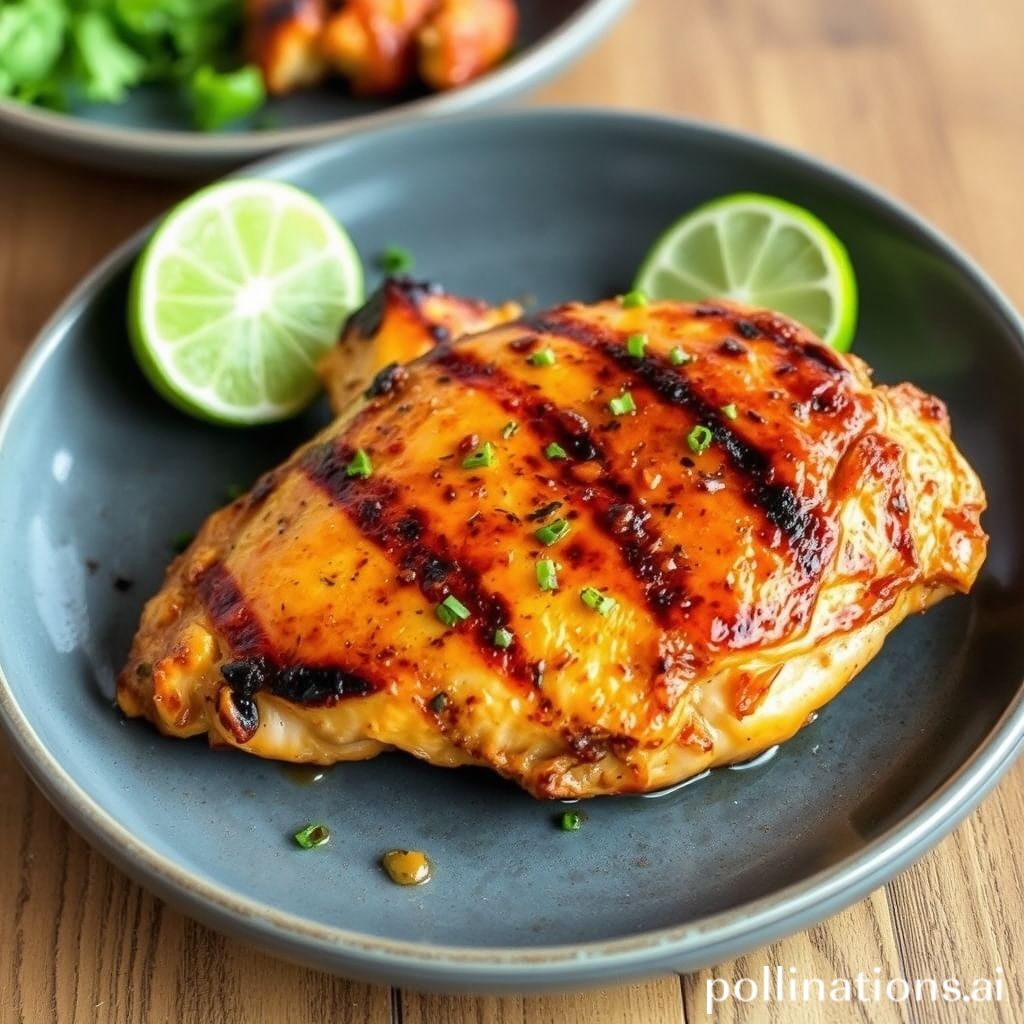
To prepare Honey Mustard Baked Chicken, start by preheating your oven to 375°F (190°C). As the oven warms up, focus on the sauce, which is the heart of the dish. In a medium bowl, mix together 1/3 cup of Dijon mustard, 1/4 cup of honey, 2 tablespoons of olive oil, and a teaspoon of lemon juice. This will create a sweet and tangy glaze. Set this aside as you prepare the chicken.
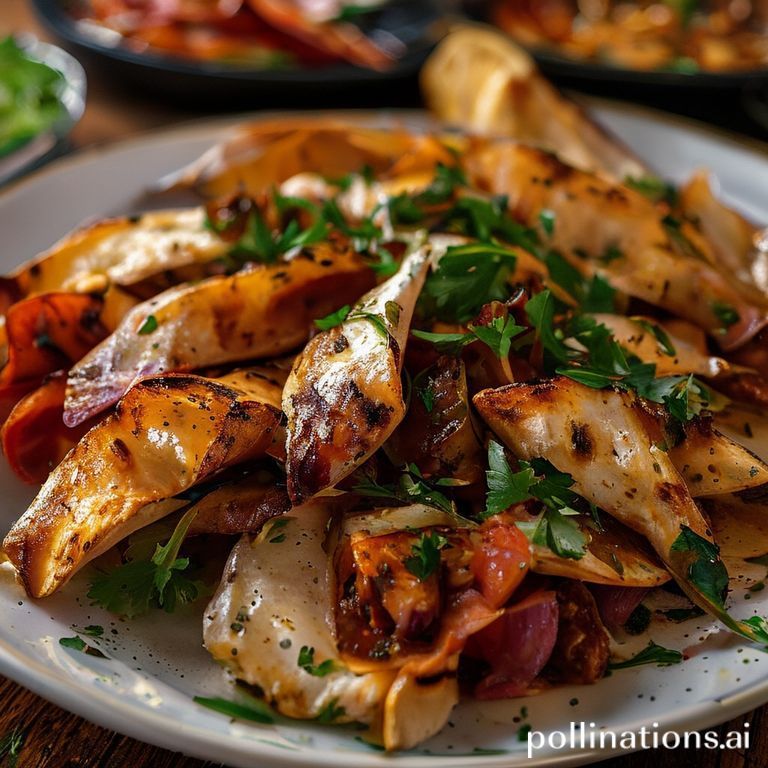
Take around 4 boneless, skinless chicken breasts and season them lightly with salt and pepper. Next, place the chicken breasts in a baking dish, ensuring they are evenly spaced. Pour the honey mustard sauce over the chicken, making sure each piece is thoroughly coated. For added depth of flavor, you can sprinkle a generous helping of rosemary or thyme over the chicken.
Once your oven is ready, place the baking dish inside and let the chicken cook for about 30-35 minutes. It’s essential to check the internal temperature of the chicken, ensuring it reaches 165°F (74°C) for safe consumption. Once done, let the chicken rest for a few minutes before serving. This allows the juices to redistribute, making every bite succulent and flavorful. Enjoy with a side of roasted vegetables or a fresh salad for a complete meal.
Tips for perfecting the Honey Mustard sauce
Perfecting a honey mustard sauce requires a careful balance of flavors and consistency to achieve that tantalizing blend that elevates your baked chicken. Begin with choosing the right type of mustard; while yellow mustard offers a mild base, opting for Dijon or whole grain can introduce a richer, more robust flavor. Combine this with quality honey, aiming for one that brings a depth of sweetness without being overpowering. The ratio of mustard to honey is crucial—generally, equal parts provide a balanced taste, but you can adjust according to your preference for sweetness or tanginess.
To enhance the flavor profile, consider adding a splash of apple cider vinegar or lemon juice, which introduces a hint of acidity, cutting through the sweetness and adding complexity. Freshly cracked black pepper or a pinch of cayenne can also infuse a subtle spice, catering to those who enjoy a bit of heat. Ensuring the sauce is smooth and well-mixed is essential. Whisk the ingredients thoroughly to achieve a cohesive texture that clings to the chicken without separating during baking.
Finally, allow the sauce some time to meld, ideally overnight in the refrigerator, as this can deepen the blend of flavors and add to the overall taste experience.
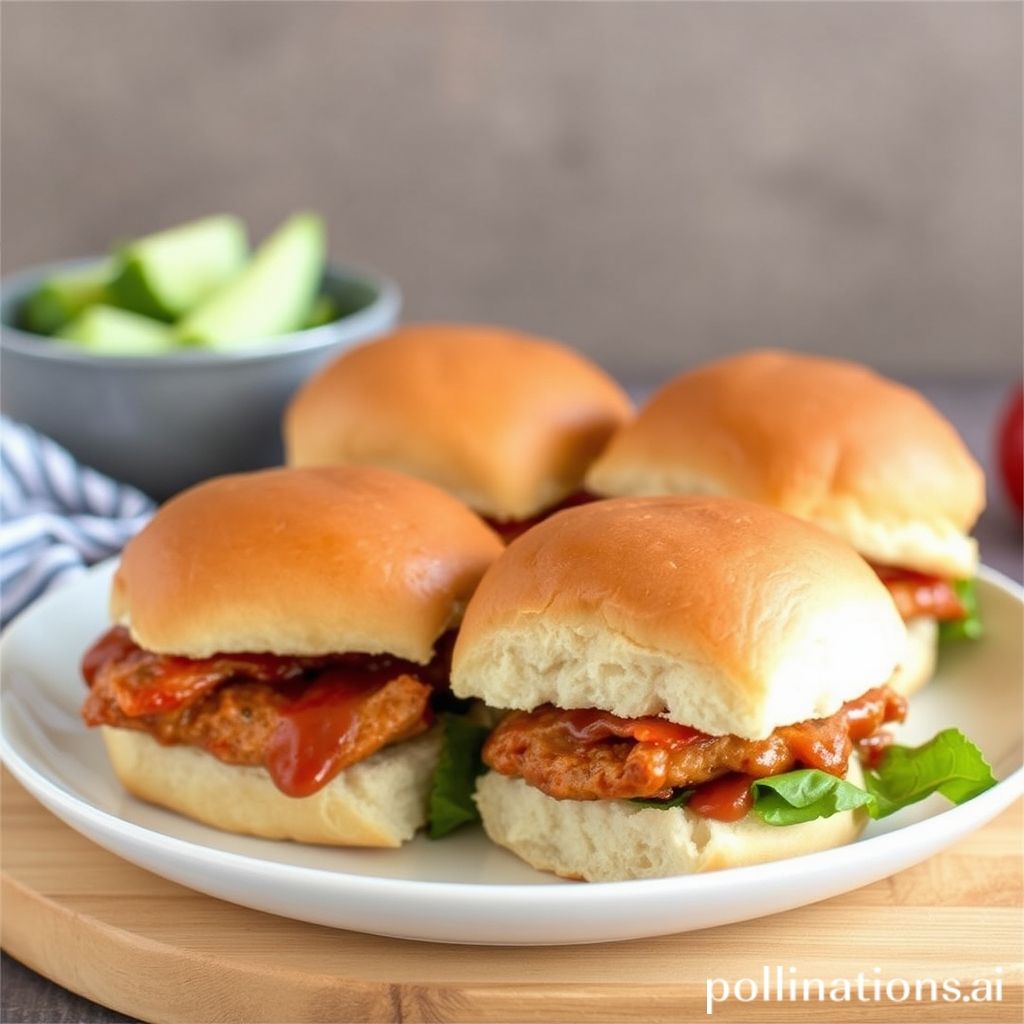
Pairing suggestions with Honey Mustard Baked Chicken
Pairing suggestions can elevate your Honey Mustard Baked Chicken from a delicious dish to a complete culinary experience. A classic option is to serve it with creamy mashed potatoes. The smooth texture of the potatoes complements the rich, tangy flavors of the chicken, creating a balanced plate. Alternatively, try pairing it with steamed broccoli or green beans. The freshness of these vegetables provides a crisp contrast that enhances the overall taste profile.
If you’re looking for something a bit different, consider serving it alongside a quinoa salad with cherry tomatoes and cucumbers. The light, nutty flavor of quinoa combined with the freshness of the veggies adds vibrancy to your meal. For a heartier option, wild rice can be a perfect match, with its earthy flavor offering depth and balance to the sweet mustard.
In terms of beverages, a light white wine such as Sauvignon Blanc or Chardonnay pairs well, providing a refreshing burst that highlights the honey mustard’s tanginess. For those who prefer non-alcoholic options, try a lemon iced tea or sparkling water with lemon. These drinks cleanse the palate and let the flavors of your Honey Mustard Baked Chicken shine.
Health benefits and nutritional information
Honey mustard baked chicken is not only a flavorful dish but also offers numerous health benefits and nutritional value. The primary ingredient, chicken, is an excellent source of lean protein, which is essential for building and repairing tissues and maintaining muscle mass. It is also rich in B vitamins, particularly B6 and B12, which support energy metabolism and brain health. Additionally, chicken provides important minerals such as selenium and phosphorus, which contribute to supporting the immune system and keeping bones strong.
The honey mustard sauce enhances the dish not only with its sweet and tangy flavor but also with nutritional perks. Honey, a natural sweetener, offers small amounts of antioxidants and has antimicrobial properties. Mustard, made from mustard seeds, is low in calories and contains compounds that may have anti-inflammatory effects. Moreover, it adds a zesty flavor without significant fat or sugar content.
Overall, this dish can be a healthy choice, especially when paired with vegetables or whole grains for a balanced meal. By baking rather than frying, the preparation method also helps in keeping the calorie and fat content lower while preserving the delicious taste.
Variations on the Honey Mustard Baked Chicken recipe
Honey mustard baked chicken is a delightful dish that can be customized in numerous ways to cater to different tastes and dietary needs. One popular variation is to incorporate Dijon mustard instead of yellow mustard for a sharper taste profile, which adds a gourmet touch to the classic sweet and tangy flavor. Another alternative is to include a touch of spice by adding ingredients like cayenne pepper or sriracha, providing an exciting kick that balances the sweetness of honey.
For a healthier option, consider using skinless chicken breasts and substituting regular honey with a low-sugar or sugar-free alternative. Vegetarians can adapt the recipe by using plant-based protein such as tofu or tempeh, marinading it in honey mustard sauce before baking. Adding a crunchy texture with breadcrumbs or crushed nuts as a topping can elevate the dish further, offering an interesting texture contrast.
You can also experiment with herbs and spices like rosemary or thyme to infuse additional layers of flavor, complementing the honey mustard base. Serving the honey mustard baked chicken with roasted vegetables or quinoa turns it into a well-rounded, nutritious meal that satisfies both the palate and dietary requirements.
Common mistakes to avoid when baking chicken
Baking chicken can be a straightforward yet delicate process, and avoiding common mistakes is crucial to achieving tender and flavorful results. One common mistake is not properly seasoning the chicken. Often, cooks either under-season or forget to season the meat, leading to bland results. Be sure to season both the inside and outside thoroughly.
Another frequent oversight is failing to preheat the oven. This step ensures that the chicken cooks evenly and helps in achieving a crispy skin, so always preheat your oven before getting started. Additionally, overbaking the chicken can dry it out and make it tough. Keep an eye on the cooking time and use a meat thermometer to check the internal temperature, aiming for 165°F for safe consumption.
Using the wrong baking dish is another mistake; using a dish that’s too big can cause the juices to spread out and evaporate, leading to dry chicken. Lastly, cutting into the chicken immediately after baking can result in losing the valuable juices. Allow the chicken to rest for about 5 to 10 minutes to let the juices redistribute, ensuring moist and tender results.
Frequently asked questions about Honey Mustard Baked Chicken
Honey mustard baked chicken is a popular dish appreciated for its combination of savory, sweet, and tangy flavors. Many people wonder about the best type of chicken to use for this recipe. Generally, boneless, skinless chicken breasts or thighs are recommended due to their tenderness and quick cooking time. Additionally, marinating the chicken ahead of time can enhance the flavors.
Another common concern is the ideal baking time. On average, chicken should be baked at 375°F (190°C) for about 25 to 30 minutes, but it’s crucial to ensure the internal temperature reaches 165°F (75°C) to guarantee safety.
People also ask about dietary adjustments. Honey mustard baked chicken can easily be adapted to suit different dietary needs. For a gluten-free option, ensure that all ingredients, especially mustard, do not contain any wheat-based additives. For a lower-sugar version, opt for sugar-free honey substitutes.
Lastly, side dishes are important to complement the meal. Consider pairing the chicken with steamed vegetables, mashed potatoes, or a fresh salad to create a balanced culinary experience.
Conclusion
In conclusion, mastering the art of creating a delectable Honey Mustard Baked Chicken is well within your reach with the right ingredients and techniques. By integrating this dish into your culinary repertoire, you not only diversify your menu but also introduce a wholesome and flavorful option that pleases the palate while providing nutritional benefits. Expertly balancing sweet and tangy flavors, this recipe is both a celebration of simplicity and a testament to the power of well-chosen seasonings.
As you embark on your cooking journey, consider expanding your horizons with The Chicken Bible: Say Goodbye to Boring Chicken with 500 Recipes for Easy Dinners, Braises, Wings, Stir-Fries, and So Much More. This comprehensive guide is your ultimate resource for transforming chicken into extraordinary meals. Packed with a wealth of recipes and cooking tips, this book is an invaluable addition to any kitchen library. Don’t wait—unlock the potential of chicken dishes by adding this essential cookbook to your collection today!


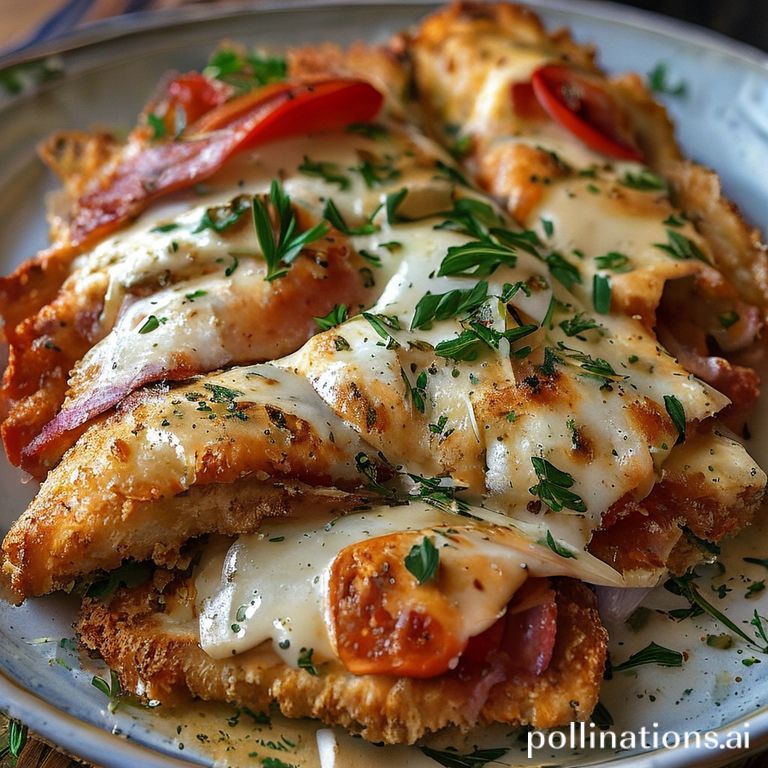 Embark on a culinary adventure that promises to tantalize your taste buds and elevate your cooking repertoire with the beloved classic: Chicken Parmesan. This dish, with its harmonious blend of crispy, tender chicken, lush tomato sauce, and gooey cheese, is a testament to the magic of Italian-American cuisine. But what sets an ordinary Chicken Parmesan apart from an extraordinary one? In this flavorful exploration, we delve into the secrets that chefs and home cooks alike swear by, revealing the precise techniques and ingredients that make a truly unforgettable dish.